How To Install Baseboard Molding To Concrete Walls
Things Needed
-
Baseboard molding
-
Measuring tape
-
Saw
-
Miter saw
-
Construction adhesive
 Jupiterimages/Creatas/Getty Images
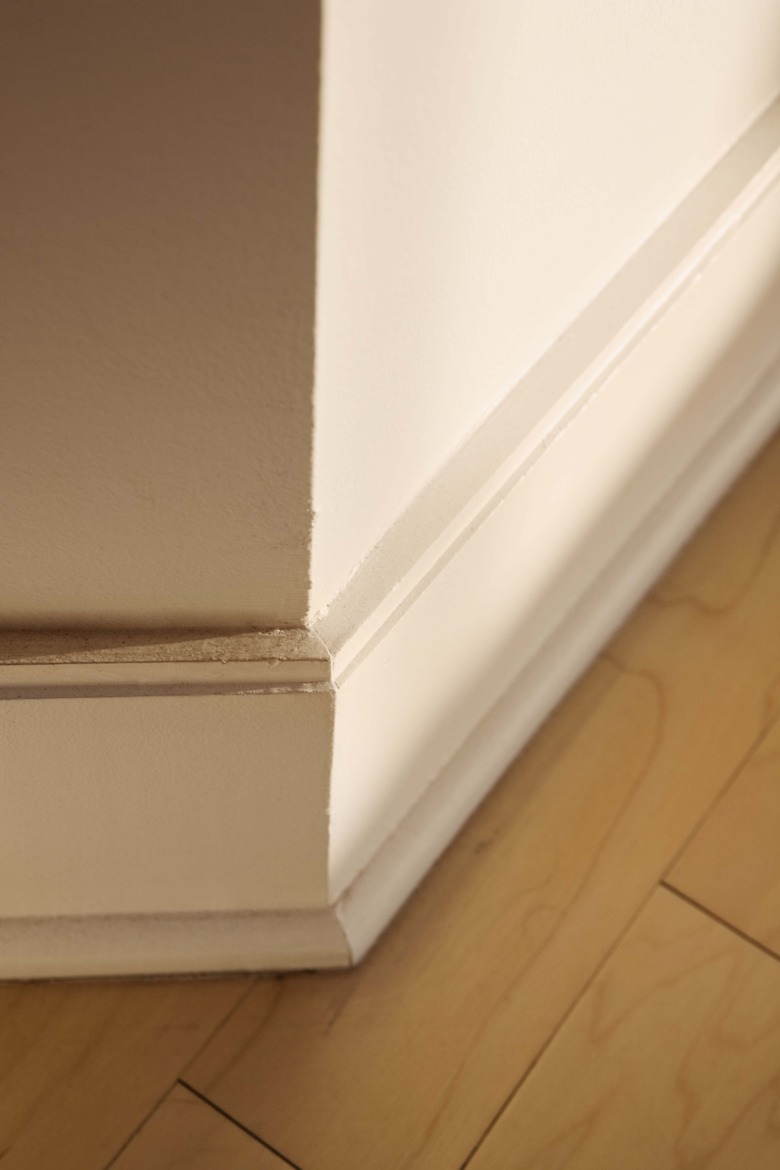
Baseboard molding gives your home a finished, professional look, and it is a good choice when you are looking to add some elegance to your basement. Baseboard is easily attached to wood or plaster walls using nails, but if you are gluing baseboard molding to a concrete floor, you need to use a sturdy adhesive. Choose a baseboard molding that matches your home décor themes and which will add a touch of refinement to your basement.
Step 1
Place the baseboard molding that you want to use in the basement for at least two days. This allows the molding to expand or contract as it needs to in accordance with the basement's humidity.
Step 2
Measure the walls where the molding will be installed. If the walls meet at an outside corner — a corner that is convex rather than concave — add the width of the molding to the figure. When the walls meet at an outside corner, the molding needs to extend slightly beyond the wall itself to join neatly with the molding on the other side.
Step 3
Cut a piece of baseboard molding for each wall using the measurements you found in Step 2 using a saw.
Step 4
Miter any pieces that connect at an outside corner to 45 degrees using a miter saw. This allows the edges to come together neatly.
Step 5
Apply a thin layer of construction adhesive to the back of the molding.
Step 6
Press the molding to the concrete wall. Construction adhesive holds the molding immediately to the wall. Continue until all of the baseboard moldings are installed.
Step 7
Allow the adhesive to cure for 24 hours or however long the packaging indicates.