How To Install Crown Molding For Dummies
Things Needed
-
Graph paper
-
Measuring tape
-
Stud finder
-
Crown molding
-
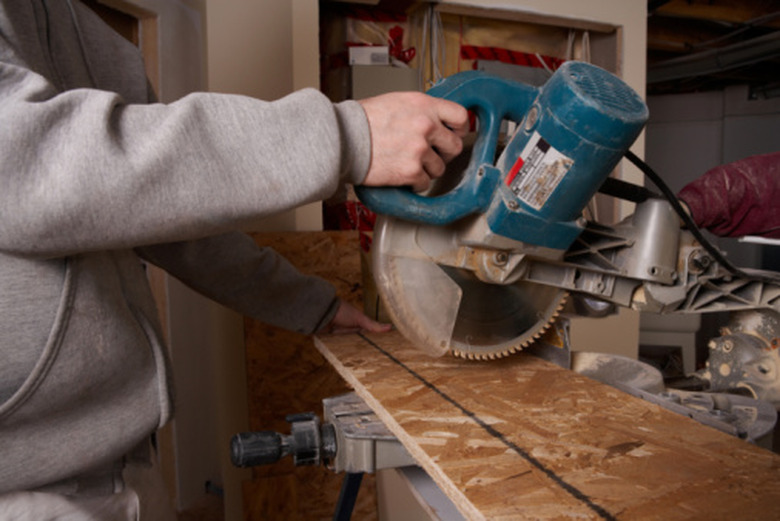
Power miter saw
-
1 1/2- or 2-inch 8D finishing nails
-
Hammer
-
Finishing nailer
-
Wood glue
-
Clean cloth
-
100-grit sandpaper
-
Fingernail file
-
Wooden dowel
-
Several 1-by-4 pieces of wood
Installing crown molding is a simple way to add class to any room in your house. With a handful of carpentry skills and a few basic tools, you'll be well on your way to perking up your home's interior with this weekend project. But beware — wavy walls, bulging ceilings and less-than-square corners can make the task a bit more challenging than you might expect.
Preparation
Step 1
Sketch the room on graph paper, drawing it roughly to scale. Record exact measurements of each wall on the drawing.
Step 2
Round your measurement for each wall up to the next foot. Add the measurements together to determine how much crown molding you need to purchase. Rounding your numbers up will ensure that you have extra molding to cover for any mistakes.
Step 3
Locate studs throughout the room and mark them with a pencil. Make marks near the ceiling for easy reference.
Step 4
Decide where you want to start installing the molding. In most cases, it's best to start with the largest piece and work out, leaving any outer corners for last.
Step 5
Determine which way the molding should face. In most cases, the more decorative portion of the molding should attach to the wall, not the ceiling.
Basic Installation
Step 1
Begin your installation on the longest wall, using a molding piece with two butt ends (90-degree angles). Since most crown molding comes in 16-foot lengths, your longest wall will likely need only one piece. If the wall needs two pieces of molding, create a scarf joint from two overlapping pieces cut to 45-degree angles.
Step 2
Nail each piece in place with 8D finishing nails driven into the wall and ceiling studs you marked in the previous step.
Step 3
Seal any scarf joints with wood glue. Wipe the excess glue away with a damp cloth.
Step 4
Sand the joint with 100-grit sandpaper once the joint has dried to create an even appearance.
Inside Corners
Step 1
Cut the first inside corner piece at a 90-degree angle, so that it fits squarely into the corner. Install as described above.
Step 2
Outline the profile of the molding onto the second corner piece with a pencil. Use a narrow scrap of molding to trace the profile as accurately as possible.
Step 3
Cut along the pencil line carefully with a coping saw, recreating the outline of the molding as accurately as possible. Use a fingernail file or wooden dowel wrapped in 100-grit sandpaper to make small adjustments.
Step 4
Line the second corner piece up against the piece you just installed to check the fit.
Step 5
Adjust as necessary and nail in place, sealing the crack with a thin layer of wood glue.
Outside Corners
Step 1
Overlap two 1-by-4 pieces of wood at the corner so that about an inch of wood extends beyond each side of the corner.
Step 2
Draw lines on the upper piece of wood to indicate where each edge of the lower piece of wood rested.
Step 3
Connect the opposite corners of the two parallel lines you drew with a diagonal line. Cut the 1-by-4 along this line. This angle indicates the angle at which you will need to cut each of the two corner pieces.
Step 4
Cut the corner molding pieces so that they point outward when placed against each other. Check to see that the angle is correct and make any necessary adjustments.
Step 5
Nail the pieces in place with 8D finishing nails, and seal the crack with wood glue.
