DIY Painted Toilets
We may receive a commission on purchases made from links.
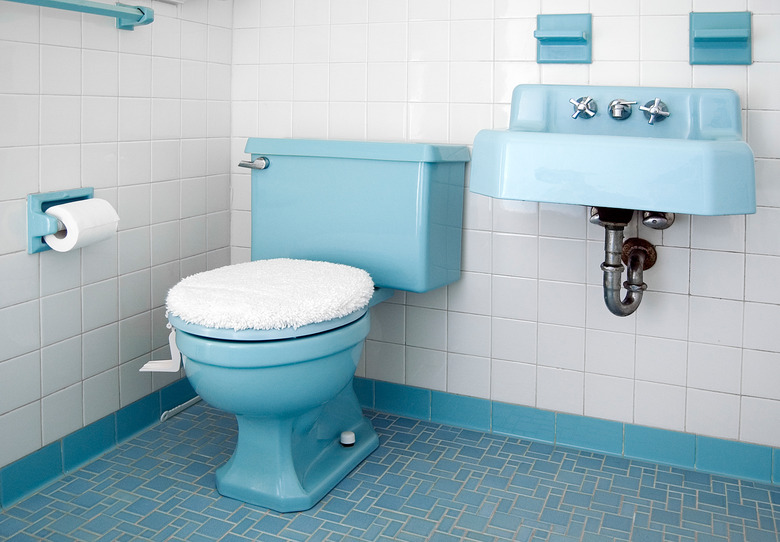
When you purchase a new home, sometimes you inherit a pink or other strange colored toilet that does not match your idea of modern décor. Other times, you may find that you want to change the look of your bathroom without spending the money to purchase a new toilet.
Painting your toilet can add a splash of color and an interesting, modern look to your bathroom for a fraction of the cost. DIY pointed toilets tend to cost less than purchasing a new toilet or ordering a custom commode. Get all the instruction you need to change your toilet's color with this toilet painting how-to.
1. Clean the Toilet
Clean the toilet using a household toilet bowl cleaner before you paint a toilet. The paint will stick more readily to a clean toilet. Like happens with walls that haven't been cleaned prior to painting, any debris left on a toilet can cause the paint not to stick, or to come off easily.
2. Drain Water From Tank
Drain the water from the toilet bowl and tank. To do this, shut off the water to the toilet by turning the knob on the wall behind the toilet to the right and then flush the toilet. The toilet bowl will then fill with the water that was already in the tank, leaving it empty. Flush the toilet again to make the water in the bowl go down its pipes.
3. Clean Toilet With TSP
Clean the toilet with TSP (trisodium phosphate) paint prep cleanser. While wearing gloves, use a stiff brush to remove as much of the mold, grime, dirt and stains as possible.
4. Remove Cleaning Solution
Use rags wet with water to wipe off the cleaning solution and then dry rags to dry the toilet.
5. Wait for Toilet to Dry
Wait two hours so the toilet can dry completely.
6. Sand the Toilet
Sand the toilet with 120-grit sandpaper. Scour the entire toilet or the part you wish to paint with the sandpaper until the surface of the toilet feels gritty. When the grit on the sandpaper feels smooth, replace it with a new piece.
7. Remove Excess Dust From Toilet
Wipe the toilet with a dry rag to remove the excess dust.
8. Prepare Toilet for Painting
Place the drop cloth on the floor and over objects surrounding the toilet. Hang pieces of newsprint on the wall behind the toilet, securing it with painter's tape. If you plan to paint inside the toilet bowl, cover the jets along the bottom rim with painter's tape, because the primer and paint can cause clogging.
9. Spray Toilet With Acrylic Primer
Spray an acrylic latex primer evenly onto the toilet. The primer will help the paint adhere better to the toilet. Allow the primer to try for two hours.
10. Apply Epoxy Spray Paint
Spray epoxy paint evenly onto the toilet, holding the can 8 inches away. Follow the manufacturer's instructions if you wish to apply more than one coat of paint. Additionally, if you wish to paint a scene on the toilet, such as a decorative element, use high-gloss oil paint. Apply the paint when the epoxy paint has completely dried.
Allow all applied paint to dry for at least six hours, or overnight, before turning the water back on. To refill the tank, turn the knob on the wall behind the toilet to the left.