How To Make A Lampshade From Scratch
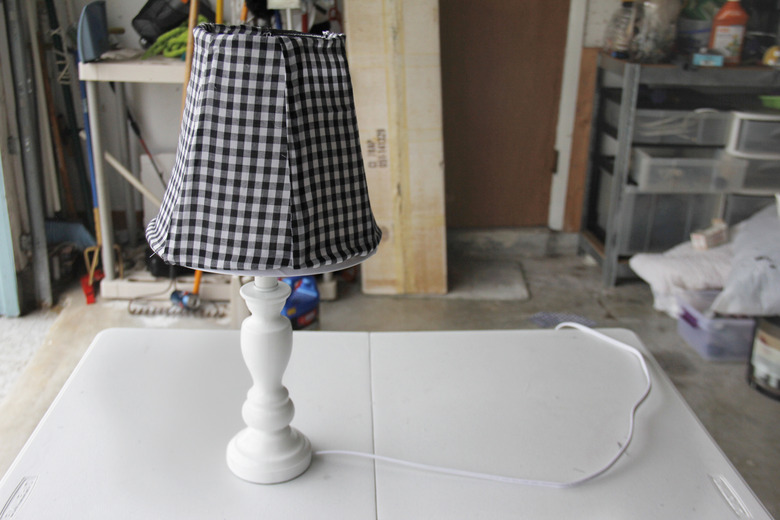
A lampshades adds style and color to a lamp, enhancing the surrounding furnishings in the room as well as diffusing light. Lampshades come in many different shapes, styles, fabrics, and materials. Creating your own lampshade from scratch requires some concentration and instruction, but allows you to customize it to your taste and the style of your room. With a few simple materials, you can create your own custom lampshade in two to three hours.
Things Needed
-
10 to 15 wire coat hangers
-
Paper
-
Pencil
-
Pliers
-
Fabric of choice
1. Disassemble the Wire Hangers
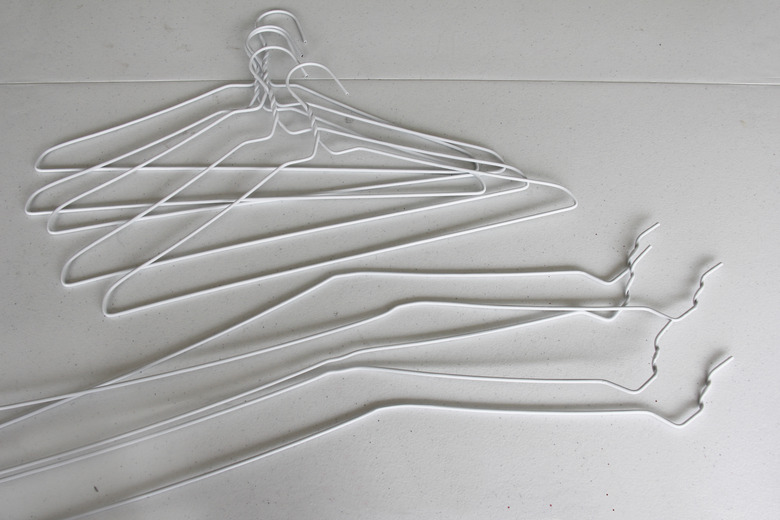
Untwist and straighten the wire coat hangers to prepare to build the lampshade frame.
2. Make a Bottom Diameter Guide
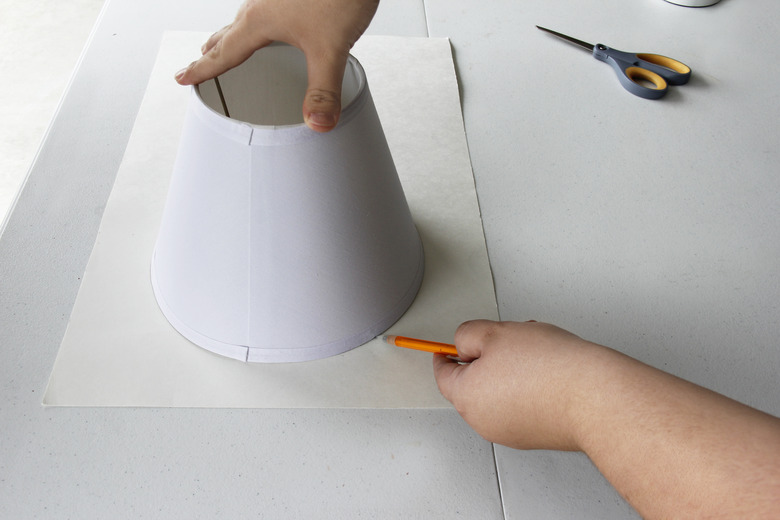
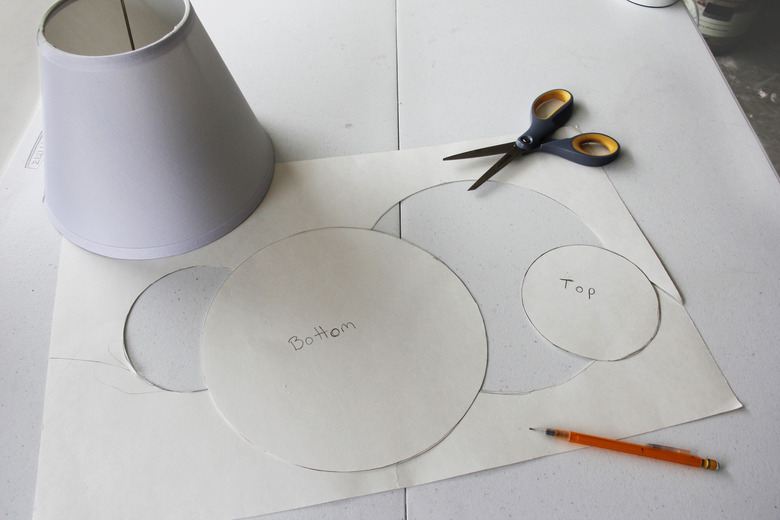
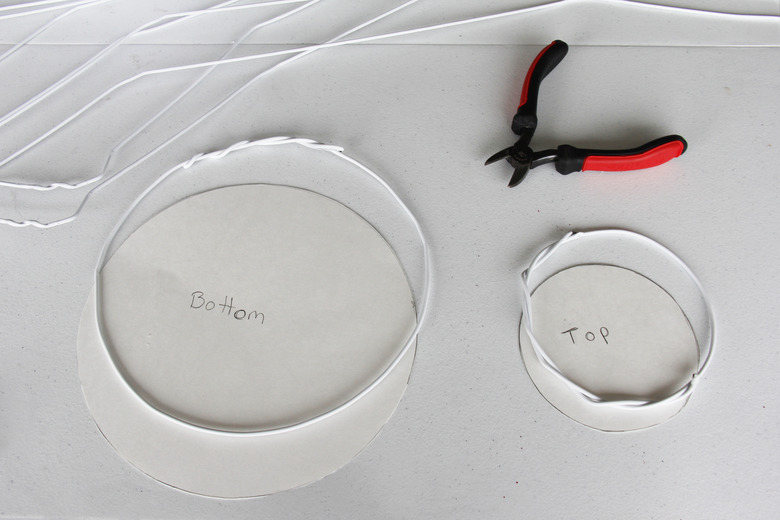
Determine the diameter of the bottom of the lampshade. Use an old lampshade as a guide or draw circles of varying diameters on a piece of paper. Cut out the circles and hold each one over the lamp to select the appropriate diameter for the bottom of the lampshade.
3. Make a Top Diameter Guide
Determine the diameter of the top of the lampshade and draw it on a piece of paper. Create a drum shade with the top and bottom frames of equal diameters, or create a tapered lampshade with a smaller top frame and larger bottom frame. Cut out a paper template for the size you want.
4. Create the Top and Bottom Frames
Using the paper templates as guides, make two circles from the wire coat hangers for the top and bottom frames of your lampshade. Use one piece of hanger wire for each frame. Twist the hanger wire into a circle and secure the ends by twisting them together with pliers. Clip off any excess wire with a wire cutter.
5. Determine Length of the Lampshade
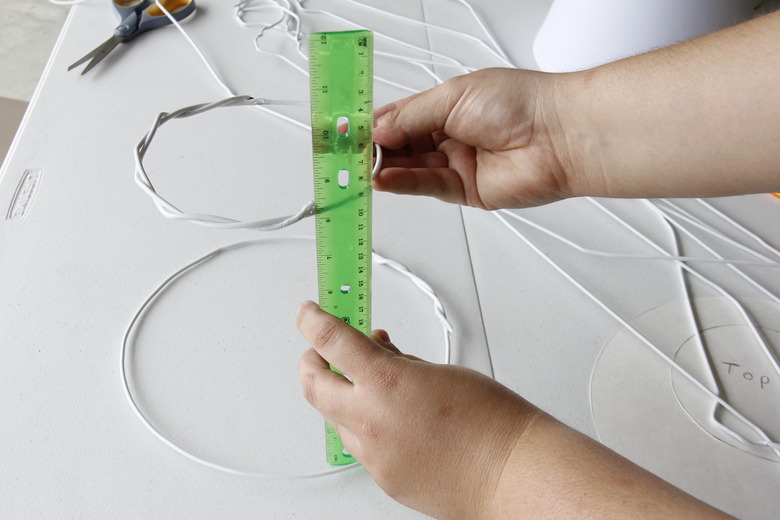
Calculate the distance you want between the top and bottom of the lampshade. Hold up the two wire circles you made in Step 4 to determine the ideal distance between them. The top and bottom of the lampshade should extend at least two inches above and below the light bulb on the lamp, so it casts a diffused light rather than a glaring light.
6. Cut Wire to Length
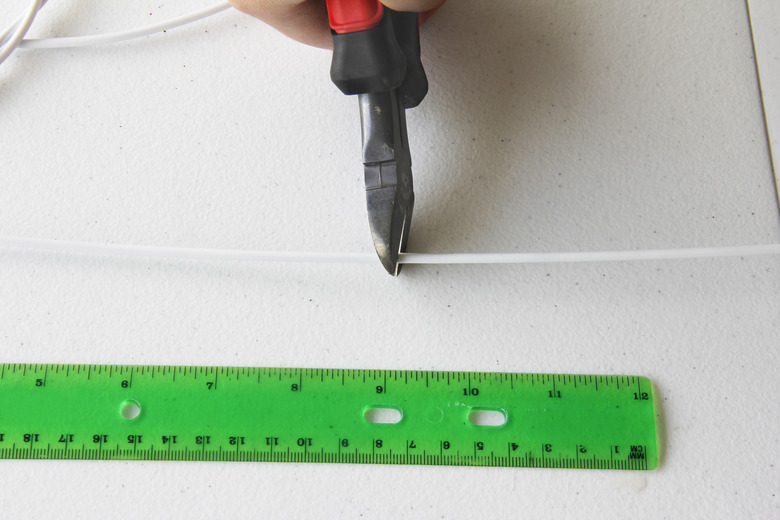
Cut approximately 10 pieces of wire to the length determined in Step 5, adding four inches to the total height you have chosen for the lampshade. (You will use the extra four inches for attaching the vertical pieces of wire to the wire circles.)
7. Attach Vertical Wires to Frame
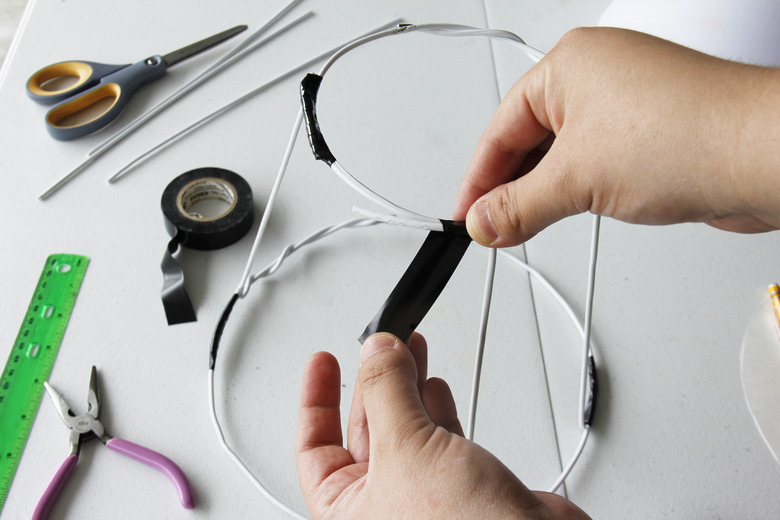
Attach each vertical piece of wire to the top circle of your lampshade frame. Use the top two inches of the vertical piece to wind two or three times around the top wire circle using pliers. Press in the end firmly with the pliers. Space the vertical wires evenly around the top circle. Repeat the process with the bottom circle of the lampshade.
8. Measure Between Each Vertical Piece
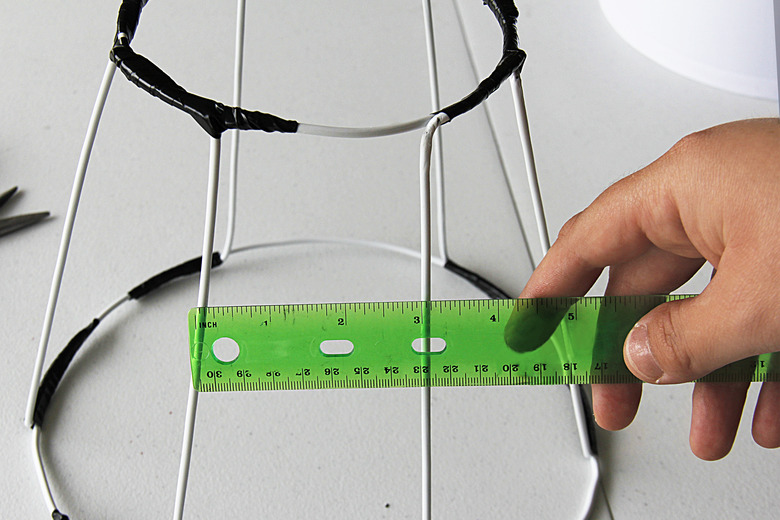
Measure the distance between each vertical piece of wire on your lampshade frame with a tape measure.
9. Cut Fabric to Width
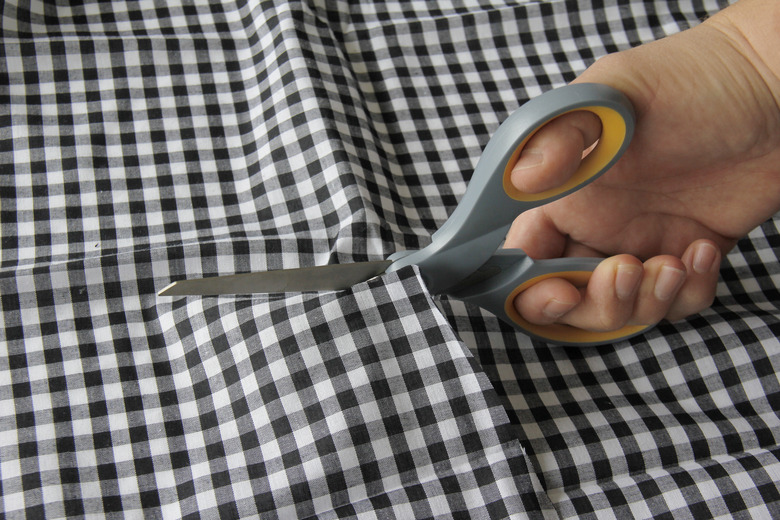
Cut strips of fabric to the width you just measured, adding an extra half-inch to the width. Cut the strips to the height of your lampshade, adding an extra inch to the length.
Tip
Use wide ribbon instead of fabric by cutting it to the appropriate length and attaching it to the circles.
10. Hem the Fabric with Hot Glue
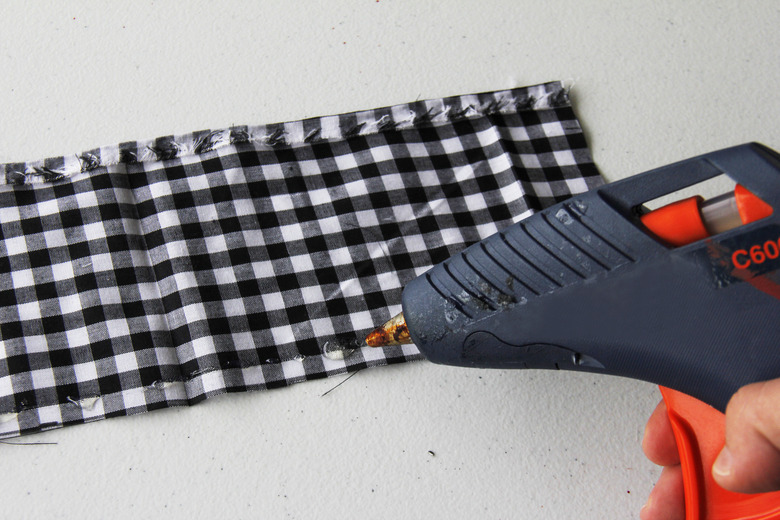
Fold the long sides of the fabric strips to create quarter-inch wide hems. Apply hot glue along the sides of the fabric to close the hems.
11. Attach the Fabric Strips to the Vertical Wires
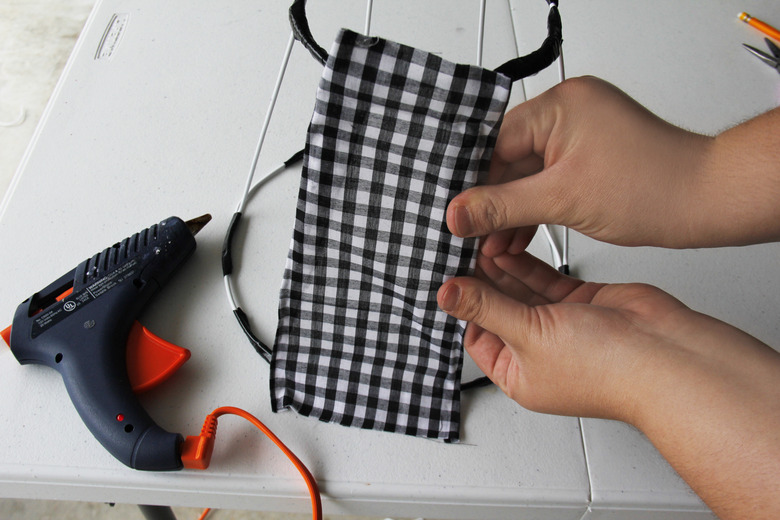
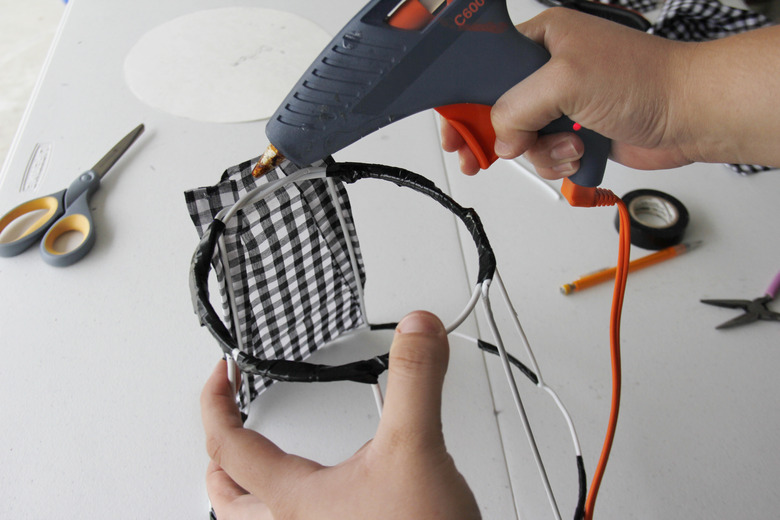
Apply hot glue on one vertical wire of the lampshade frame. Press one side of the strip of fabric on the hot glue. Make sure to leave half an inch of fabric to hang over the top and bottom of the frame. Apply hot glue on the opposite vertical wire on the frame and press the other side of the fabric strip on it.
12. Attach Strips to the Top and Bottom Frames
Apply hot glue along the top of the frame and fold the half an inch of fabric over it. Repeat the process with the bottom of the frame. Trim any excess fabric on the top and bottom of the lampshade.
13. Repeat Until Complete
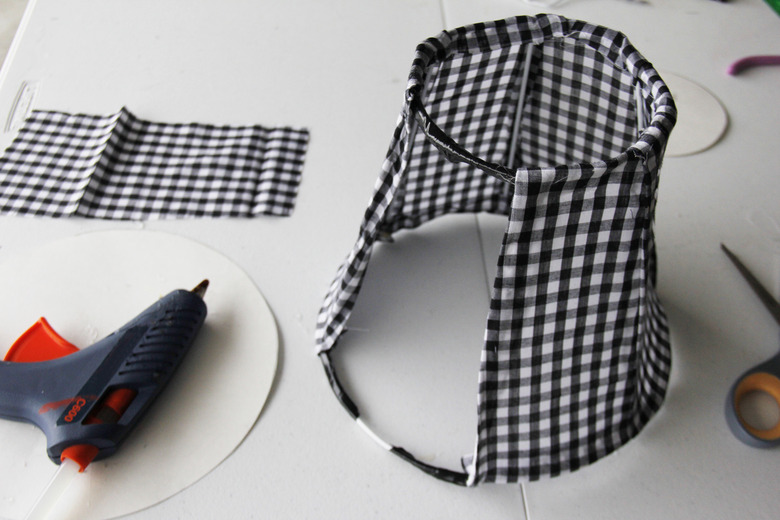
Continue attaching the fabric strips until the whole lampshade is covered with fabric.
Warning
Unplug the lamp when mounting the lampshade.
