Step-By-Step Instructions For Installing A Window-Based Swamp Cooler
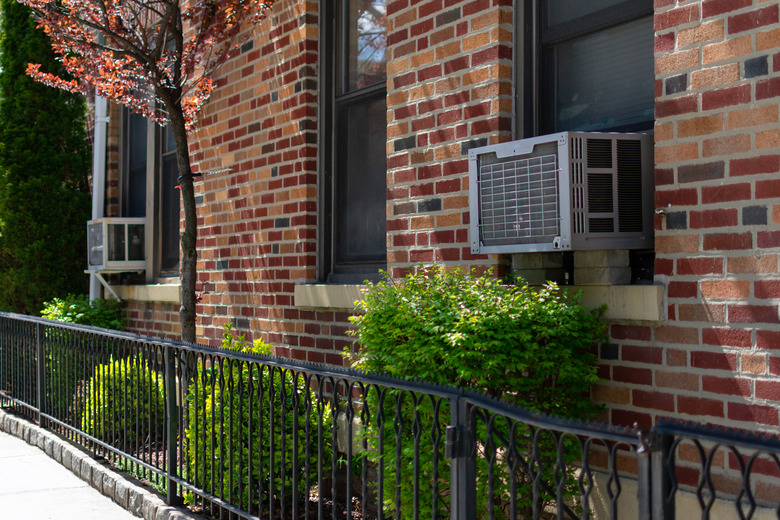
When mounted in a window, a swamp cooler, also known as an evaporative cooler, looks almost exactly like an air conditioner, but it's a very different type of cooler. Whereas an air conditioner has a refrigeration system that draws heat and moisture out of the air, making the indoor air drier, a swamp cooler relies on water evaporation, and it actually humidifies the indoor air. This makes a swamp cooler a very useful appliance in hot, dry climates in which the humidity is habitually low.
Installing a swamp cooler is slightly more complicated than installing an air conditioner because of the fact that the machine needs a water source. Some units have a reservoir that you can fill manually, but a fully automatic one needs a dedicated water supply line. Once you've taken care of this, the rest of the job is dead easy, and most of the materials you need to do it are supplied with the unit.
Installing the Water Line
You can handle the water hookup for a swamp cooler in more than one way. Perhaps the easiest way is to screw a 3/4-inch evaporative cooler valve onto the cooler inlet, screw a garden hose onto the male thread outlet and connect the hose to the nearest outdoor faucet. This setup gives you the ability to shut off the water to the cooler, and in the winter, you can drain the hose by unhooking it from the faucet to prevent freezing. As a variation, and considering that the swamp cooler doesn't need much water, you can connect a length of 1/4-inch tubing to a pair of 3/4-inch swivel adapters and screw those onto the cooler and the faucet.
If you prefer a more permanent supply line, you can tie into the nearest 1/2-inch water supply pipe with a saddle valve, run copper tubing to the cooler and connect it with a swivel adapter. In this case, you should install a tee near the cooler so you can install a drain valve to drain the system in the winter.
Things Needed
How to Install a Swamp Cooler
1. Install the Support Bracket
The bulk of the weight of a swamp cooler overhangs outside the house, so that's where the support bracket goes. It's usually included with the cooler, so follow the manufacturer's instructions for installing it. It will specify how far below the windowsill it needs to be. Level the bracket with a 4-foot level before driving the fasteners into the siding with a drill or socket wrench.
2. Open the Window and Install the Unit
Most swamp coolers are designed to be installed in windows that open vertically. Open the window all the way and with a helper, position the swamp cooler so it's resting on the bracket and windowsill with the indoor portion is inside the room.
3. Install the Side Fins
Slide the edge of one of the fins supplied with the unit into the track on the side of the cooler and open it until the other end contacts the window frame. Secure it with two 1 1/4-inch screws and seal both ends of the fin with silicone caulk. Repeat with the fin that goes on the other side. Close the window and seal the gap between the window and the top of the cooler with caulk.
4. Connect the Water, Plug in the Unit and Test It
Connect the water supply using the method you've chosen and then turn on the water and let the reservoir fill. A float valve in the reservoir should turn off the water when the reservoir is full. Plug the unit into a dedicated 120-volt GFCI outlet and then turn it on and make sure it's running smoothly.
