How To Repair A Rotted Sill Plate & Studs
Things Needed
-
Plastic sheeting
-
Drywall hand saw
-
Pry bar
-
Reciprocating saw
-
Hammer
-
Measuring tape
-
Steel strapping
-
Hammer
-
1 box smooth shank standard nails 1 1/2-inch in length
-
6-ton hydraulic jack
-
2 adjustable columns
-
4-inch metal plates
-
Scrap pieces of 2-by-4 lumber
-
Safety glasses
-
Canister style large vacuum
-
2-by-6-by-6-feet
-
Level
-
Composite material shims (optional)
-
3/8 -inch ag bolts with shield
-
3/8-inch masonry bit
-
Hammer drill or heavy duty drill
-
2-by-4-by-8-feet
-
4 or 5 angled brackets
-
2 4-by-8 sheets of drywall
-
1 box of standard drywall screws
-
Utility knife
-
Joint compound
-
Drywall seam tape or mesh
-
Trowel
-
Phillips head screw bit
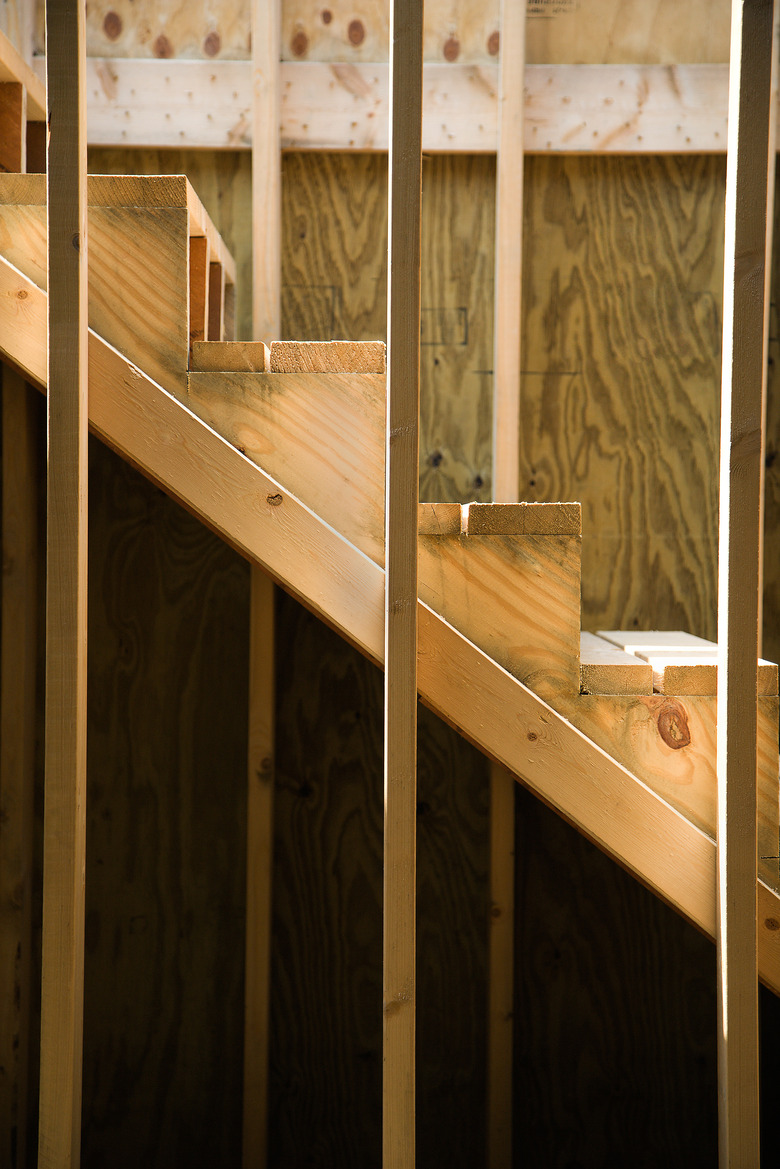
Rot is the biggest enemy of a wood structure's integrity. When wood sill plates or studs rot, the strength of your home's structure is compromised. In order to avoid the damage spreading to other areas, such as a floor sagging, wall tilting or ceiling cracks, you need to replace the rotted sill and studs as soon as possible. For this tutorial, we will cover replacing a 6 foot section of sill plate and one 2X4 stud. The technique does not require a lot of expertise but definitely some elbow grease.
Step 1
Lay plastic sheeting on the floor where you will be working to protect the floor and collect debris. If the wall is not exposed, use the drywall hand saw to make a small hole in the drywall or plaster where the repair needs to be made. Pull away a section of drywall or plaster using the pry bar. Located wiring and plumbing in the wall area you will be working in and make note of them. Use the reciprocating saw, pry bar and hammer to remove the rest of the drywall from the area, avoiding these structures.
Step 2
Measure the 6-foot area of the sill plate that needs removed and mark it.
Step 3
Nail steel strapping pieces that stretch down from the top wall plate to each stud in the section being raised that is not being replaced. Place a nail in the top plate, and 1 or 2 nails in the stud. This will keep the studs secured to the wall plate as the wall is lifted.
Step 4
Set the hydraulic jack on the floor adjacent to where the sill and studs need to be replaced. If you have a long expanse of wall, use an adjustable column every 8 feet. Slide a piece of scrap 2-by-4 beneath the jack to help distribute the weight. This is for a concrete or standard floor. For a dirt surface use a larger wood base to keep the assembly from digging in.
Step 5
Place one adjustable column on the jack, and a 4 inch metal support plate on the top of the column. Adjust the column height to fit it inside the wall area where you will be working. Slide the column top under the top wall plate. Adjust the column up so that it fits snugly. Leave the jack and the base of the column on the floor just next to the bottom sill plate you need replaced.
Step 6
Place another column on the opposite side of the stud being replaced, on a small wood block on the floor just as you did the jack. Give yourself room to work between the columns, so allow two feet or so of distance between the column and the stud. Slide the column top up under the top sill plate and adjust it for a snug fit.
Step 7
Begin lifting the jack slowly, in 1/4-inch increments. Alternate between jacking and adjusting the column without the jack to keep it tight on the upper plate. Lift the wall a bit, check everything for stability, then adjust the jack up another 1/4-inch, and follow with the adjustable column. Do this until you have raised the wall high enough to have clearance to remove the rotted sill plate, at least an inch.
Step 8
Cut through the nails that hold the studs to the sill plate in the area it will be removed with a reciprocating saw. Depending on the position of the rotted area, it could be three or four studs. Be sure to wear the safety goggles when cutting. Cut the section of sill plate that needs removed with the saw. Locate any bolts you see holding the sill plate in place, and cut the sill plate on either side of them if the wood is not rotted enough to pull out without cutting it.
Step 9
Pry the sill plate out carefully with the hammer. Use the saw to cut off any lag bolts that are protruding from the concrete footing below the sill plate.
Step 10
Use the vacuum to clean up any saw dust, debris, and wood particles from the rotted wood.
Step 11
Place angled brackets on the bottom of each 2-by-4 stud that is not being replaced. Slide them into place on the stud but do not secure them yet.
Step 12
Slide the new piece of sill plate in place, and check if for level. You can use composite fiber shims to adjust it if necessary.
Step 13
Drill through the sill plate with the 3/8-inch masonry bit, and down into the concrete below. Set the new 3/8 inch lag bolts in place but do not tighten yet.
Step 14
Slide the bottom of the 2-by-4 stud to be replaced out from the bottom, and using the hammer, knock the nails out from the top holding it to the top plate.
Step 15
Place an angled bracket over each end of the new 2-by-4 stud, and slide it in place in the wall where the old stud was located. Check it for level.
Step 16
Nail the stud in place on the top plate, keeping it plumb.
Step 17
Begin lowering the wall slowly in 1/4-inch increments, just as the wall was raised. Adjust the other column as before along with the jack column. Check the stud you replaced for level every so often during lowering to make sure it stays in place.
Step 18
Release the jack and columns when the stud and surrounding wall is once again resting on the sill plate. Tighten the lag bolts holding the sill to the foundation. Use the standard nails to attach the brackets at the bottom of all the studs to the sill plate, checking them for level before securing.
Step 19
Replace the drywall sheets in the repaired section, cutting them to fit if necessary by scoring with a utility knife and snapping off the excess with a straight edge, such as the edge of the level. Screw them in place with standard drywall screws, using the drill and a Phillips head bit.
Step 20
Fill the drywall seams with joint compound using the trowel, smoothing it out as much as possible. Also cover the screw heads with joint compound. Allow to dry. Add a second layer to the seams, and apply a strip of drywall seam tap or mesh, and coat it with joint compound. Allow to dry. Sand and smooth to finish.