How To Make A Ripping Chain For A Chainsaw
Things Needed
-
Chainsaw sharpening guide
-
Rounded saw chain sharpening file with handle
-
Flat file
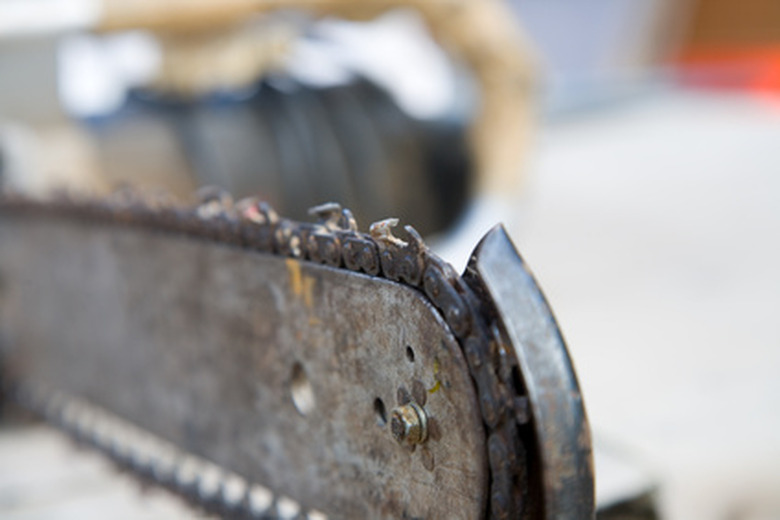
Chainsaw chains are typically designed for cross-cutting wood, which is to say cutting perpendicular to the long axis of the tree limb. However, when using a chain saw for milling lumber, the saw will be ripping, which is cutting parallel to the grain of the wood. The angle of the cutting teeth on a ripping chain is much more square than on a standard chain. Fortunately, you can make a ripping chain for a chainsaw out of a standard chain with some sharpening tools.
Step 1
Place the chainsaw onto a sturdy work table. Disconnect the spark plug wire from the spark plug to prevent the engine from accidentally firing while sharpening the chain.
Step 2
Clamp a saw chain sharpening guide onto the top center of the chainsaw bar. Adjust the angle of cut of the guide to 10 degrees.
Step 3
Place a rounded chain sharpening file into the guide.
Step 4
Slide the chain so that the opening in one of the teeth is positioned directly underneath the file. The point of the tooth should be on the opposite side of the bar from where you are standing.
Step 5
Adjust the guide so that the file is nestled into the opening of the tooth. Begin grinding by pushing the file forward. At the end of the stroke, lift the file slightly and pull the file back to the starting position. You should only be filing toward the point of the tooth. Do not file in a back-and-forth manner. Count the number of strokes as you continue filing until the entire face of the tooth has been completely ground to the 10-degree angle.
Step 6
Lift the file out of the tooth. Slide the chain forward until the next tooth on the same side of the bar is positioned underneath the file, and repeat the previous step using the same number of strokes you used in the previous step. Continue filing each tooth until all of the teeth on this side of the bar have been ground evenly.
Step 7
Rotate the chain saw 180 degrees, and reposition the guide onto the center of the bar, but with the angle set at 10 degrees in the opposite direction to cut the teeth on the other side of the chain. Repeat the previous two steps until all of the teeth on this side of the bar have been ground evenly.
Step 8
Remove the file from the sharpening guide, then lift the guide off of the chainsaw bar.
Step 9
Position the sharpening guide flat across the tops of two adjacent teeth. The top of the tool's depth gauge guide should be directly over the depth gauge of the rear tooth. File the top of the depth gauge down to the guide with a flat file. Then, reposition the guide over the next two adjacent teeth, and repeat until all of the depth gauges are at the same height.
Step 10
Remove the sharpening guide and file, and reconnect the spark plug wire to the spark plug.