How To Use A Miter Saw
A carpenter often has to make an angled crosscut on a board or a piece of molding. The cut almost always has to be accurate, because it's forming a corner joint for door casing, baseboard, a picture frame or some other structure, and a miscalculation can result in an unsightly gap. The tool for this knid of work is a miter saw.
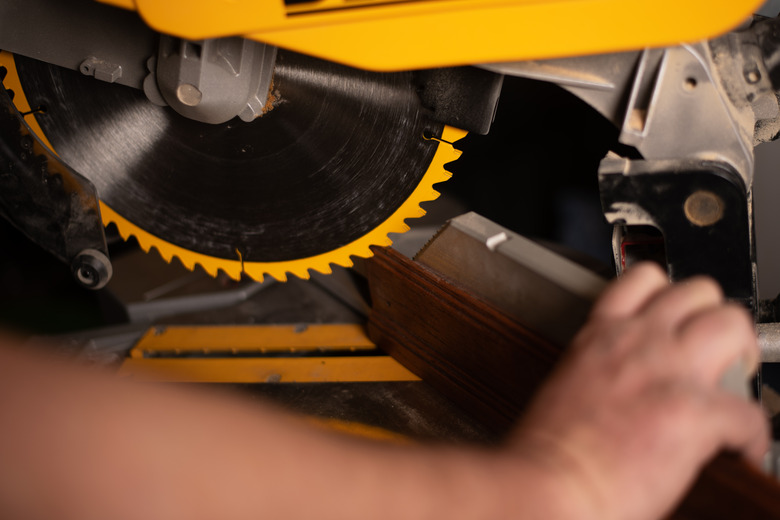 Robert Lowdon/Moment/GettyImages
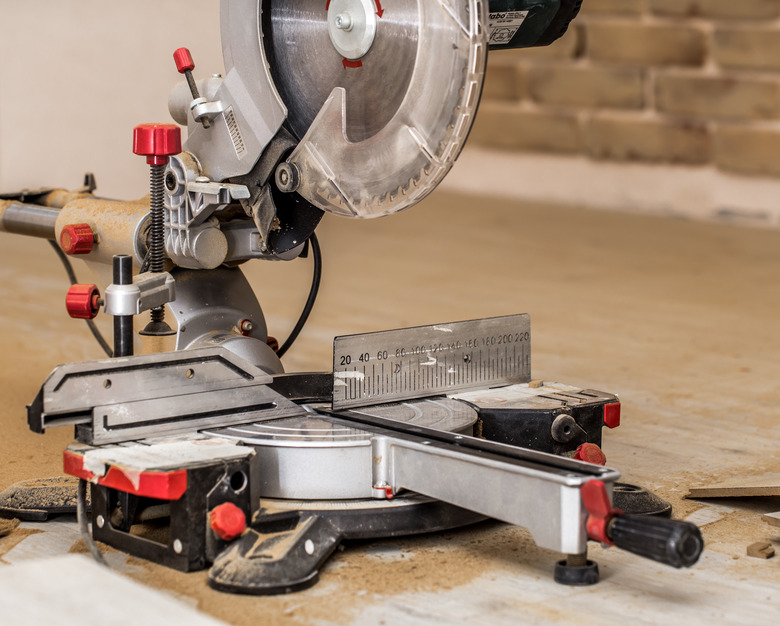
The simplest miter saw consists of a handsaw and a open box with precut grooves to guide the saw, but a power miter saw is easier to use, faster and more accurate. It's basically a chop saw mounted on a vertical spindle that pivots 45 degrees in either direction from dead center. A compound miter saw, which is the type you should consider purchasing if you don't already own a miter saw, also rotates around a horizontal spindle and allows you to cut bevels as well as miters.
Most power tools produce the best results after you've developed the skill to use them properly, and a compound miter saw is no exception. It doesn't take long to develop this skill by practicing with a few wood scraps before cutting for real.
Appreciate the Power You Hold in Your Hands
Appreciate the Power You Hold in Your Hands
A miter saw doesn't have the same freedom of movement as a circular saw, but it deserves all the same respect. It can ruin your work if you don't hold the work steady while cutting, but it will also make short work of your fingers if you're careless about how you hold the work. Remember that a miter saw is for crosscuts only—never do try to make rip cuts. Follow these tips for safe use:
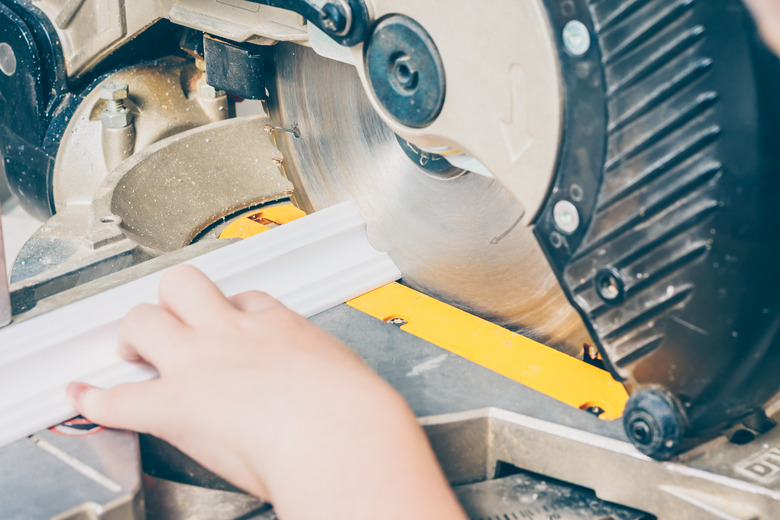 andreygonchar/iStock/GettyImages
- Operate the saw on a level, stable surface. Don't set it on the ground or on a shaky table. Make sure the area is well lit and free of stray wood and other debris.
- Make sure that all the saw's safety equipment, including the blade guard, the engine brake and the table and saw swivel locks, are all installed and operating correctly.
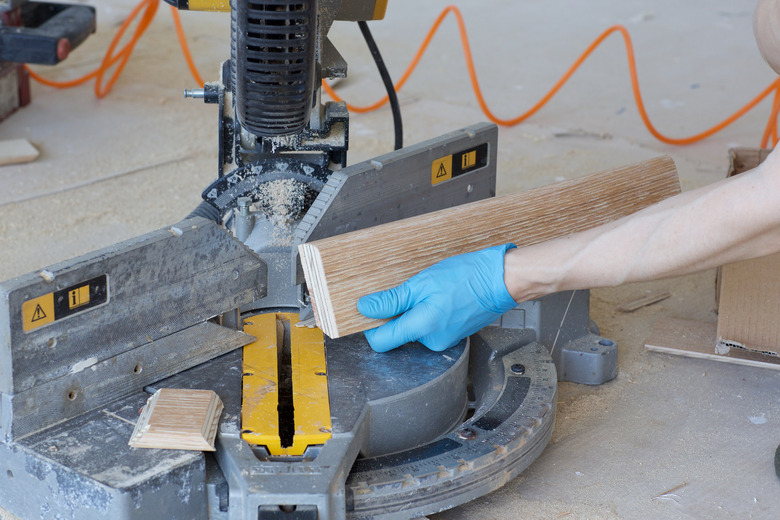
- Use one hand to secure the work against the fence while you operate the saw with the other hand. Never cut freehand. Keep your fingers at least 6 inches from the blade.
- Support the ends of long pieces of wood that overhang the saw table by more than half their total length. This ensures a cleaner cut and prevents your fingers from slipping. Do not cut pieces of wood that are less than 8 inches in length.
- Wear goggles to protect your eyes from splintered wood and sawdust.
- Wait for the blade to stop spinning before clearing wood from the table. Never reach around the blade while it is still spinning.
Tip
Read your owner's manual. It lists a number of other safety tips and guidelines that you need to know before putting your saw to use.
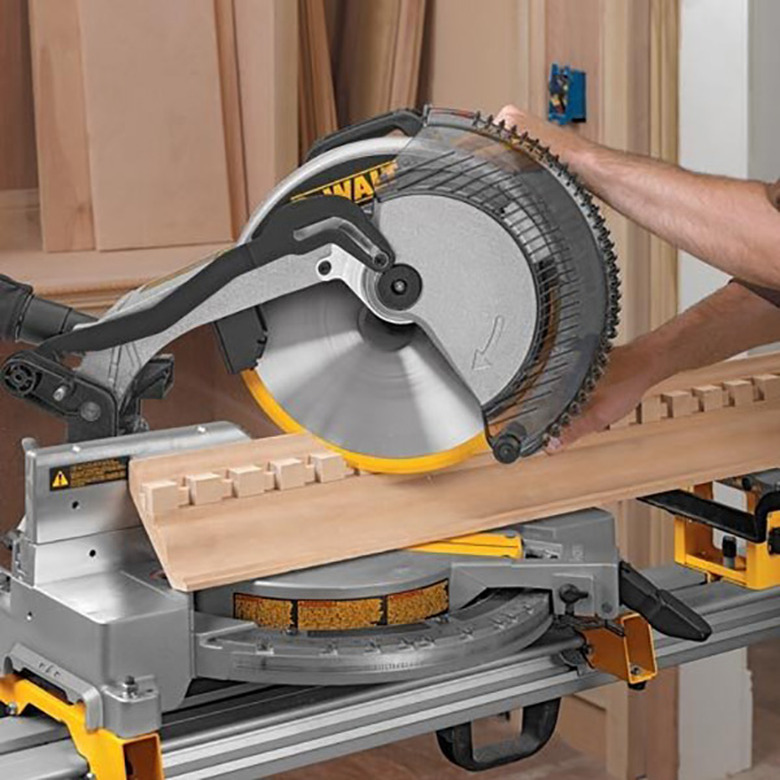
How to Make a Miter Cut
How to Make a Miter Cut
A miter cut can be defined as angled crosscut made across the grains of the wood. You can mark the angle by drawing a line on the piece of wood or you can use the angle gauge on the table. Drawing the line yourself usually gives the most accurate results, because table gauges on all but the most expensive saws tend to be off by one or two degrees. You have to rely on the angle gauge, however, when beveling the ends of wide planks, such as baseboards, using the miter feature.
- Draw a line on the wood, using a bevel or ruler.
- Place the wood on the table and push it against the fence. Align the far end of the mark approximately in the center of the open throat of the fence.
- Loosen the table lock and rotate the saw to the approximate angle you need, then lower the blade and fine-tune the angle to match the direction of the line. Tighten the lock securely. Adjust the wood so the blade is right next to it on the off-cut side.
- Lift the blade, pull the trigger and wait for the blade to reach its maximum rotational speed. Pivot that arm and spinning blade down into the wood and keep lowering it until it won't go down any farther.
- Release the trigger, lift the blade and wait for it to stop spinning before removing the wood.
Tip
Don't start the cut until the blade has reached its full rotational speed. If you start sooner, the blade can chip the wood and ruin delicate pieces, such as moldings or baseboards.
Using a Compound Miter Saw
Using a Compound Miter Saw
On a compound miter saw, the bevel and miter adjustments are independent of each other. You make a bevel cut by setting the angle of the saw on its horizontal pivot to any angle other than 90 degrees. You usually have to rely on the saw gauge to set the angle because of the difficulty of aligning the blade with a bevel angle marked on the wood.
When making a compound cut (one in which a bevel and miter are cut simultaneously), draw the line for the miter cut, set the miter angle, then set the bevel angle. Adjust the piece on the table so that the saw blade is just to the off-cut side of the line, as you would when making a perpendicular cut, then make the cut.
A Few Pro Tips for Safe, Quality Mitering
A Few Pro Tips for Safe, Quality Mitering
Cutting with a miter saw is fairly straightforward, and as as long as you draw clear lines, make accurate adjustments and follow safety guidelines, it's easy to get great results. Some types of cuts are more troublesome than others and call for special techniques, though.
- Cutting short pieces: When installing baseboards and other types of moldings, you often need short pieces with miters on both ends. To avoid cutting pieces shorter than 8 inches and putting your fingers in danger, miter the end of a long piece of stock, then readjust the saw angle and make another cut to produce the piece you need.
- Cutting extremely short pieces: Very thin pieces of wood tend to fly through the gap in the fence and get lost or damaged. When you need a piece of wood that is less than 1 inch wide, set a sacrificial board against the fence and hold the wood you are cutting in front of it. Cut through both pieces, and the short piece you need will drop safely onto the table.
 Straight Kerfs
- Cutting crown molding: To cut crown molding accurately, you must hold it against the fence at the same angle it will fit against the wall/ceiling corner when you install it. This usually means holding the molding firmly in the corner formed by the saw fence and table, mitering one end, then reversing the saw angle, sliding the molding through and cutting the other end. Don't forget to support the ends of long pieces to make sure you get accurate cuts.
Tip
The metal fence on most miter saws is not high enough to support wide pieces of molding. When you unpack your new saw, it's a good idea to upgrade the fence by screwing on a piece of 4- or 6-inch hardwood to act as an auxiliary fence. The fences on most good saws have pre-drilled holes for this purpose.