How To Convert A Desk Drawer Into A Computer Keyboard Tray
Things Needed
-
Tape measure
-
Pencil
-
Drill
-
Drill bits
-
Plastic or rubber grommets
-
Reciprocating saw
-
2 flat hinges or one piano hinge
-
2 double roller catches
-
Safety goggles
 Ryan McVay/Photodisc/Getty Images
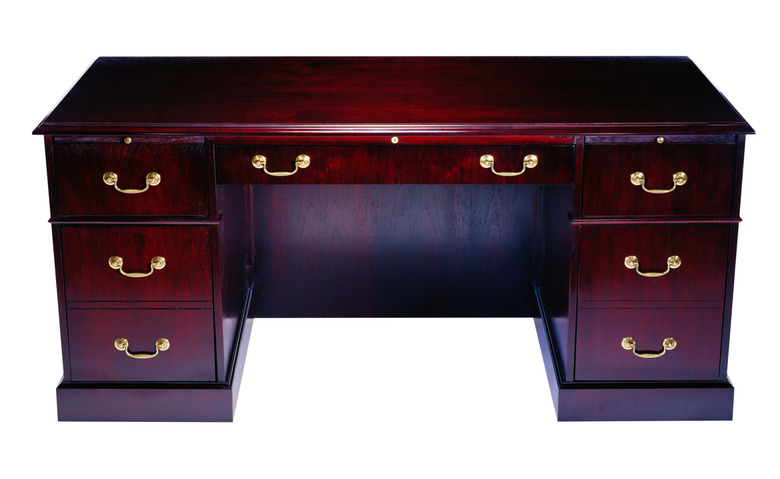
Instead of tossing out the old clunky but solid wood desk, retrofit it to work as a computer station. Remove the two bottom drawers on the right or left side and the crossbars between them to create a shelf to hold the tower computer, or set it on the ground at the back of the opening for your legs and feet. Drill a hole large enough for cords in the top of the desk near its back, and insert a plastic or rubber grommet into the drilled hole before threading the monitor cable through it. Turn the middle top drawer into a keyboard tray to finish your updated computer station made from the old desk.
Open-Face Keyboard Tray
Step 1
Measure the middle top drawer's height to ensure it has enough room to hold the keyboard. Most desk drawers are wide and skinny. Measure its width against the width of the keyboard to ensure a good fit.
Step 2
Remove the top drawer from the old wood desk. You may have to lift up the drawer slightly as you pull it out if it has two small wheels on either side at the back. If not, just pull the drawer straight out.
Step 3
Drill a hole in the back of the drawer closest to the computer location and large enough to run the keyboard cable through. Insert a rubber or plastic grommet into the hole to protect the cable from rubbing against the wood. It also gives it a finished look. If you have a wireless keyboard, skip this step.
Step 4
Detach the drawer face from the drawer by cutting it away with a reciprocating saw. Insert the saw blade between the edges where the drawer front adjoins the side and bottom pieces, and cut the front away.
Step 5
Sand the cut edges with 80-grit sandpaper to remove burrs and chips of wood.
Step 6
Apply a wood stain or paint to the raw edges of wood to seal and protect it.
Step 7
Put the drawer back in the slides, and insert the keyboard into the drawer. Thread its cable, if it has one, through the hole at the back of the drawer.
Drop-Down Drawer Front
Step 1
Mark the location for screw holes on the drawer front by holding the hinges in place and inserting a pencil into the holes. Add two hinges or a piano hinge to the inside drawer bottom and face after following the steps in the previous section to detach the drawer front from its sides. Secure the hinges with wood screws short enough so that they do not come through the drawer front.
Step 2
Measure and mark the locations for installing the male and female parts of the double roller catch on the inside drawer sides and inside drawer front. The female parts attach to the inside of both sides of the drawer at the front edges, while the male units attach to the drawer face. When you lift up the drawer front, the roller catches lock it in place.
Step 3
Attach the male and female units of the double roller catches to the inside drawer sides and fronts with the wood screws at the marked locations. Shut the drawer front to ensure the roller catches work correctly.
Tip
Use a reciprocating saw blade that works for both metal and wood, as it may have to cut through staples that secure the drawer face to the drawer.
Do not cut the drawer front itself with the reciprocating saw, rather, cut along its edge.
If you do not have a wireless keyboard, you may need to get a longer cable to attach your keyboard to the computer.
To create a mouse tray, use the topmost drawer on the right or left, depending on the hand you use for the mouse. Measure a small flat board to fit the area, and install small plastic-covered supports to hold the mouse board in place on the drawer sides. Drill a hole at the back of the mouse drawer to run the cable through if you do not use a wireless mouse.
Warning
Wear safety goggles when cutting through wood to protect your eyes.
Apply caution when cutting with a reciprocating saw — the blade is long and skinny. Don't hold the drawer near where you plan to cut.