How To Replace An Outdoor Lamp Post Fixture
Things Needed
-
New lamp post fixture
-
Screwdriver
-
Wrench
-
Touch-type voltage tester
Tip
It always helps to test your testers on a working circuit before you test them on the circuit you're going to be working on. This will help you avoid becoming a victim of an incorrect reading due to a bad battery in your tester.
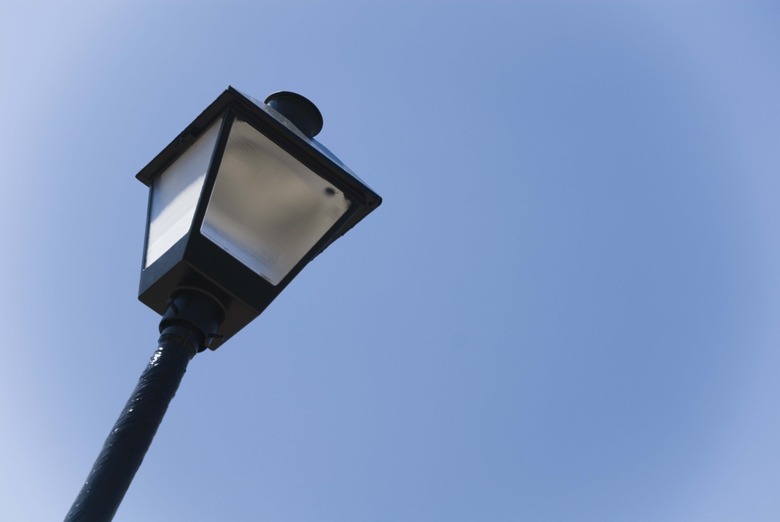
If you live in a suburban community where street lights are non-existent, then odds are you have a lamp post at the end of your driveway. Over time and due to weather fluctuations, the fixture on the top of the lamp post can begin to break down in both appearance and functionality. Here is how to replace the fixture portion of your outdoor lamp post.
Step 1
Make sure the power to the lamp post fixture is OFF. While you can accomplish this by turning off the switch inside your home that controls it, turn off the breaker that delivers the power to the switch to prevent any accidents. This is especially important if your outside lamp post is controlled by a timer. Find the breaker by turning the lamp post on, using the switch or pressing the "manual on" button on your timer. With the light on, toggle the breakers until you see the light go out.
Step 2
Look at the base of the fixture where it sits atop the lamp post. You should see at least three bolts securing the fixture to the post But, before you loosen up those bolts, you have to disassemble the fixture's outer covering.
Step 3
Depending on your type of fixture, there should be additional bolts or screws holding the fixture's topper in place, or if your fixture comes to a point and you can see a threaded post inside the fixture, then the point may unscrew off of the threaded post to allow the top to come off the fixture. Once you have the top off by using either a wrench or a screwdriver, remove the light bulb inside.
Step 4
Take your touch-type voltage tester and stick it directly inside the socket to test for power. Make sure you are pressing the button on the tester when you are doing this.
Step 5
If there is any removable glass in the existing fixture, remove it now. It should slide right out of the frame. Begin removing the bolts that are securing the fixture to the lamp post with a wrench. With the bolts removed, disconnect the wires from the socket and lift the fixture up and off of the post. Replacement is the opposite of the removal.
Step 6
If you don't have a helping hand, you can carefully lay the existing fixture on a ladder shelf or let it float in midair, supported by the wires.
Take your screwdriver and use the electrical tape to tape the wire to it in a cross-shape. This will keep the wire from falling down inside the pole.
Step 7
Remove the wire connectors and place the disconnected light fixture out of your immediate path so you don't accidentally trip on it.
Take your new light fixture, open it up and remove the topper and any glass, just as you did with the previous one before you took it off the pole.
Step 8
Make your wire connections-black to black, white to white and ground to ground. Wrap each wire connector in electrical tape to help keep moisture out. Remove the screwdriver and carefully guide the wire back inside the pole.
Step 9
Secure the new light fixture to the pole using the bolts that came with it. Reinstall any glass components, screw in a new, properly-rated light bulb and secure the fixture's topper.
Step 10
Turn the breaker back on and test the light. That's all it takes to replace your lamppost's fixture.
- Remember, if you have a timer on the circuit, you will have to reset the time since the power was off for the duration of the repair.