

Boost Your Kitchen Storage With This Genius Dollar Tree Broom & Mug Rack DIY
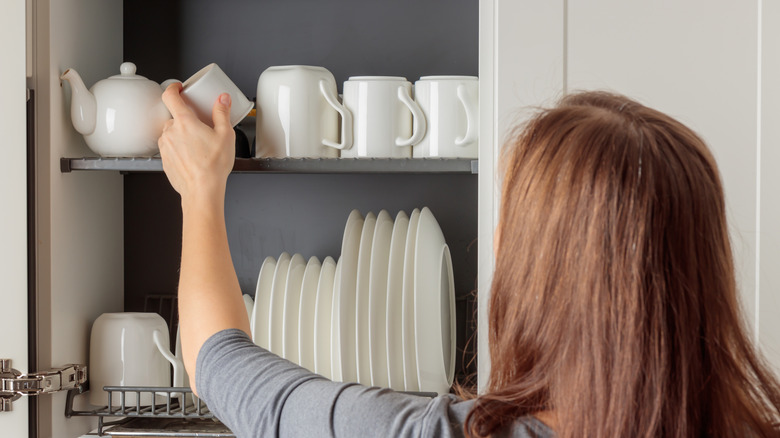
It's all too easy to build up a collection of cozy coffee and tea vessels when you're a hot drink devotee. Whether you like to search for valuable mugs at thrift stores and estate sales or just can't pass up a seasonal pick from Target, they can quickly overtake your kitchen. For those tight on cupboard space, you might want an external organizer. Fortunately, an Instagram video by Hometalk shows how to make a mug rack using cheap materials from Dollar Tree.
The rack is made using Dollar Tree broom handles and over-the-door racks. The Essentials Black Plastic Broom Handles and Essentials 6-Hook White Over-the-Door Metal Racks are options you might find at your local store. The broom handle costs $1.50, and the over-the-door rack costs $1.25. You'll need two broom handles and three over-the-door racks. Before you buy, it's very important to check that the hanging hole is securely attached to the broom handle. This project mounts to the wall by the handle's end cap, so it needs to be secure enough to support the weight of several mugs. You can glue it in place yourself; just use a heavy-duty adhesive that can handle your intended mug storage.
Zip ties hold this project together, and you can grab a pack like the Tool Bench Nylon Cable Ties for $1.50. Assuming you already have a can of black spray paint, an electric drill, and a couple of screws at home, the DIY costs less than $10. Not bad for a rack that can hold several mugs!
How to make a budget-friendly mug rack using Dollar Tree materials
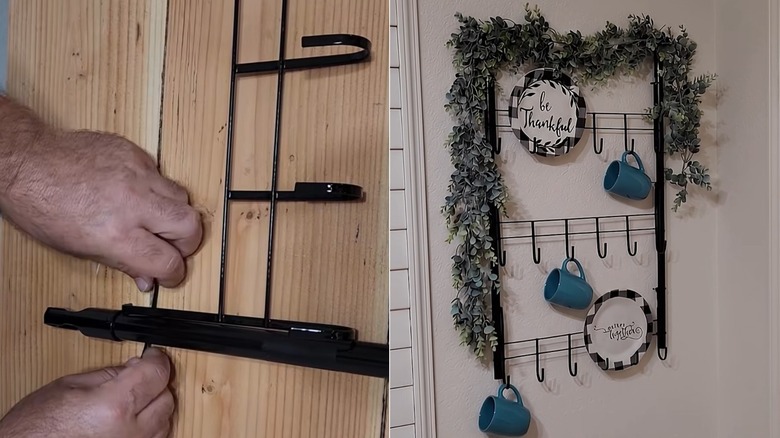
To start, cut off the screw end of the broom handle. Keep the end with the hole for hanging — it is how you'll mount it on the wall. In the Hometalk video, they mention using a saw suitable for metal since they use a metal broom handle, but you can adjust accordingly if yours is plastic. You can also decide on your rack length here. If you're short on space and want to hang it over a coffee station or kitchen counter, make the broom handles shorter and use two over-the-door hooks instead of three.
Next, straighten out the top hook part of the over-the-door hanger. You have the option to spray-paint it black to match the handles. Or, just buy a black rack to skip the painting process. Either way, attach each side of the over-the-door rack to the handles using zip ties. Make sure to evenly space the racks along the handles and leave enough space for mugs to hang.
Like most commenters, you might be concerned about the zip ties sliding down the handle under the weight of the mugs. One commenter suggested adding a strip of rubberized shelf liner underneath each zip tie. Another option is to reinforce them with E6000. Once the rack is assembled, it's time to put it on the wall. A cordless drill and two large screws will do the trick — although you could mount the screws into wall studs or use drywall anchors to give the rack more support. Mugs are heavy, so you definitely don't want to overload this rack (there's only so much you can expect from Dollar Tree materials).