

Not Curtains: Add Privacy To A Window On A Budget With A Dollar Tree DIY
We may receive a commission on purchases made from links.
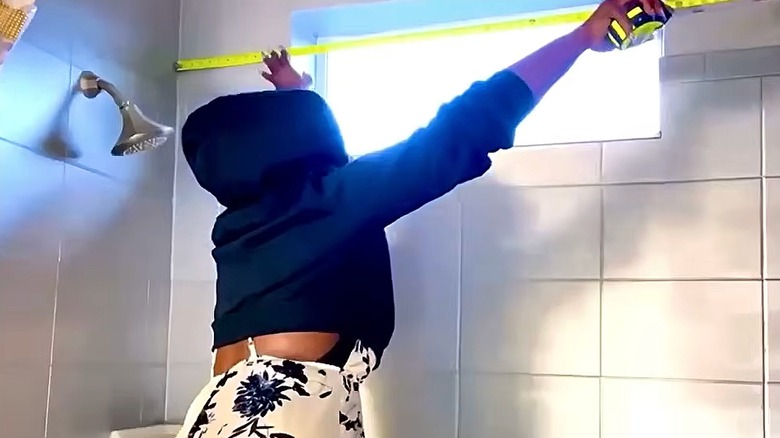
Adding privacy to a bathroom window can be tricky, especially if it's in the shower. Traditional curtains usually won't do in a spot like this, since they'll be directly exposed to water, which may force you to get creative. If you're on a budget, take inspiration from YouTuber Yoduvh Essentials, who came up with a low-cost way to add privacy to the window. Instead of mounting waterproof curtains or installing frosted panels, they improvised privacy panels with a Dollar Tree bath mat.
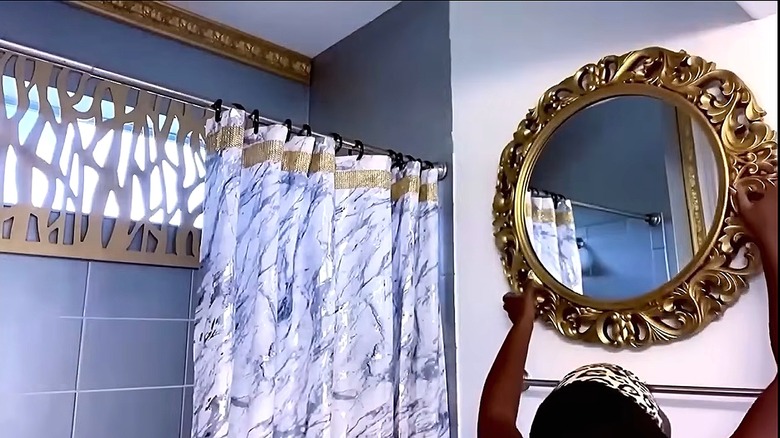
Anyone can install this textured panel idea, as it's customizable to any bathroom window size. Whether your window is tall and narrow or short and wide, the pieces can be cut to fit it perfectly. It can also be painted in any color that complements the rest of the bathroom interior. The design covers windows without blocking light, so the room still receives natural sunlight that discourages mold and mildew growth. This natural glow also has an ambient effect that makes a bathroom appear more calming and spacious, boosting the interior aesthetic.
The most important material for this easy DIY that provides stylish privacy is Dollar Tree's Home Collection Clear Bath Mat. You may need multiple, depending on the size of your window, so be sure to measure it ahead of time. You'll also need enough PVC trim to frame the entire window, as well as metallic spray paint, like Krylon Fusion All-In-One Adhesive Spray Paint. In addition to these materials, this project requires a drill, hot glue, super glue, and a PVC strip cutter.
How to glam up a boring window with bath mats as a curtain alternative
Once you have the measurements and the materials ready, begin by making the frame for the window panel. Cut the PVC trim boards with a PVC strip cutter or jigsaw, and staple gun the ends together. Then arrange the bath mats inside the frame, cutting them as needed to fit seamlessly along all the edges. Leave some allowance on the sides of the mats where they need to be connected, and glue them together with a blend of super glue and hot glue.
Once all pieces are assembled, it's time to spray paint. The original DIYer chose a gold finish; however, you can choose any color that best complements your bathroom. Choose a color that matches or contrasts well with other metallic accents in your space, such as the plumbing fixtures and cabinet knobs. Let the paint dry and do a second coat for full coverage. When the paint dries, hang the custom window covering over your window, and drill in all four corners to fix it in place.
At this point, the DIY is done unless you want to make a few more stylish additions. Consider embellishing with four decorative corner onlays, like Yoduvh Essentials. Buy them in a metallic color that matches, or use something like the ElaraBerry PVC Decorative Corner Onlay Appliques, and spray paint them to match your design. Keep in mind that this isn't the only window covering you can use –- you can also pair it with a set of water-resistant blinds or put peel-and-stick film underneath for extra privacy. Keep in mind that the film should be applied before starting this project, since this DIY idea is a permanent installation.