

Stop Spending Money On Shoe Storage: DIY A Unique Rack With PVC Pipes
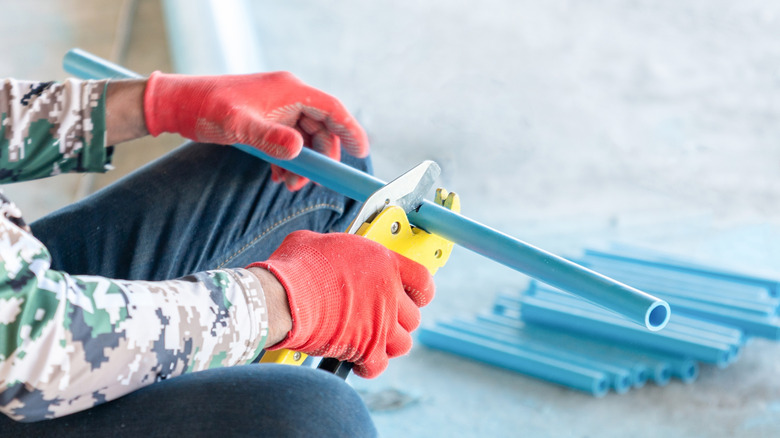
Does coming home after a long day of work and tripping over the shoes in your entryway leave you in a bad mood? Maybe you need somewhere to put your shoes outdoors but don't want to spend tons of money on a rack that's just going to get dirty? You can make a shoe rack out of PVC pipes that's custom to your space and relatively inexpensive. If you don't already have some PVC leftover from your last PVC pipe DIY project, you can typically purchase thin, basic pipes for around $1 to $2 per foot. You may also be able to find some in your community that other DIYers have left from their own projects. In addition to the PVC pipes, you'll need matching fittings, glue, measuring tape, a marker, and a saw. You may also want decorative supplies like paint and primer to make the finished shoe rack match your aesthetic.
The PVC pipes can be cut down and fitted together to form a series of platforms, with more PVC pipes running up the sides to form a frame. This creates a set of shelves that is relatively durable, but still flexible and fairly lightweight. That makes this a good fit for rental spaces or dorm rooms, as the PVC pipe shelves can be moved much easier than a heavy wooden shoe rack. Plus, if you need space for more shoes later, you don't need to worry about finding another rack or basket that matches your existing system. Just grab more PVC pipes!
Building your PVC pipe shoe rack
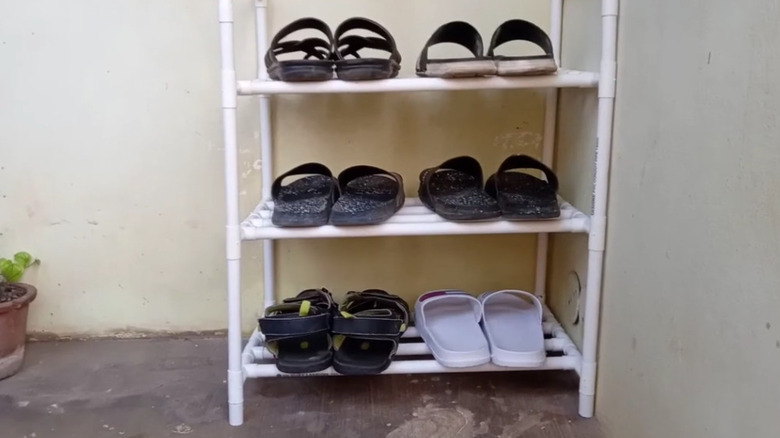
Before cutting the pipes, measure your space carefully so you know how large to make your shoe rack. This is particularly important in smaller spaces to ensure it fits. If you have plenty of room, plan your shoe rack around how much space your shoes take up. If the rack will be outdoors and mostly hold work boots or rainboots, you'll need more space between the shelves to accommodate them.
Now you can start cutting your PVC pipes. For each shelf, you'll need at least two pipes. They should be almost as long as you want the finished rack to be. You'll have vertical PVC pipes at either end, so be sure to account for their diameter if you're working in a tight space. To build the shelves, you'll need two tee fittings for each pipe, one for each end. Connect the tee fittings to each other horizontally by adding short pieces of PVC pipe between them so that your shelf pipes are all one unit. For the legs, you'll need four pieces of PVC pipe per shelf. These pieces will stand vertically, with each shelf at the top. Cut them to the height of the lowest shelf and the height you want in between the shelves above it, respectively. Connect them vertically with tee fittings. Connect the tee fittings between each vertical piece to the end of the tee fittings on the shelves with a short piece of PVC pipe and your shoe rack is complete.
Finishing your PVC pipe shoe rack
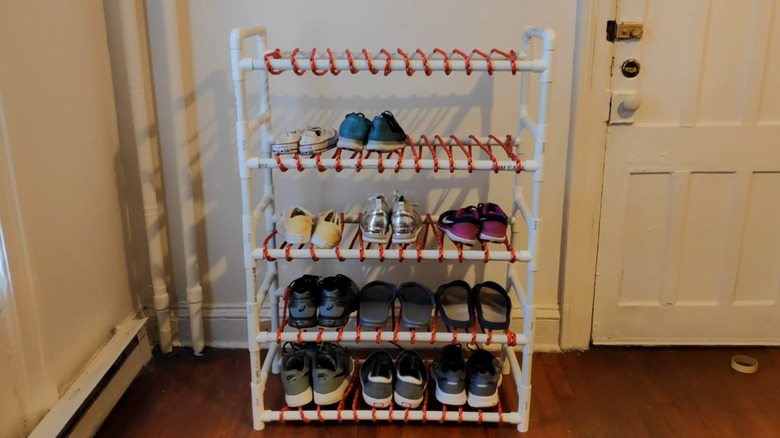
Putting together all the PVC pipes is technically all you need to do, but there is more you can do to reinforce the structure and make it look a bit nicer. PVC glue can be used to secure the pieces, making it sturdier. This also makes it harder to disassemble, so if you plan on moving soon and want to be able to take it apart quickly for easier storage it may be worth skipping. Otherwise, glue the PVC pipe to make your shoe rack more permanent. Similarly, if your shoe rack will be outdoors, you may need to consider the sunlight. UV light can cause PVC pipes to fade and become more vulnerable to impact damage. This isn't a major issue for a basic shoe rack, but if you want it to last longer or can't stand the way sun faded PVC looks, there are simple ways to protect PVC pipes from UV exposure.
One of the simplest ways to upgrade your PVC pipe shoe rack is to cover the shelves with a mat or even some fabric. This will prevent dirt from falling through the gaps between the pipes and add a bit of color. PVC pipes are also available in a range of colors, not just white and gray, which is an easy way to brighten your shoe rack. Painting your shoe rack is also possible, although it takes a bit of effort. The plastic needs to be sanded, primed, then painted for the best results.