

Cover Old Picture Frames With Air-Dry Clay For Vintage-Inspired Décor Gems
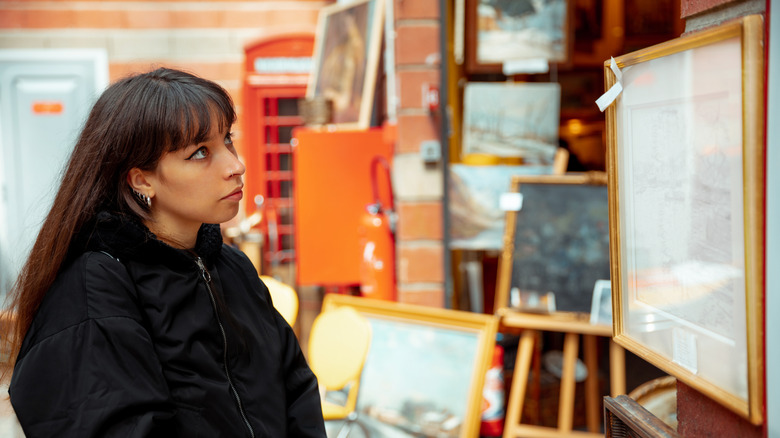
If you've been regularly following interior design trends to get some inspiration, you might have noticed vintage and ornate picture — and mirror — frames popping up all over recently. And for good reason: These vintage gems can add some character and visual interest to just about any space. But before you start scouring antiques showrooms and thrift shops to find one perfect for a prime spot in your home, check out how some online creators are skipping buying these frames. Instead, they're opting to DIY "vintage" decor pieces using plain old frames they already had. Through the magic of air-dry clay, you can do the same, even if you don't have any prior crafting experience.
Air-dry clay is a medium that's gaining momentum today among both novice and seasoned DIYers. It's nontoxic, versatile, more budget-friendly than polymer clay, and it doesn't require a kiln to harden and cure (hence the name). If you google it, you'll discover crafters using the clay to make a variety of home accessories, from oblong catchall dishes and Christmas tree ornaments to funky undulating candleholders. And with silicone molds for instantly creating borders and ornamentation — scrolls, floral garlands, animals, intricate filigrees, etc. — they're using it to dress up picture and mirror frames. If you're interested in giving it a shot, all you need is a mold design you like, the air-dry clay, a frame to upcycle, glue that's appropriate for the frame material, and paint to finish (sealant is optional).
Replicating a true vintage look with old frames and clay
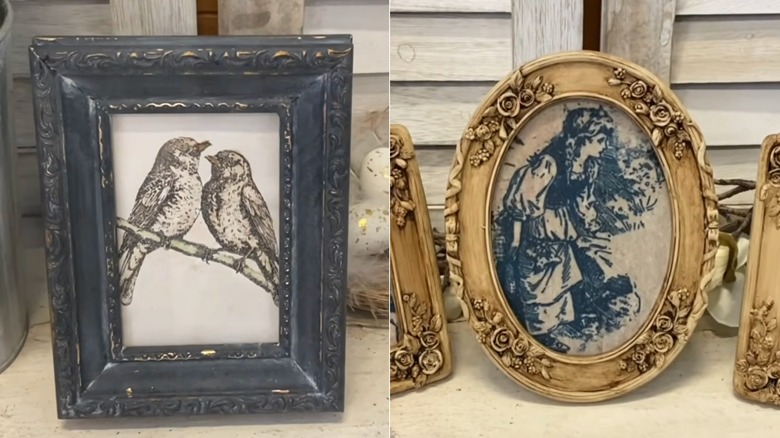
Before you do anything, it's a good idea to lightly sand the surface of the frame to make it more receptive for gluing on the clay pieces and painting. Using your chosen molds, cast pieces to cover the entire frame or just parts of it, such as the top or a corner. Depending on which clay product you're using and the thickness of the pieces, let them cure anywhere from 24 hours to a week (whatever the product label instructs) before gluing them to the frame.
You'll want to create a distressed finish, whether just slightly or more extreme, to make it look authentic. There are several methods for distressing paint, one of which is to paint the frame and clay details completely in a base color. Then, after letting that coat dry, go back and daub-paint the surfaces with the main color, leaving some crevices and grooves in the clay castings unpainted so that the base color shows through a bit. Or try dry brushing: Paint the frame and castings in the main color. Then dip the tip of a brush into a secondary darker paint and use a paper towel to wipe away most of it so that the brush tip is somewhat dry. Lightly skim the brush across the top-most surfaces, frame edges, and corners to mimic wear. If you'd like to, seal the painted piece with something like liming wax. Once you're done, frame the artwork, photo, or heirloom and hang it where you and your guests can marvel at your decor creation.