

It's Not Stained Glass: Transform Jars Into Beautiful Lanterns With An Impressive DIY
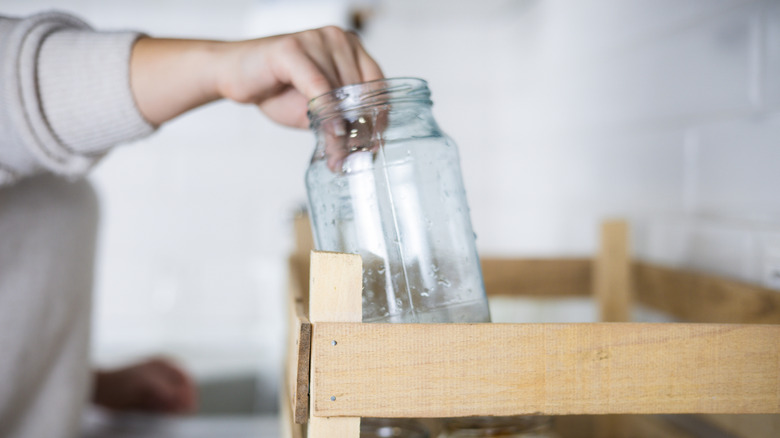
Whether you're spending time indoors or outdoors, ambient lighting can add warmth and coziness to any occasion, particularly when using stained-glass lanterns. These timeless lighting fixtures cast a subdued glow that's often colorful and always comforting. Except, purchasing an authentic stained-glass lantern can get pricey, as many exceed $100. For an inexpensive DIY alternative, you could simply add lights to a jar and call it a day, but the harsh, unfiltered glare of bare lighting wouldn't be as pretty as a stained-glass lantern. Luckily, there's a DIY way to capture that perfect cozy glow. This stained-glass lantern craft not only uses old jars that you'd likely throw away, it also saves money and helps achieve a richly layered lighting setup. All you need are the right supplies, a little elbow grease, and to harness your creativity.
Content creator and Etsy shop owner PaulinesRainbowCraft shared a video with their concept for a DIY stained-glass lantern, but there's plenty of room for customization. The list of supplies is simple. Start by finding a glass jar that's large enough to fit whatever lights you want to put inside and small string lights, like the EXF 4-Pack Fairy Lights. You'll also need colorful tissue paper, glue (the content creator uses Mod Podge), black paint, a small paintbrush, and string if you want to hang your beautiful DIY lantern when it's finished.
Turning a glass jar into a faux stained-glass lantern
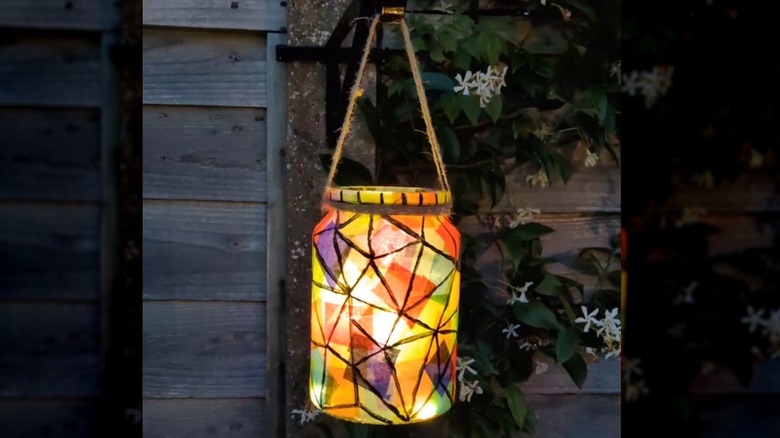
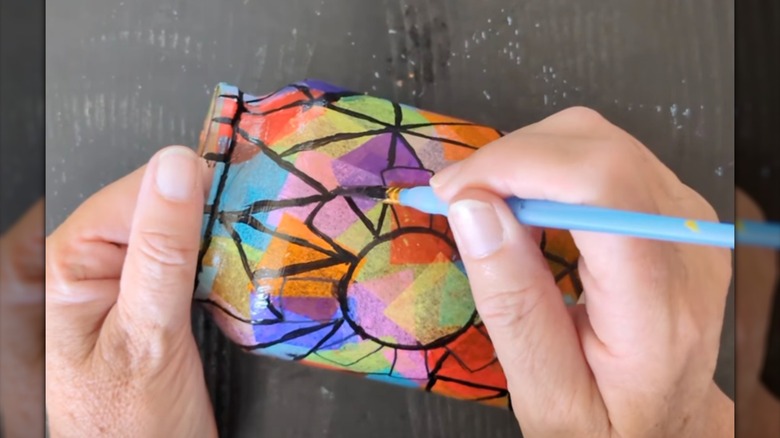
Start by applying glue to the exterior of your glass jar, then adhere squares of colored tissue paper, mindfully varying the colors and eliminating any blank space by overlapping the squares. As a tip, adding a layer of glue on top of the tissue paper will help to tamp it down. Once dry, you can create a cut-glass design. PaulinesRainbowCraft uses a marker to draw an outline, and then covers the lines in black paint to make the design pop. If you want to hang the lantern, tie some string around the mouth of the jar. Finally, put your fairy lights inside the jar and your stained-glass lantern is complete.
One downside to this project, which several commenters point out, is that the tissue paper will come off if exposed to rain. As a result, you may have to reserve the lantern for indoor ambient lighting or only place it outside on dry nights. No matter where you place the lantern, it's a craft that's both functional and decorative, and it's one that children can do as well. "So creative and very pretty!" one Instagram user commented.
Making this stained-glass lantern your own
There's no shortage of creative ways to decorate old glass jars, allowing you to put your own personal spin on the project. One Facebook user commented on the original post with the suggestion to draw the lines on the jar first, then place tissue paper or glass paint in between the lines. This could give the lantern a crisper, more precise look that's even more reminiscent of actual stained glass. A similar craft from Artsy Karma utilizes liquid leading (or puffy paint) to frame the "stained glass," which you can then color with an alcohol marker. Another idea is to skip the lines altogether and let the colorful tissue paper stand out by itself, almost like confetti glass. All of these options would harness the same tinted, gentle light that stained-glass lanterns emit.
To make your lantern more viable as an outdoor lighting idea, you could swap the tissue paper for mosaic tiles. A pack of mixed mosaic tiles from Lanyani Store would provide the flexibility to create different patterns while looking one step closer to stained glass. If you go this route, it's best to use transparent tiles so that the fairy lights will still shine through. Keep in mind that you may want to put lids on these jars if you keep them outside so that rain doesn't damage the string lights.