

Turn Your Boring Backsplash Into A Unique Talking Point With This DIY
We may receive a commission on purchases made from links.
There are many gorgeous backsplash ideas that have taken off, but few ideas can compete with a homemade and one-of-a-kind piece. TikTokers jessie & kyle shared a quirky backsplash idea that adds color and personality to a space using thousands of bottle caps. They arranged many of these tiny metal parts in rows on a large slab to create a custom backsplash for a kitchen wall.
This is a multi-day project that takes patience and time to complete. Essentially, it's a larger variation of projects that turn old bottle caps into wall art. Unlike smaller DIYs, there's no need to paint over the bottle caps, so this project won't mask the unique brands behind them. It's a fun way to show off your favorite beers, sodas, and other bottled drinks that you've consumed or come across during your travels.
The only downside of this project is that you must collect a significant number of bottle caps, depending on the size of your kitchen wall. However, this is a great way to embrace sustainable living, as it repurposes an item that's often lost in the shuffle of large-scale recycling programs. Bottle caps are so tiny that they are easily lost in the sorting process, causing them to end up in landfills despite being sent to recycling centers. Upcycling your, your friends', and your family's old caps into a unique statement piece ensures they stay out of landfills and aren't disposed of after one use.
How to DIY a unique bottle cap kitchen backsplash from scratch
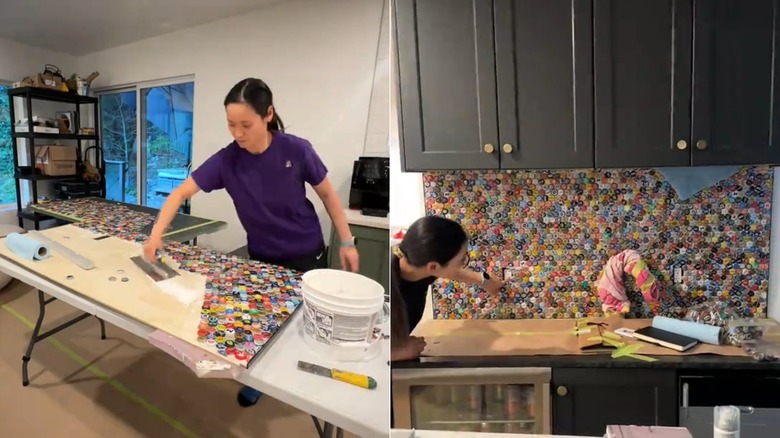
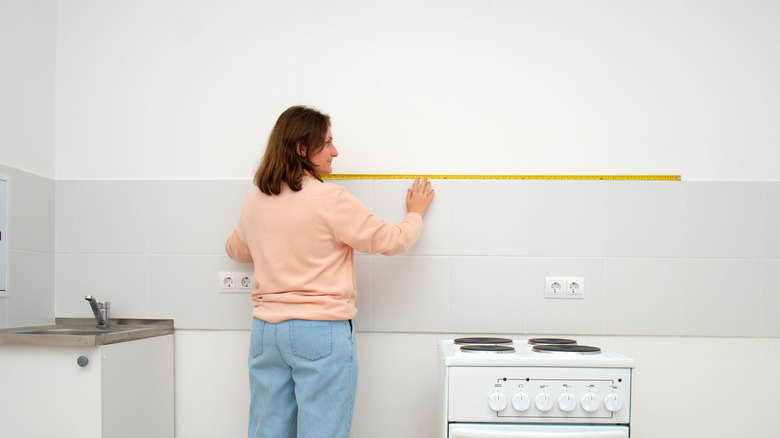
To begin, you'll need a large piece of plywood cut to the dimensions of your kitchen wall, tile edge trim, tile adhesive, grout, and epoxy. When cutting the plywood, don't forget to cut out openings for your wall outlets. You'll also need a tile grout float and silicone brushes. Lay out the bottle caps and ensure you have enough. Arrange them at random, create a gradient of colors, or even group certain brands together.
Line the piece of plywood with tile edging so the sharp edges of the caps don't protrude out, then slather the plywood with tile adhesive, working in sections. Carefully place each bottle cap in the glue one by one, and let them sit for at least 24 hours to dry. Once dry, it's time to start the grouting stage. Apply it with a tile grout float, then wet a grouting sponge and make circular motions to ensure it's evenly applied and the caps are clean.
After this stage, wait another 24 hours before pouring the epoxy on top, and then wait for that to set. Before attaching the plywood to the wall, tape off the bottoms of your upper cabinets, as well as the top of your countertops to protect them from excess glue. Apply construction adhesive to the kitchen wall and press the bottle cap-covered slab against it, using heavy objects to hold it in place while it dries.
Other tips for getting started on a bottle cap backsplash wall
The original DIYers created their bottle cap wall design indoors and made a wooden border to contain the epoxy while it dried. Depending on the weather, this may be better than working on the slab outdoors. Epoxy is best poured in conditions with well-controlled temperatures in the 70s and humidity levels below 60%. You'll need a tarp to protect your countertops, cabinets, and floors during this project.
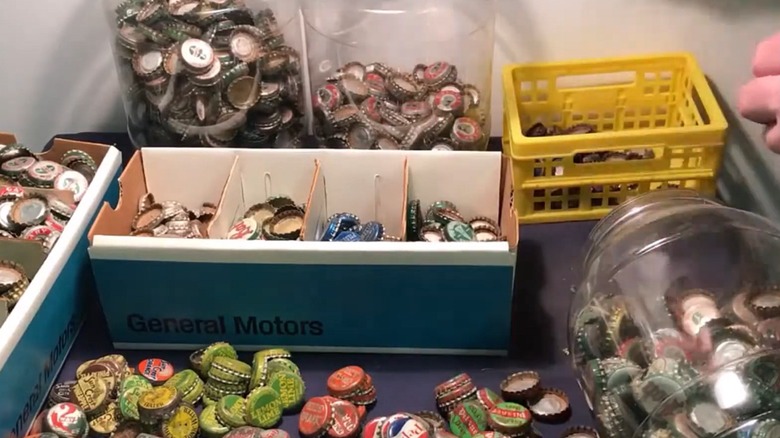
You may also need help gathering the bottle caps. Unless you already have a collection going, it may take years to gather enough on your own. Don't be afraid to get creative. Ask friends, family, and even local bars to start saving their caps for you. You could even ask in online "Buy Nothing" groups on Facebook and find other unique avenues to source them. Crafting caps, such as Bottle Cap Co's Vintage and Vintage Inspired Bottle Caps Mix, can also be bought in bulk. Keep in mind that it's unlikely that you'll guesstimate the exact amount you'll need, so you'll likely have some left over. If this is the case, you can turn the extra old bottle caps into another beautiful DIY statement piece.