

Turn Old Bottle Caps Into A Beautiful Statement Piece For Your Wall
We may receive a commission on purchases made from links.
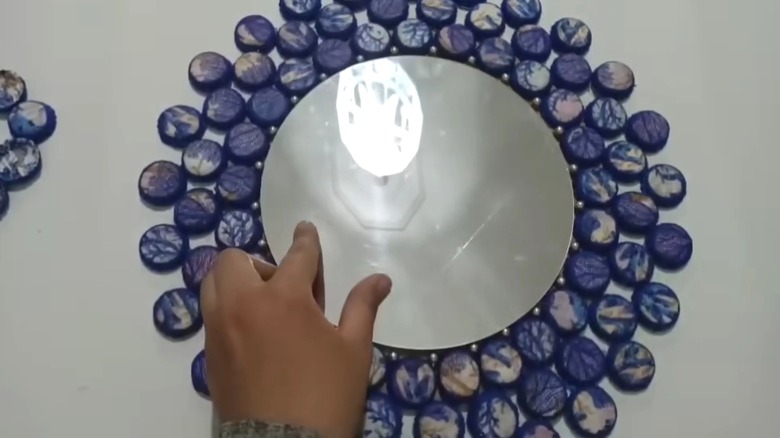
There's nothing like drinking a cold beverage from a glass bottle. But after you pop it open, what do you do with the cap? It's understandable if turning it into wall art isn't the first thing that runs through your mind. It might be, though, after learning how you can create a gorgeous, statement mirror using old bottle caps. YouTuber Mini Atölyem shared the project on her channel as a clever way to repurpose these items that frequently make their way to landfills. The bottle caps end up becoming an eye-catching border, making this mirror decor idea a unique twist on a sunburst or floral design.
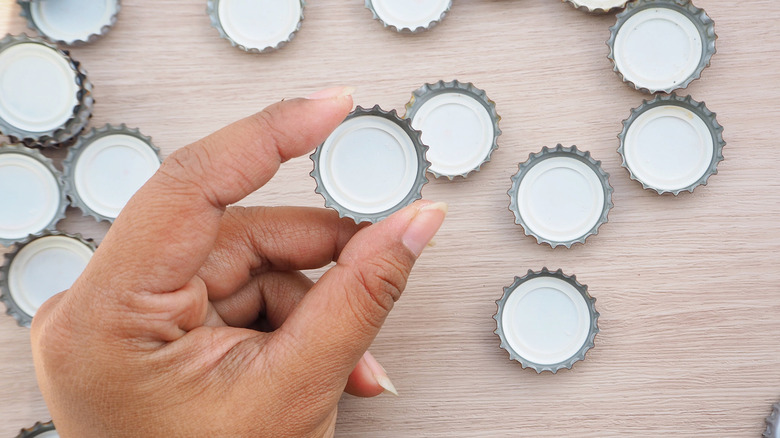
First thing's first, you're going to need an abundance of bottle caps. The DIYer used several dozen, so it might require lots of saving or throwing an outdoor party and collecting them. Next on the supply list are materials for decoupage. This is a method that involves gluing and sealing decorative paper onto items (in this case, the bottle caps). Use a decoupage glue like Mod Podge, as well as patterned napkins, such as these NatNarr Vintage Floral Napkins. Lastly, you'll need a paintbrush, acrylic paint, a large piece of cardboard, a hot glue gun, and a circular mirror. If you don't have one to spare, Dollar Tree sells a 10-inch Round Mirror for $1.50.
A creative bottle cap mirror that'll steal the spotlight on your wall
Start by washing your bottle caps and allowing them to dry. Once they're ready, prepare to do a great deal of decoupage. Peel off the top, patterned layer of a napkin, then cut it into squares that are approximately a couple of inches larger than the bottle caps. Paint glue onto the top surface of a cap and lay a paper square over it. Now, paint a layer of glue onto the paper, sealing it on. Fold the excess paper under the cap and brush glue over it, too. Set it aside, then repeat the process with the remaining caps. Finish them off by painting their sides with acrylic paint.
Next, cut a round piece from the cardboard that's the same size as the mirror. Cut out an additional circle that's a few inches larger in diameter. Glue the smaller cardboard piece on top, and attach the caps onto the bottom circle to surround it. Then, create a second border of caps by gluing them to the first one, attaching them at connecting points. Make a third border to complete the sunburst look, and secure the mirror in the center using the hot glue gun. Add a hanger (like Bilillo Adhesive Plastic Hooks) so you can display your new gorgeous mirror on the wall.
One perk of this DIY is that you can easily customize it by picking decorative napkins that match your style. Want a statement piece to complement your beach-themed living room? These Crtiin Nautical Cocktail Napkins feature adorable sea creatures. Or, Ideal Home Range Butterfly Napkins could help provide a sweet touch to a bedroom. But if you're not a fan of decoupage, simply paint the caps instead. You could also fill in the piece's gaps with beads, pearls, or gemstones.