

If You Have Wire And Rope, You Can Make A Handmade Storage Basket That Looks So Cute
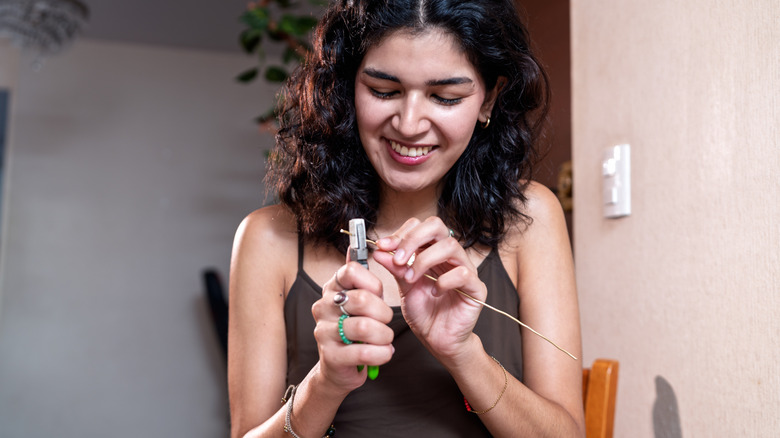
Most people know that decorative baskets work wonders in organizing clutter and stashing odds and ends in plain sight. They're also storage pieces that you don't have to buy: You can easily DIY baskets with rope, thanks to a ton of video tutorials you can find online. But most of these rope-basket projects rely on a sewing machine or the painstaking process of tightly coil-wrapping filler cord as you go to render them structurally sturdy. What if you don't have a sewing machine or the time to coil-wrap all that cord? YouTube creator Craft Box shares a method that uses neither, instead intertwining rope with metal wire ribs to make a basket that's both cute and sturdy.
If you're interested in trying out this method, you'll need some cardboard, burlap fabric, metal wire (around 18 gauge), and rope such as sisal or jute rope, macrame cord, or clothesline cord. You'll also need a glue gun and a tool that can cut metal wire (cable cutters or edge cutting tools work best). The YouTuber embellishes her basket with faux pearl beads and lace trim, but these are completely optional.
Making a basic rope-and-wire basket
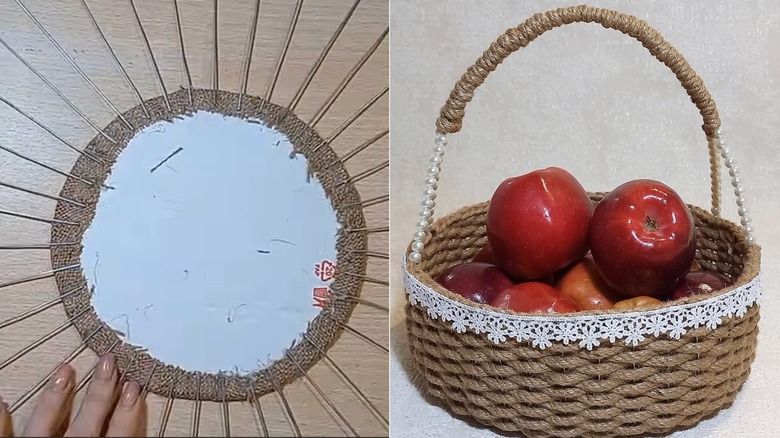
For the base, cut two identical round discs out from the cardboard and two slightly larger (about an inch longer all the way around) fabric pieces. Cover each disc with a fabric piece and wrap the excess fabric over the cardboard edges, before gluing the fabric edges down. Depending on how tight you want the weave to appear, cut an even number of wire strips to form ribs that will determine the basket height. (The YouTuber uses nearly 40 wire pieces.) Evenly space and fan out these ribs along the circumference of one base piece, wrong side facing up, so that it resembles a sunburst, and glue about ½ inch of the ribs' tips onto the disc. Then, align and glue the second base piece on top, wrong side down, to sandwich and conceal the glued tips.
Glue a rope end to the base between any two wire ribs. Pass the rope over then under each rib, alternating like this all the way around the base. When you've reached the start point, reverse this pattern for the second row all the way around. Repeat this pattern reversal for each row, pushing the rope layers closely together so that you don't leave gaping holes in the basket. Complete a few rows before bending the wires upward by hand to form the wall structure with less risk of pulling ribs off the base. Then continue the basketweave. Once you reach the very top of the ribs, cut the rope and hot-glue the end just inside the rope wall. Use your chosen tool to snip off any wire ends that stick out.
Variations on the basket design
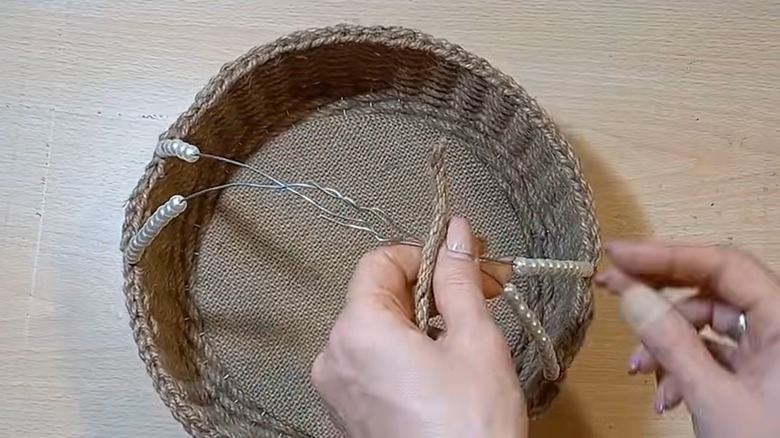
If you want to make the same pair of handles shown in the video, cut four longer pieces of wire and glue them on opposite ends when attaching all the wire ribs. You'll connect the handle wires later. Position each long piece directly over a rib and treat the overlapping wires as a single strip when weaving the rope in. When you reach the top, thread decorative beads onto each handle wire, leaving the last three or so inches of the wires bare. The YouTuber uses white faux pearls, but you could use multicolored beads for a fun spin on the design, or wooden ones to complement the rustic look of the rope. (Note: Depending on wire gauge, you'll need beads with holes ranging from 1.2 to 2 millimeters.) Connect these wire ends by overlapping and twisting them together. Then finish by wrapping the bare wire portions with leftover rope, gluing as needed.
There are plenty of other ways to customize the project to better suit your décor or fit a certain spot in your home. You can create a more cylindrical basket by bending the wires directly up 90 degrees or make it bowl-shaped by bending the wires in increments after completing each rope layer. Make a square basket instead by starting with a square base. Play with the base size and rib lengths to create larger, deeper, or shallower containers. Add decorative trim to the rim of the finished piece. If you want to add pops of color, coil-wrap small sections of the rope with embroidery thread in a contrasting or complementary hue (as seen in these easy DIY rope coasters) before weaving.