

Upcycle Old Wood Pallets Into A Clever DIY Storage Chest For Your Home
Skip the plastic bins and garbage bags for storing all your old clothes, blankets, toys, or craft projects. They may be effective, but they aren't as appealing as a DIY wooden chest or trunk. You don't need to worry about the cost of a well-made, vintage wooden trunk when you can build your own. All you need are some old wood pallets, a saw, a drill, screws, and a set of hinges. You may also want a lock, handle, lid stays, sandpaper or a sander, wood glue, and some paint or stain. Your chest can look as fancy and complex as you like, but don't panic if you're inexperienced. A rectangular chest with a flat lid isn't as complicated as you might think. Plus, you can always make it look nicer after it's done with some simple decoration.
You may be able to make a small or medium storage chest with one wood pallet, but otherwise it's a good idea to have multiple. More wood will allow you to make a larger chest, and it'll allow you to pick the best boards from each one. Wood pallets can get a bit gnarly over time, after all, and even rustic decor has its limits. Don't stress too much over the cost of wood pallets, as you can often find free wood pallets in neighborhood groups or at local businesses. Make sure any pallet you pick up is marked HT, or heat treated. Otherwise, it may have been treated with toxic chemicals that can leach out over time.
Prepping your wood pallets
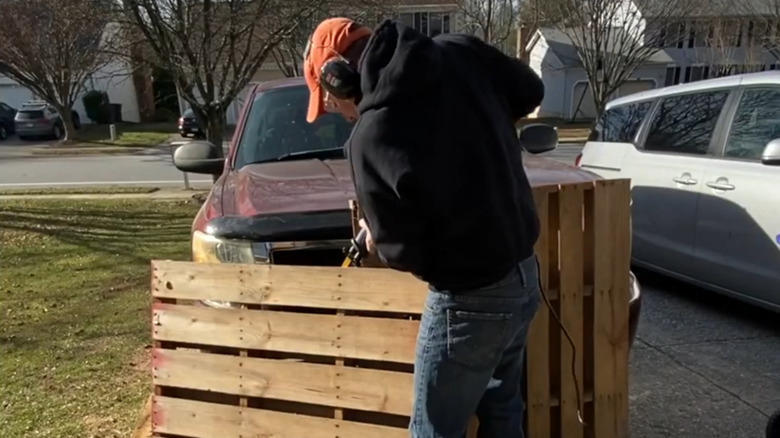
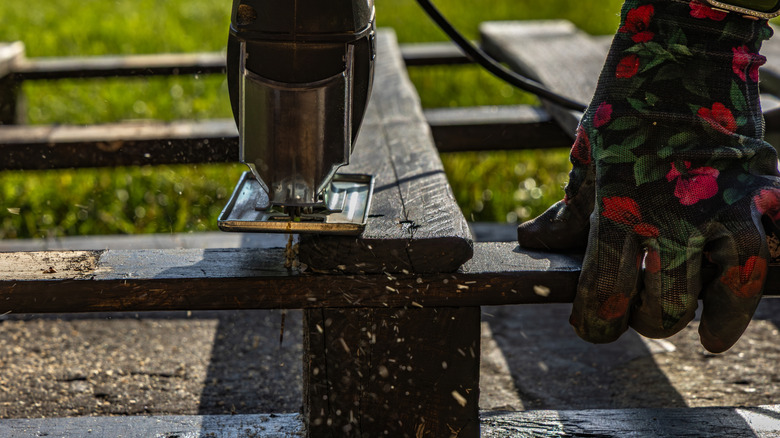
Before you can build with them, you'll need to remove the wood boards from the pallet. You can carefully pry them up with a crowbar or hammer, or use a saw to cut the boards apart. Cutting results in smaller boards, but is generally safer and less likely to crack the wood. Make sure to wear gloves and eye protection while working. Once you have the pallets deconstructed, give them a quick inspection. Most old wood pallets have a natural patina that comes with being outdoors, so don't stress over every discolored spot or chip. It's also possible to cut some boards to a smaller size to get rid of damage or rot. Just avoid any boards that are completely rotten or splintered. If the surface of your wood pallet is a bit moldy but otherwise sturdy, this guide to killing mold and fungus in wood may be helpful.
Consider what size objects you need to store in your chest and sketch a simple diagram of the size and shape your chest will need to be. It doesn't need to be exactly to scale, but it should be roughly the right shape with the measurements clearly labeled. Don't forget about the bottom and lid! Measure your pallet boards as well and cut them down if they're a bit long. It's a good idea to have some extra in case anything goes wrong, so if you have exactly the right amount of wood, you may want to grab an extra pallet or other scrap wood.
Building your storage chest
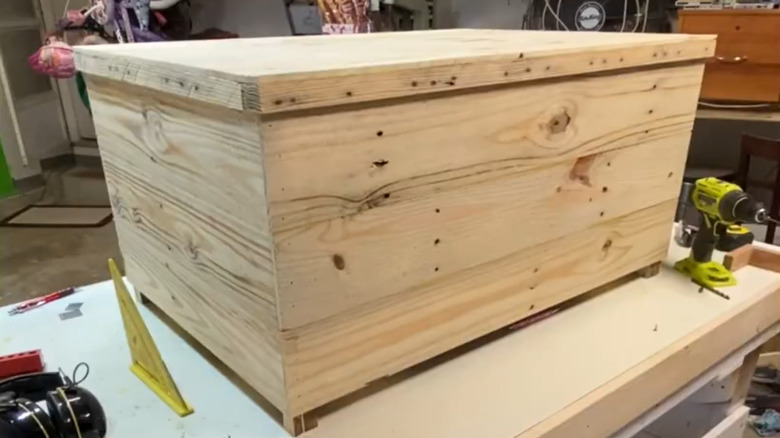
Lay out two narrower pieces that are the length of your chest's height, as well as several flat boards that are the same length as your chest. Lay the boards out horizontally, attaching one narrow piece to each end. The narrow pieces will be the corners, so they should be flush with the far edge of the boards, either on the backs or against the outside edge. Both ways work, but result in different appearances. Repeat this process with a fresh set of boards and long pieces, and you now have two sides of your chest. Repeat it again for the lid, with the long pieces on the backs, further from the edges, leaving a gap at the edges. This allows the lid to sit flat against the top of the chest and leaves room for the hinges.
Make the remaining sides of the storage trunk by taking flat boards and attaching them to the corner pieces. The bottom is made in a similar way, except the boards are attached to the bottom edge of the sides rather than the corner pieces. If you don't plan on decorating the box, pay attention to which side of each board is visible. More weathered pallet pieces will give your storage chest a rustic look. You can add extra boards as decoration or reinforcement as well. Screw the hinges into both the lid and box, then add the rest of your hardware. Finish it off with a coat of paint or stain, and your storage chest is ready to use!