

Turn Scrap Wood Into The Cutest Modern DIY Desk And Shelving Nook
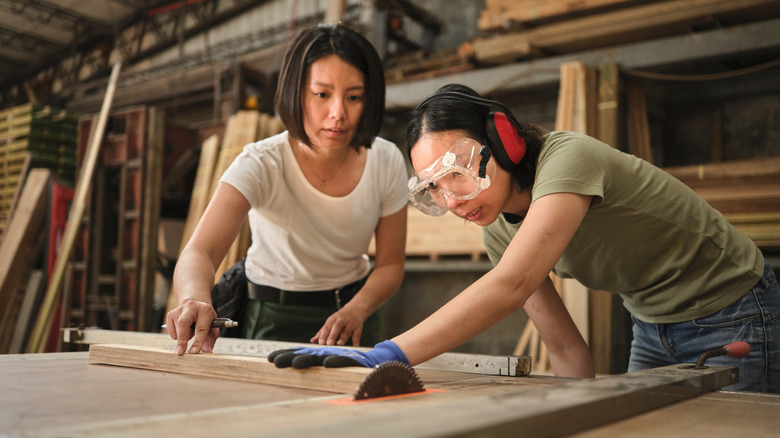
Tired of doing your craft projects or work on the floor but don't have room for a bulky desk? Building your own desk can help you tailor it to your space, needs, and modern style. You don't need a ton of expensive tools and supplies, either. Scrap wood, a drill, screws, wood-cutting tools, brackets, and plenty of patience are all you really need to build a cute ladder desk with attached shelves. You may also want a sander or sandpaper, wood glue, and decorative supplies. Ladder desks are a modern desk style with two long legs that are leaned against the wall. The shelves and desk are secured between them, like the rungs of a ladder. The narrower frame makes this style of desk excellent for small spaces, but you can extend it horizontally to add extra shelves if you have a little more room.
One important thing to note is that since ladder desks typically only have two legs, they need to be secured to the wall to be safe. You can use screws and brackets to attach it, but it may be trickier for renters or for walls that are harder to drill into. A strong adhesive strip may work, but you should proceed with caution. Similarly, you'll want to be careful when picking your scrap wood. Reusing leftover wood from other projects is a great way to keep this project cost-effective and eco-friendly. However, if you're reusing wood that's been outside, you should check it for rot or damage first.
Assembling your ladder desk
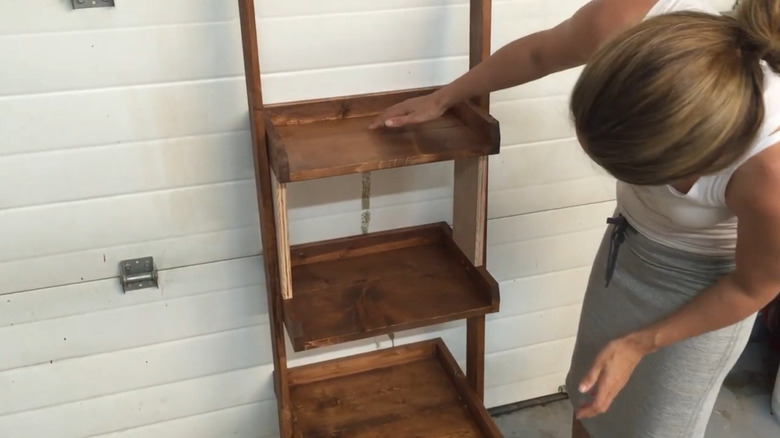
Start by taking measurements of your space. Keep in mind that ladder desks are typically leaned against the wall, which may affect your measurements. Alternatively, you can build it completely straight and add extra boards or brackets to mount it on the wall. Consider what sizes of scrap wood you already have when planning your shelves and desk. For example, if you have a lot of 2x4 boards, you could save time by simply making each shelf a 2x4 and the desk several of them lined up side by side. If you want your desk to be wider than the shelves, you'll need to make two ladder shelves and attach the desk between them.
The assembly of the ladder desk and shelves is actually fairly straightforward. You'll need at least two longer pieces to form the sides of the ladder. You can cut the ends at an angle so that they sit flush with the wall and floor. To ensure that your shelves and desk are flat when the ladder desk is leaning, stand your frame up where and how you want the finished desk. Mark a straight line on each side at the height you want them. Place each shelf and desk on the guidelines. Use wood glue to keep them in place so that you can finish securing them with nails or screws. Once the shelves and desk are secure, lean your new modern desk against the wall and secure it with your screws or adhesive.
Customizing your ladder desk and shelves
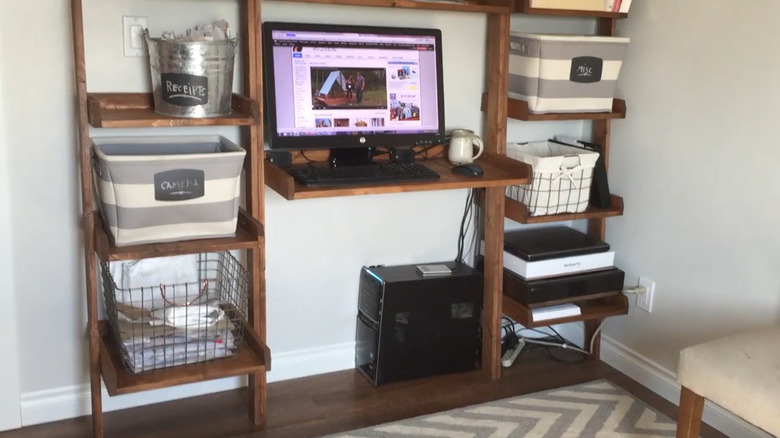
There are a few easy ways to customize your ladder desk and shelves after they're built. You may want to sand the surfaces and edges, or give it a coat of paint or wood stain. This may be particularly helpful if your scrap wood looks particularly scrappy. Sanding down the rough edges and covering discolored spots or mismatched wood with paint can make your new desk look more polished. If you aren't sure what color to pick, these home office paint color ideas are a good place to start for a modern home office desk. You could also leave it plain for a more rustic-looking ladder desk if you prefer. What you place on your shelves will also personalize them, of course. Add some cute desk plants for a natural vibe or craft some upcycled soup can organizers to keep things tidy.
You can also flex your creativity during the actual construction process. If you want your modern ladder desk to be freestanding rather than wall-mounted, use two long pieces on each side instead of one to create legs. Leave one set straight up and angle the other, connecting them with a board at the top to create an A-frame on either side of your desk. The construction of your shelves can also be tweaked. Cut a notch into them so they fit onto the support beams for a more seamless look, or add smaller wood pieces around the edges to give your shelves a raised border.