

Don't Splurge On A Fountain For The Backyard: DIY One Using Old Plant Pots
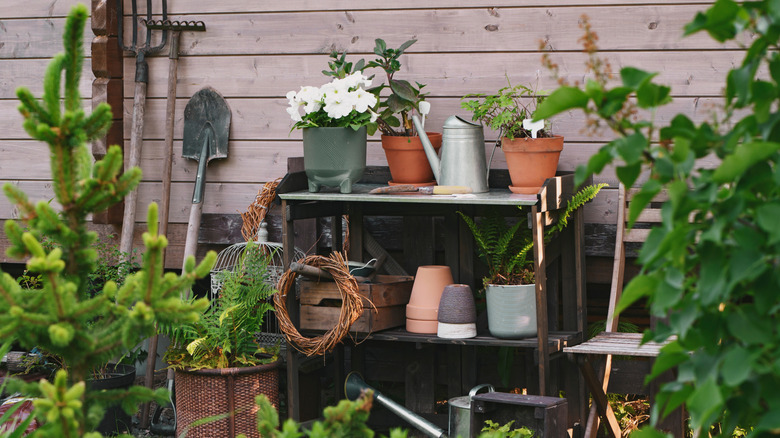
If you want a beautiful, soothing fountain in your backyard, it may seem like you have limited options, like buying a traditional fountain or popping a solar fountain into a bird bath. However, regular fountains are expensive and tricky to install, and there can be downsides to putting a fountain in a birdbath, such as the system getting clogged with feathers. Not to worry — there's a simple and affordable way to make a beautiful fountain out of old plant pots.
Plant pots make excellent fountains for a few reasons. They come in a variety of sizes and shapes, which makes them easy to stack or arrange, and are generally water- and weather-resistant and safe to keep in the garden. Plus, the drainage holes can provide easy access for the tubes required to run the fountain, and the variety of materials and styles that they're available in make it easy to customize your fountain's aesthetic.
For a simple fountain, you can simply nest a few pots together, descending from small to large. But if you're feeling ambitious, there are some fun ways to customize this arrangement by playing with angles. You'll need several pots in varying sizes, a fountain pump, tubing, and a spray nozzle to form the fountain. Caulk and rubber stoppers will also be helpful for making it watertight, and you may want additional decor elements such as rocks, moss, paint, or even a small statue.
Building your planter pot fountain
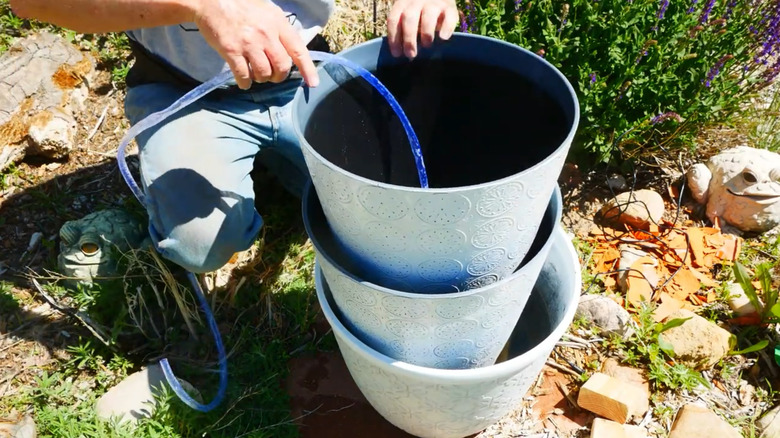
Your largest pot will become the base of the fountain and needs to be watertight to prevent leaks. Fill any cracks and drainage holes with a waterproof seal. A rubber stopper is one of the easier ways to accomplish this, but it can be further reinforced. Use caulk to hold the stopper in place from the inside, let it dry, then apply caulk to the bottom of the pot as well for extra protection. While it's drying, read through the instructions for your fountain pump to make sure you know how it works, and our guide to setting up a water fountain pump for some extra pointers.
Once you've placed the seals and the caulk has cured, do a dry fit to ensure everything fits together. If your base is particularly deep, you may need to add a smaller, upside-down pot for the pump to sit on. The tier above it may wobble if sat directly on the pump, but you can use a plant saucer or a similarly flat, waterproof item with a hole drilled through the center to give it a stable place to sit. Make sure everything aligns properly so the tubing can run from the fountain pump through the drainage holes in the upper tiers. When you're satisfied with how everything fits, disassemble it, add water to the base pot, and reassemble it. Add your spray nozzle to the top, then turn the fountain on to see it in action.
Customizing your DIY fountain
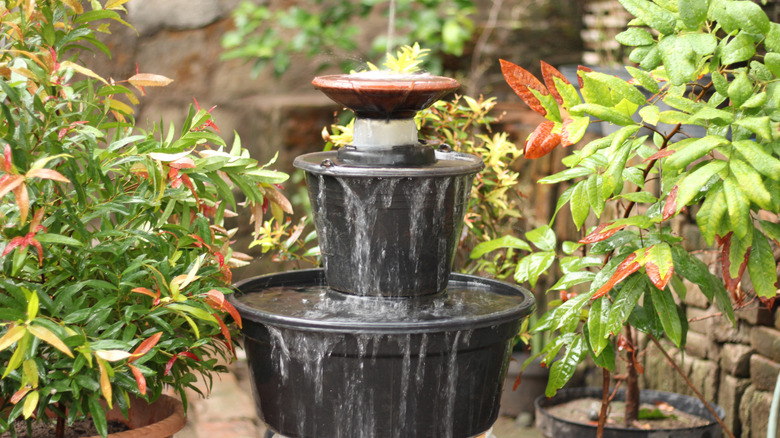
The easiest ways to make this fountain your own don't require changing the structure at all. For instance, you can paint plastic plant pots with a custom design before assembling the fountain. You can also customize with extra decorative elements. Adding stones to the plant pots can help weigh them down and keep the pump tubes from shifting, but you can use any kind of water-safe stone. Choose a mix of earth tones, use different colors in each layer, or even add some aquarium gravel for a vibrant pop of color.
You can also make the fountain more ornate or complex. Use flower pots with decorative rims in between the larger plant pot tiers, angled to show off their ornate patterns. Affixing a small, lightweight statue to the top may also give it a more classic fountain look, although you'll need to be careful not to block the spray nozzle. You could also try angling the pot on top so it pours the water back into the base. Depending on the pot's material, you could even drill a hole to create a spillway, or add a decorative spout. With all of these options, your old planter pots and a little creativity can create a totally one-of-a-kind DIY fountain.