

Cover An Old Bucket With Fabric To Turn It Into A Stylish Ottoman
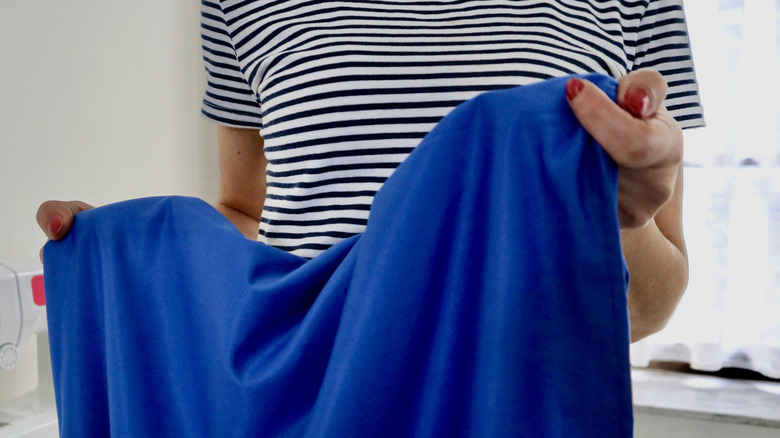
A customized, matching ottoman for your living room could cost more than the rest of the furniture. Make one yourself and flex your creative muscles while closing your wallet. Created to suit your style, this DIY is affordable and, other than allowing for glue dry time, done in a day.
YouTuber Christine Nore demonstrates how she turns an old plastic 5-gallon utility bucket into a rich velvet, fringed, cozy ottoman. Starting with the top of the bucket, she uses a handsaw to cut a thick circle in a sheet of foam and glues the sheet to the lid. Then she uses a thinner foam sheet to cover the sides of the bucket, noting that it should be an inch and a half thick. After gluing and circling, the bucket is now covered in soft foam. The lid is put back on, and the whole bucket is again covered in one-inch-thick foam for extra softness, lid included. Its puffy exterior is covered in blue velvet, and a swishy fringe is added to give it movement. A gold band embellishes a thin strip of foam that was cut away before gluing the velvet, and the result is a jewel-toned ottoman that's perfect even for small spaces, yet fit for a sultan.
This project is more footstool than a sofa or storage ottoman. It isn't intended to hold an adult's sitting weight for a long period of time. Instead, it's made to kick your feet up, relax, and wiggle your toes with a DIY-designed cushion under your feet.
DIY your own bucket ottoman
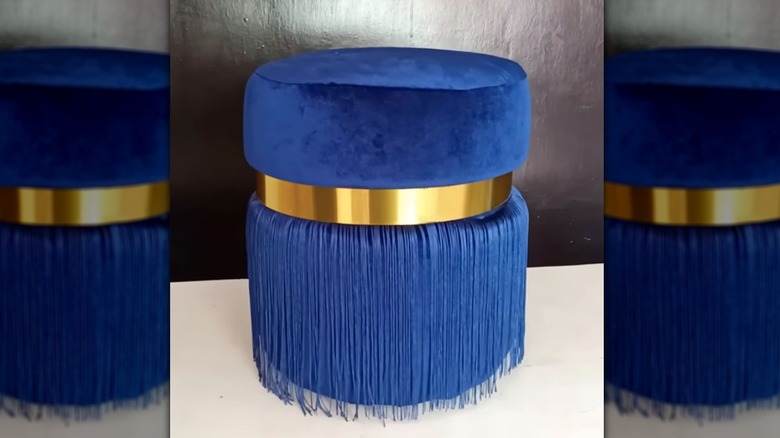
For this project, you'll need a bucket, foam sheets, glue or staples, scissors or a hand knife, fabric, fringe, and other embellishments. It should be noted that this ottoman project does not allow for the lid to open at the top. You may have seen the DIY that creates a storage ottoman out of a bucket and blanket, and it's a great option for a bucket ottoman that incorporates storage. In this project, the layers of foam that give it volume and soft padding prevent it from being opened. That said, it could be altered to open by adjusting the layers of foam. There are no guarantees that it will still be as sleek-looking, though, since there would be a gap for screwing on the lid that would not be covered in fabric.
Any material that can be glued or stapled to foam or fabric can be used to cover your ottoman. If velvet is not your thing, try using rustic rope to circle your foam padding. To prevent gaps in the rope, cover the bucket first with a matching fabric, then glue it onto the fabric rather than the foam. You have your choice of any material that can be glued or stapled to fabric, as it can be used to cover your ottoman. Imitation leather, old quilt patterns, or a soft top sheet that doesn't have a match are all fabrics that would attach well and look unique. Use a stapler, a hot glue gun, or a glue made for upholstery fabric to secure your fabric to the foam. Allow all glue to dry completely before incorporating the finished project into your space and showing off your new custom ottoman.