

Hide Open Bathroom Shelves With One Piece Of Secondhand Wood

We may receive a commission on purchases made from links.
Whoever came up with those narrow, open cubby-style shelving niches in bathrooms was seriously kidding themselves that this vertical setup would actually be practical in real life. Much like the ugly reality of most open kitchen shelving, open bathroom shelves almost never look as pretty in real life as they do in staged photos. Instead of neat woven baskets, healthy plants, and perfectly rolled towels, most hardworking bathroom storage actually contains haphazard stacks of toilet paper, an entire first aid arsenal, and enough hair products to open your own salon. The only solution to hide the chaos? Add a door.
While a custom cabinet door might sound expensive, TikTok user johndolechek shared how he solved the eyesore of open utilitarian bathroom shelving by creating inexpensive door panels from a single piece of reclaimed wood. With a little elbow grease and a moderate level of DIY know-how, the TikToker turned a basic piece of lumber, which appears to be roughly a 1x16 board and about 6-feet long, into four individual cabinet doors with one cohesive appearance and grain pattern.
For this project, you will need to source a piece of lumber large enough for your particular open shelving setup, as well as a pair of soft-close European hinges for each separate door panel. Additionally, grab some stain or paint to match your home's aesthetic, any desired hardware, and some edge banding to match your board's wood species. Once your supplies are in hand, it's time to cover that bathroom open shelving storage mess once and for all with custom DIY wood grain doors.
Measure and install all hinges on the door panel before cutting to ensure grain constancy
You can find secondhand boards to make your door at places such as architectural salvage stores, Habitat for Humanity retail stores, and Facebook Marketplace. You may even have wood left from another project that you can repurpose. The board should be the same size, or slightly larger, than what you need to cover the open shelving. To find the right size board to hide your bathroom's open shelving, begin by measuring the overall length and width of the opening. Keep in mind that lumber's actual dimensions vary from the industry-standard common measurements, so a 1x16 board, for example, is actually 0.75 inches thick by 15.25 inches wide. Just be sure you're keeping these actual measurements in mind so you don't end up shy of covering the gap.
As the TikToker realized in retrospect, it's easier to figure out the installation first before finishing the board so the doors only have to be stained once with the edge banding on. If you plan to paint instead, you can skip the full door install and jump right to marking and cutting the individual door panels.
@johndolechek many questions on how this bathroom will have privacy answered... kind of #diyproject #customdoor #softclose #softclosedoors #diyproject #diy #bathroommakeover #makeover #homemakeover #firsthome #bathroomrenovation #organize #closetshelves #homeorganization #woodworking #diyhome #firsthouse #closetorganization #bathroomorganization #customcloset
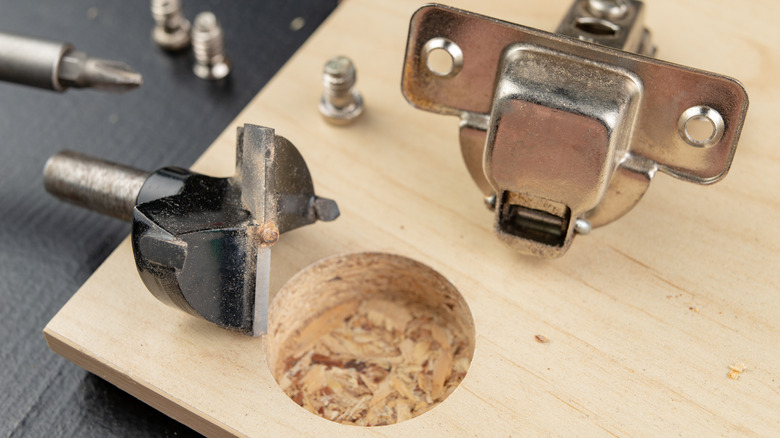
For open shelving with fixed shelf dividers, you can do individual doors for each section, group multiple sections together, or leave the entire thing as one tall door. If you plan to stain the door, it's time to plan the hinges and door panels on the full board. If you plan to make individual doors, one for each shelf, measure carefully before cutting each door panel. This way, you can ensure the woodgrain lines up perfectly when all of the doors are closed. Measure out the locations for a pair of hinges for each section, adding a third hinge for taller doors that need extra support. Mark the hinge locations on the board, and use either a 35mm Forstner drill bit or — the much easier approach — a concealed hinge jig like the Kreg Concealed Hinge Jig for $32.98 on Amazon, to drill the cup holes for the European soft-close hinges to sit in.
Cut the large door into separate panels and rehang
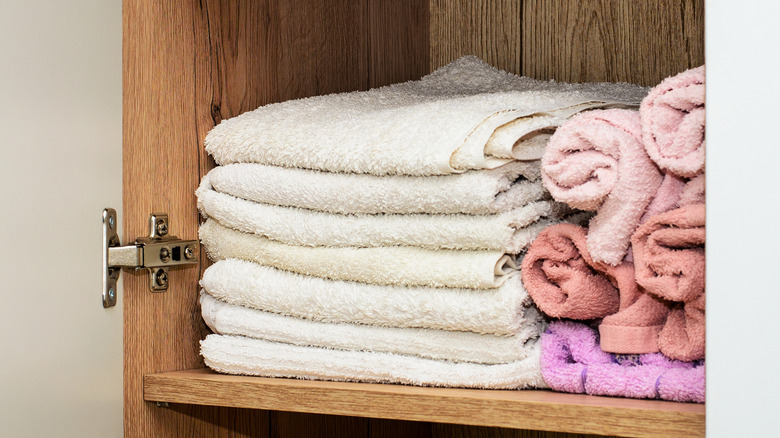
With cup holes drilled, attach all hinges to the board so you can mount the new door as one cohesive panel. Install the door on the inner frame of the open shelving if it has one, or use a stud finder to make sure the hinges are installed on the vertical stud used to frame out the niche for proper support. Once the single tall door is installed over the opening, mark the horizontal lines where you'd like to cut the larger door to make separate door panels. Remove the door and door-side hinges to complete the project.
Using a circular saw or similar, make horizontal cuts as needed for separate door panels. Double check them once cut, making sure you maintain a consistent grain pattern for a polished look. Give the doors a light sanding, then iron on edge banding for all sides, a finishing detail which will transform the board from looking like lumber with cut edges into a refined, smooth-sided cabinet door. Once applied, it's time to finish the door to your style preferences.
You can stain the cabinet doors to showcase the cohesive grain pattern that runs the entire length, bringing an organic warmth to your bathroom. Alternatively, paint your doors the same color and sheen as the trim to look like built-in woodwork. Match the wall color to blend it in seamlessly and create hidden storage. Or choose an accent color to make it a fun statement with a pop of color, perhaps matching the room's tile or other feature. Add optional decorative hardware for a little sparkle and visual interest, a lovely finishing touch to bring the cabinet to life. Then simply rehang the doors, adjust the cabinet hinges if needed for perfect alignment, and enjoy the tidiness of your new closed-door bathroom storage.