

Gardener Transforms An Old Funnel Into An Adorable DIY Windchime You'll Love
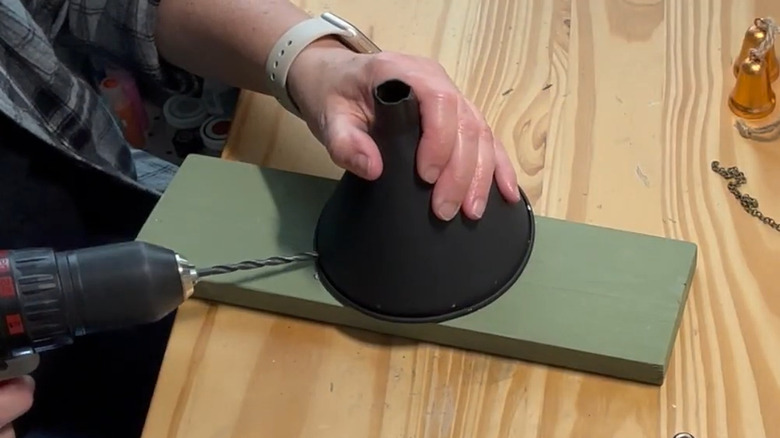
Pouring your heart into your outdoor decor often means getting a little creative. And when it comes to a DIY windchime, you can use something that's literally meant for pouring: an old funnel. That's what the creator behind the Pepper Creek Cottage YouTube channel did. The funnel serves as the top of the tinkling ornament, with strands of noise-making decorations dangling below it.
Why use a funnel? Whether it's a kitchen funnel you use for pouring ingredients or a rusty one in the garage, the tool's shape makes it perfect as the top of a windchime since the narrow end can be easily modified to thread a chain for hanging and the wide end keeps the noisemakers spread out. If you don't have one on hand, a thrift store is a good place to look — they come in a range of sizes, so you can customize how large your DIY is. A metal funnel will work best — it's sturdy, and you can drill into it easily to attach the chains. A plastic one might crack during the process.
The finished result is a beautiful hanging display that adds a sensory experience to your garden. But windchimes can actually be used for more than their sounds. They are thought to enhance Feng Shui, especially if you use metal, wood, or ceramic chimes. While the original creator used beads and bells, you can adapt the dangling strands to fit your style. You can reuse seashells to DIY a stunning windchime, for example. Grab chains, twine, or wire for the chimes, plus any embellishments you want to use, to get started.
Assemble your funnel windchimes
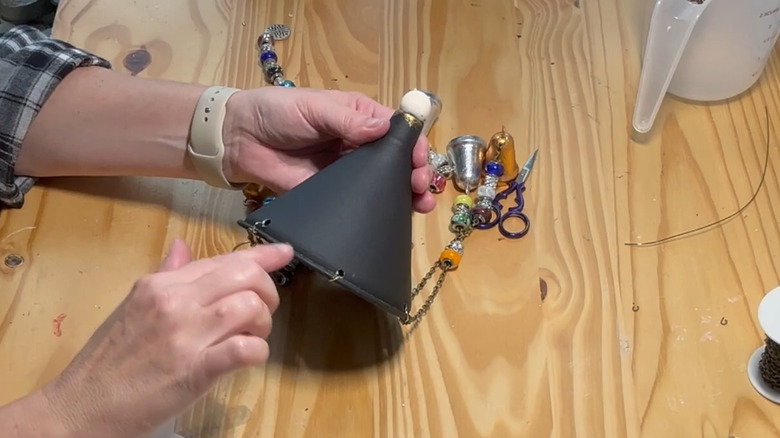
Metal funnels typically have rolled edges to strengthen the wide rim and hide any sharp edges. Drill holes just above that reinforced edge — that's where you'll attach the chimes using wire or chain. The original design features six strands of chimes spaced evenly around the outer edge, but adjust the number to fit the funnel size and the number of strands. The original also features a chain of chimes hanging down in the center. You can also use two or three funnels of different sizes — arrange them with the largest at the top and the smallest at the bottom, with strands of chimes hanging off each one.
Once you've drilled the holes, paint or refinish the funnel if you'd like. Applying a sealer once you're done with the design helps it hold up to weather elements longer. At this point, you can also attach other embellishments to the outside of the funnel's body. If you're going with a seaside theme, consider adding seashells or beach glass to the metal, for example. To finish it, glue a large bead to the tip of the narrow part of the funnel, with the hole through the top and bottom. This lets you thread a chain or wire through it for easier hanging.
For the chimes, attach small metal bells to the bottom of each strand. Add beads or other embellishments along the wire or chain. Other items you can use include metal washers, pebbles, keys, metal spoons, bamboo pieces, and any other objects that make interesting sounds when they sway in the wind. Attach the strands to the upside-down funnel through the holes you drilled, and hang it up. If you like this project but want a different look or sound, you can also DIY clay wind chimes.