

Gardener Uses An Extra Fence Board To Build A Home For Backyard Bees
We may receive a commission on purchases made from links.
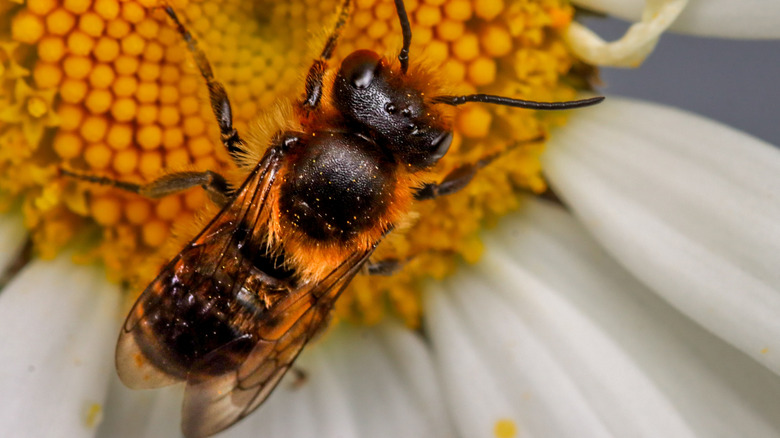
A backyard full of blooms is lovely to look at, but the little visitors working their way from flower to flower deserve some credit, too. They're a big reason why your garden looks as good as it does. If you want to fill your garden with pollinators, giving bees (especially mason bees) a welcoming place to thrive means thinking beyond what you plant. Along with food, they need places to nest and protect themselves from the elements. Think of it as a nice way to say thank you to our buzzy friends for all their hard work.
You can try to attract solitary mason bees to your yard with a DIY bee house without building anything expensive or extravagant — an extra fence board could be enough to get started. In a tutorial from Nature Yardlife on YouTube, a single cedar board becomes a small, roofed house filled with nesting tubes for mason bees. These solitary bees use existing cavities to raise their young rather than sharing a honeybee-style hive, and the tubes offer a substitute for the hollow stems and other small spaces they would naturally seek out.
The supplies list is relatively simple. You'll need an untreated cedar fence board, a tape measure, pencil, saw, sandpaper, and either screws and a drill or a brad nailer with suitable fasteners. You'll also need mounting hardware and removable nesting tubes designed for mason bees, with optional paper liners. The charming finished design includes an overhanging roof and a small interior shelf and looks perfect nestled among the flowers.
How to build a fence-board mason bee house
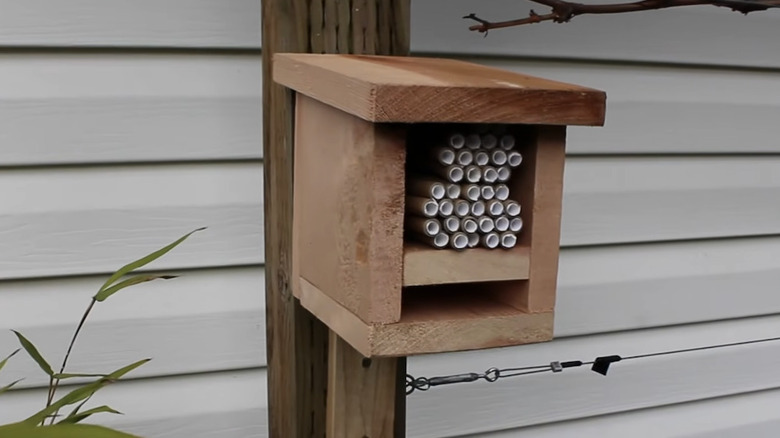
Before cutting, choose your nesting tubes first so you can make the housing deep enough to shelter them. The size of your bee house will all come down to how large the fence post is, so plan out your cuts carefully first. Clamp the cedar board down and mark your cuts. Cut matching side panels with one side slightly higher than the other so the roof can be angled toward the front. Cut the remaining pieces for the back and bottom, making the roof large enough to overhang the sides and entrance, and sand away splinters or rough edges.
Assemble the sides and back with brad nails or screws. Attach the floor, with the option to add a divider between the sides, which will leave a small compartment underneath. The gardener in the video reserves that optional lower compartment for cocoons, but that's up to you if you want to add that in. Secure the roof and add a scrap-wood mounting strip to the back so you can install it on a tree or post. The upper compartment is where you can insert the mason-bee nesting tubes.
The DIYer recommends mounting the bee home firmly beneath cover and facing the house east, so it receives morning sunlight — something that helps the bees become active after a cool night and get going on their daily flower visits. Use removable tubes so you can maintain them seasonally, as reusing nesting materials without proper cleaning or replacement can lead to parasites and diseases building up. If you don't have it already, pair the finished house with bee-friendly plants and landscaping so your new neighbors have flowers to visit as well as somewhere to nest.