

Man Turns Old Wood Pallets Into A Space-Saving Piece Of Furniture With An Impressive DIY
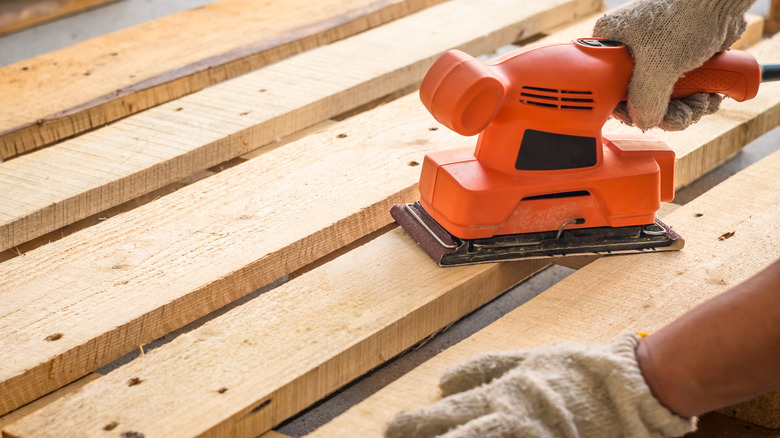
Old wooden pallets might look like trash to some, but for thrifty DIYers, they're a reliable source of materials. In order to be usable, they usually need some love — but once you remove the nails, sand them down, and run them through a wood planer, they'll often be as good as new. Plus, there are lots of places where you can find free pallets for DIY projects, so using them instead of the wood sold at your local home improvement store could be a great way to save money. In short, you can build all sorts of impressive furniture with such a material. There's a detailed video from BK Woodworking on YouTube, in which he builds a neat folding table from pallet wood, which proves that this is the case. The table attaches directly to his wall beneath a window, and when it's not unfolded, it makes for a nice ledge to put decor pieces on.
The first part of BK Woodworking's video shows him restoring and trimming down his pallet wood until he's left with eight one-by-two boards. These form the base of the table and are linked together by perpendicular support cleats underneath. To replicate this project, you'd also need a one-by-eight board for the ledge, and some sturdy hinges for attaching the table to it. There's also a central folding support with two more hinges that holds the table up, made from additional one-by-twos and a few one-by-fours. This project also requires a brad nailer, wood screws, and wood filler. The table's simple appearance will allow it to blend in with most of the major interior design styles.
Building a folding table with pallet wood
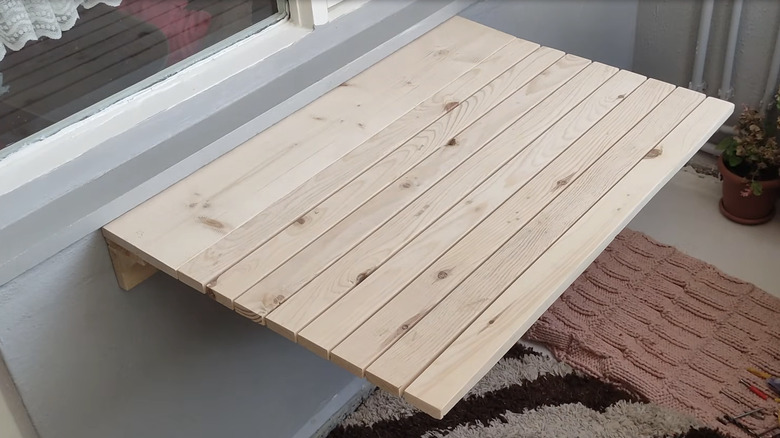
Once your pallet wood is trimmed down into a neat-looking set of one-by-two boards, you can begin the table assembly process. The goal is to space out eight of these boards evenly, with small gaps between each piece, so that they're only joined together by perpendicular cleats on the underside of the table. You can use wooden shims or a couple of standard-size rulers as spacers. Attach the cleats, also made from one-by-twos, to the tabletop boards with a brad nailer, followed by wood screws. Then, use metal hinges to attach your one-by-eight ledge piece to the bottom of your table.
Next, cut two one-by-fours to the length of the table, with a groove in the middle of one of them that fits a perpendicularly attached one-by-two. The one-by-fours can be cornered together at the back of the table, on the underside, so that they form a shelf that holds the table's main ledge piece up. A downward-running one-by-two that extends from the one-by-four with the groove in it is the base from which the table's primary support will extend. Build this primary support in a triangle formation, with hinges that allow it to fold inward, underneath the large ledge board. Finally, fill and re-sand the tabletop to ensure it has a smooth finish.
Make sure to attach this type of table directly to your wall studs, or it won't hold much weight. A laser level could also be handy for evenly affixing the table to the wall. Have wood to spare? You can use old wood pallets to hide your outdoor trash cans, too.