

Stop Tossing Toilet Paper Rolls: There's A Unique Way To Use Them To Decorate For Fall
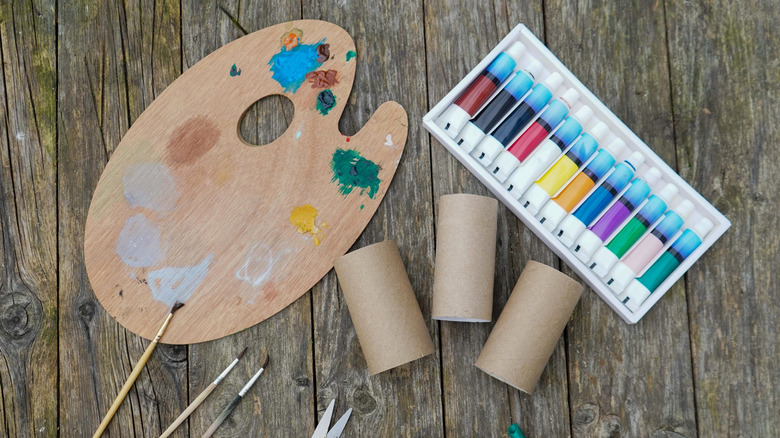
If you think that cardboard toilet paper rolls are too boring to make cute decor, think again. Those little tubes actually make excellent crafting supplies. You can reuse toilet paper rolls for DIY organizers, seed starters, and a variety of other things, but if you're trying to get into the fall spirit then there's a quick and easy craft you should try. These seemingly plain rolls can be used to make a pumpkin garland that's cute and pairs well with other fall decor ideas. All you need are the toilet paper rolls, scissors, glue, paint, and string to hang them from. You could also use other types of cardboard or stiff paper, as well as other decorative supplies, as alternatives.
Each toilet paper roll will form one small pumpkin, so you can easily adapt this craft based on how many rolls you have. If you have quite a number, make one extra long garland or several smaller ones. However, if you only have a couple rolls, you can just as easily make a tiny garland or place the individual pumpkins on shelves or tables. The cardboard that toilet paper rolls are made of is already rounded and fairly flexible. By cutting and bending it carefully, you can take them from a cylinder to a bumpy, almost spherical shape like a pumpkin. Decorating them to look like pumpkins only requires a layer of orange paint and potentially some brown or green paint or paper for the stem, but there's no limit to the ways you can decorate them.
Assembling your mini pumpkin garland
Start by cutting your toilet paper roll horizontally, so that you have a pile of roughly identical rings. You can press the roll flat to make it easier to cut. If your rolls are damaged or torn, you can also cut them into vertical strips, then fold each strip into a ring. Alternatively, you can take each strip and glue one side into each end of a toilet paper roll. This method can be used to create larger pumpkins out of cardboard boxes or decorative paper as well.
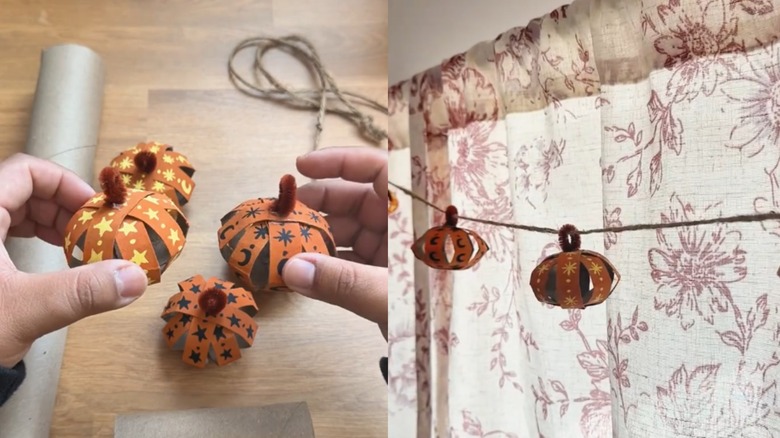
You only need to decorate the outside of each ring, but you can paint the insides of the rings as well. Add painted patterns to the rings now, but leave anything extra for the end. It will be much easier to attach a flower or fake spider once the pumpkin is assembled. Once they're dry, slide one ring into another, so that they form an X. Continue adding rings to form a starburst with the edges evenly spaced. Use a dot of glue to hold each ring in place, then gently bend the starburst so that the rings pop up, forming a sphere. You can glue another piece of cardboard, twisted paper, or pipe cleaners on top as a stem. Use the stems to form a loop for the string to go through or run the string through the pumpkins themselves. You can hang your garland up wherever you like, or combine it with fairy lights and a leaf garland to make an ethereal fall garland window covering DIY.