

If You Have An Old Egg Carton And Mug, You Have The Start Of The Cutest DIY Decor
If you like leading a sustainable lifestyle, you might already be using your empty egg cartons instead of getting rid of them. And why wouldn't you? They're practically free and incredibly versatile. Not only do egg cartons make for a smart addition to your flowerpots and planters, but they also double as an organizer for small items (think nails, screwdrivers, craft supplies, makeup, and toys). You can also repurpose them into beautiful, unique decor. For instance, YouTuber evrimtaşeryılmaz cuts a few cones from one of her cartons and sticks them in an old mug to create a whimsical mushroom village.
This way, you also get to reuse the old coffee mugs in your home you're not yet ready to part with. And while reusing just one carton or mug won't have much of an impact on your household's waste generation, it'll encourage you to look at the destined-for-trash-items more closely and find new ways to consciously repurpose them. Plus, this isn't a demanding project and chances are you'll find most of the required supplies in your home. Besides the carton and mug, you'll need some sticks (forage them from your local park), faux grass (leftovers from previous projects or artificial moss work), artificial flowers, a little foam from your Amazon packages, some acrylic paint, a brush, and your hot glue as well as heat gun. Also, keep a sharp pair of scissors or your craft knife handy. It's best if you use a paper or cardboard egg carton for this DIY since they're simpler to paint and respond well to adhesive. Styrofoam ones are fine, too, if you substitute hot glue with another adhesive. But steer clear of plastic ones since their slick surface doesn't respond well to paint.
How to craft a whimsical mushroom village using an old egg carton and mug
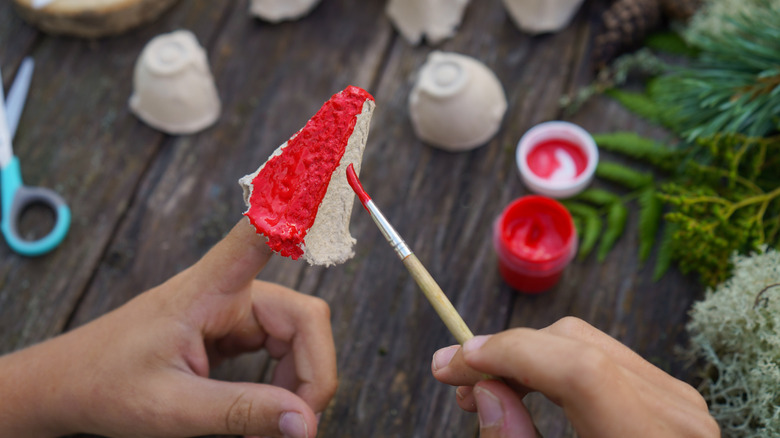
First off, give your old mug a soapy water bath. Then, wipe your egg carton with a damp microfiber cloth and cut out the cones (the raised parts). This will serve as your mushroom's caps. Paint them in a base color of your liking and scatter small spots across their surface in a complementary shade. You can do this with a fine-bristled paint brush or dip a Q-tip in paint to speed things up. You can even use an acrylic paint pen, such as Artistro's Water-based Paint Marker. Alternatively, use glow in the dark paint for the dots to let your mushrooms stand out once the sun goes down. Once they're all done, set them aside to air dry.
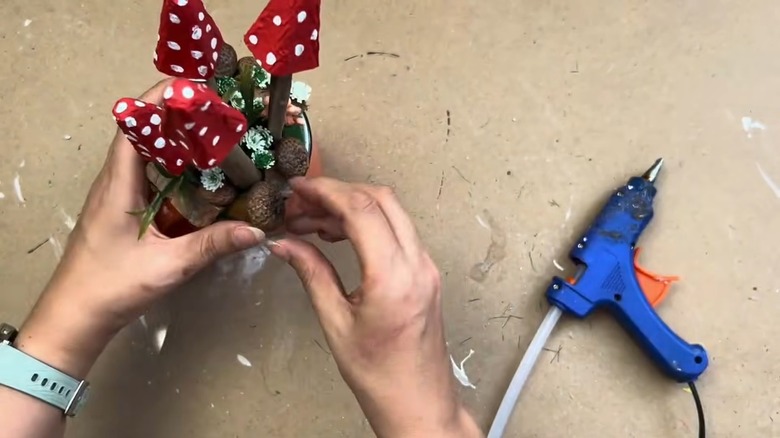
After, glue them atop your sticks to give the caps long stems. A folded strip of leftover cardboard, old corks, or your empty toilet paper roll work, too. Now, stuff some cardboard in the prepped mug and paint it to hide its origins. Once it dries, make small holes with a heat gun and start inserting your mushroom's stems, sealing them in place with a dollop of hot glue. Seems like too much work? Replace regular foam with the floral variant to make things easier. Your basic structure is ready.
It's now up to you how you want to decorate it. The creator covered the bald spots beneath the mushroom's stems with artificial grass and added some woodland elements, such as small pieces of driftwood, acorns, and tiny flowers, to prettify her village. Feel free to follow in her footsteps or sprinkle in different elements, like miniature human or animal figurines, trees, or rocks, to give your whimsical decor a unique spin.