

Woman Turns An Old Bookcase Into An Elegant Coffee Table With Lift-Top Storage
We may receive a commission on purchases made from links.
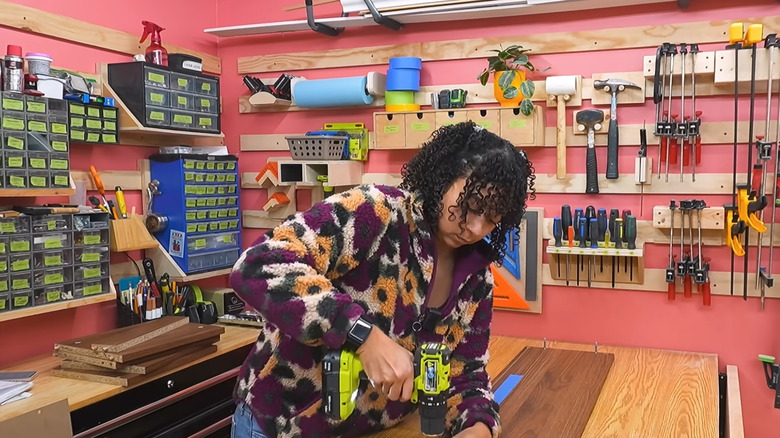
Do you need a place to stash all the clutter in your living room? A lift-top coffee table is basically the storage equivalent of a junk drawer, providing a perfect landing zone for items you want on display and stuff you want to keep out of sight. While you can buy lift-top coffee tables from stores like West End and Wayfair, they often cost hundreds of dollars. That might be worth the investment if you're not terribly handy, but one crafty woman figured out a budget-friendly way to upcycle an old bookcase into a DIY coffee table with plenty of hidden storage. Rochelle Gracey of @TheSorryGirls used her formidable woodworking skills to convert a BILLY bookcase into a box before attaching shelves to create a sturdy base, lifting the table with wooden spindle legs, and fashioning a lift-top lid using a TISDORP door and two metal hinges.
While there are dozens of simple IKEA hacks hiding in plain sight, completing this DIY project requires creativity, patience, and several supplies. Expect to spend around $100 at IKEA by the time you purchase the necessary bookcase, cabinet door, and a few extra shelves. You'll also need four wooden spindle furniture legs which will cost between $20 to $25 depending on your preferred height. The lift-top hinge is the most important element you'll purchase. The cost varies widely depending on whether you want to install a pair of hinges, which you can purchase for under $20, or a one-piece system like the ECLV Hydraulic Furniture Mechanism from Amazon. At $80, it will add significantly to your overall budget for this DIY, but because both sides lift at the same time the experience of opening and closing your new coffee table will be much smoother.
How to construct the base of your DIY coffee table
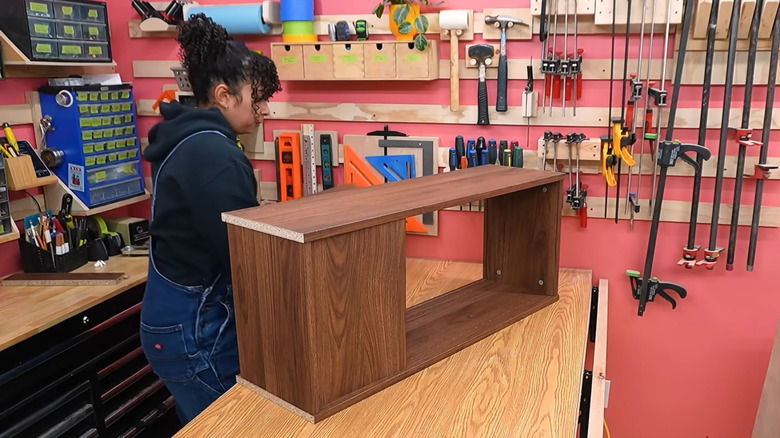
Whether you purchase a new BILLY or manage to find an old bookcase at the thrift store or on Facebook marketplace, assembling the sides and top is the first step. Skip installing the shelves or back panel altogether. Instead, use a little painters tape to mark exactly where the bookcase sides and footplate need to be cut down in order to create a perfectly rectangular box. Taking your time with this prep step before picking up your circular saw will help you avoid chipping the veneer on your bookcase and is one of the easy ways to make your IKEA hacks look super professional.
The next step is repurposing the BILLY shelves to create a solid base for your lift-top coffee table. To do that, you'll attach them to the frame of the bookcase and to each other using pocket screws. Learning how to drill pocket holes is a slightly more advanced woodworking technique that will pay off thanks to the secure hold it will create for your coffee table base.
Although it's an optional step, you can then install the back panel of your BILLY inside its intended groove to cover the shelf seams and pocket screw holes. You will need to cut it to size, which you can also do with your circular saw and another piece of painter's tape. While a little adhesive would hold the panel into place, the cut edge will still show. To disguise it, cut a piece of leftover shelf into a nub that's just high enough to meet the other edges of your newly assembled box. Apply a thin bead of wood glue to the bottom before pressing it into place.
Adding a lift-top turns this coffee table into an elegant storage solution
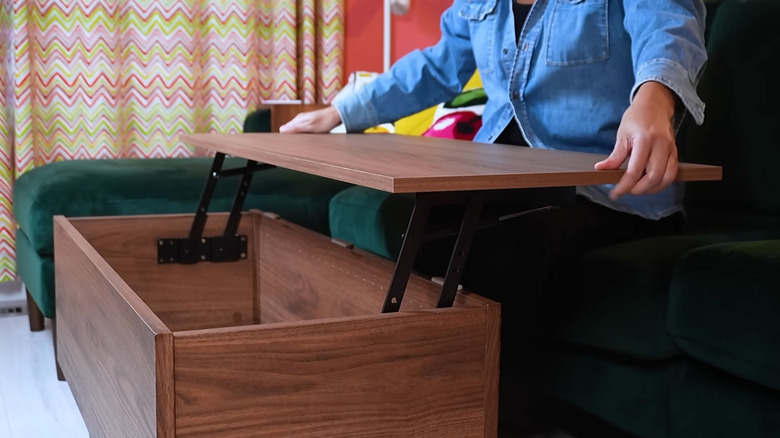
While some interior designers and members of the minimalism fan club may argue that there's simply no need for coffee tables anymore, those of us constantly fighting living room clutter know better. That's what makes the final step in this DIY so satisfying. You could turn the basic box upside-down and use it for displaying flowers or fancy books. But adding a lift-top creates a smooth surface that hides the chaos inside.
Adding the lift-top is surprisingly easy. The IKEA TISDORP cabinet fronts are available in a walnut finish that coordinates extremely well with the BILLY bookcase veneer, and the 12x40 inch size creates just the right amount of overhang as a tabletop. The exact placement of your hydraulic hinge mechanism depends on the size and style you choose. Start with your TISDORP sitting directly on the BILLY base in the closed position. Situate and mark your hinges on either side with a pencil before drilling pilot holes and installing the bottom bracket to the bookshelf. Then, attach the top brackets to the cabinet front itself.
It's understandable if you reach this point of the project and find yourself ready to start using your elegant new coffee table to hide books and blankets. But there's one final step that will elevate the look (figuratively and literally.) While it's optional, consider adding a wooden spindle to each corner of your coffee table base. Any size, shape, or style will work, but for the most elegant vibe use a wood stain that matches the table, followed by a clear finishing coat.