

Forget Skim Coating: An Easier Way To Smooth Walls Before Painting Or Wallpapering
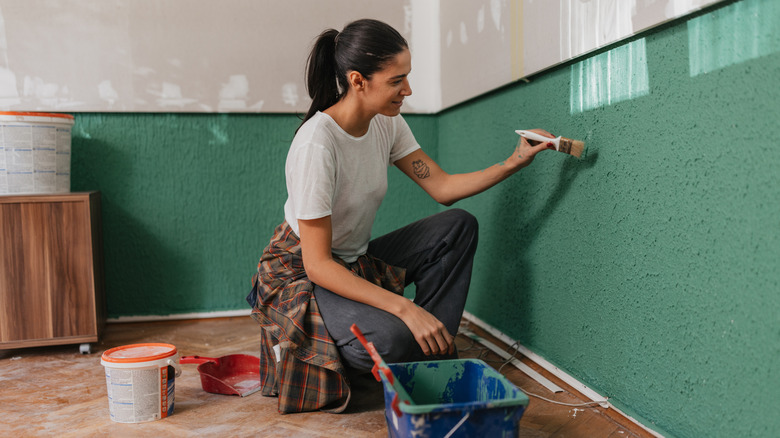
If you've ever painted a room in your home or applied wallpaper, you probably already know that wall prep is a step that you simply can't skip. Whether you're staring at a collection of nail holes from years of family photos or just noticing decades of imperfections, you'll want to smooth them out before you get started for the best finished product. One of the most common methods is skim coating. It involves applying a layer of wet joint compound, letting it dry, and spending hours sanding it smooth. it works, but it can be messy and labor-intensive. An easier option is wall liner.
Wall liner is a heavy-duty, blank wallpaper of sorts designed to fill in gaps, cover textures, and hide blemishes. it serves as a base layer under traditional wallpaper, but can be used when painting or applying other wall surfaces. It's definitely the easiest way to smooth out all those defects. Applying wall liner provides a smooth work surface without increasing the thickness of your wall, unlike when using primer or hardboard.
Unlike skim coating, wall liner doesn't use messy drywall mud, and you don't have to wear a sanding mask. If you've ever applied wall patching compounds and plaster, you know there's a learning curve. Wall liner eliminates much of that, cutting down your prep time, which is ideal for those looking for the fastest way to paint a room. In the end, you're left with perfectly smooth walls with a lot less effort.
Special considerations when applying wall liner
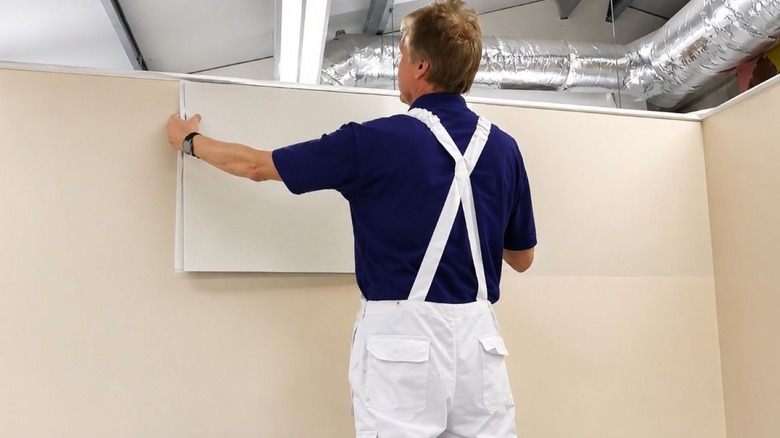
Wall liner — also called wallpaper liner — helps when you need to prep walls for painting, wallpaper, wainscoting, or trim work, but there are still a few things to do before installation. First, consider the type of walls you'll be applying it to. Different surfaces require slightly different prep work for the adhesive to stick. If you have heavily textured surfaces, like stucco, you'll need to sand the surface, or skim coating may in fact be the solution. Wall liner hides some imperfections, but big dips in the surface can cause bubbles and puckering.
Wall liner also needs a porous surface. If your walls currently have glossy paint, scuff the walls or use a quality primer. Sand any peeling or damaged paint smooth. For outdated wood paneled walls, check the grooves. If they are more than a quarter inch deep, you'll have to fill them with a quick swipe of spackle or caulk (and sand smooth) before hanging the paper, so it doesn't dimple into the gaps.
Finally, regardless of the type of walls you have, make sure the surface is clean and dry before you start. If you're working in the kitchen, any grease or soapy residue in the bathroom prevents the adhesive from sticking (some liners have built-in adhesive activated by soaking in water). Wiping down your walls to remove dust, then cleaning them with a gentle cleanser or a mixture of mild soap and water takes time, but prevents problems down the road.