What's The Fastest Way To Paint A Room? Start With These Pro Tips
A fresh coat of paint is one of the best ways to give your home a quick refresh. In fact, you can give your living room a makeover within a weekend. However, if you'll be listing your property soon or want to make a new video for your Airbnb rental, you might not have a whole weekend to spare just for painting your walls. Now, if you're really short on time, you can hire a professional to get the job done. But, keep in mind that you'll have to shell out nearly $20 to $50 on labor alone. Since that might not be possible, we got in touch with Paula Murray, owner of CertaPro Painters of Pittsburgh, to understand the fastest way to paint a room.
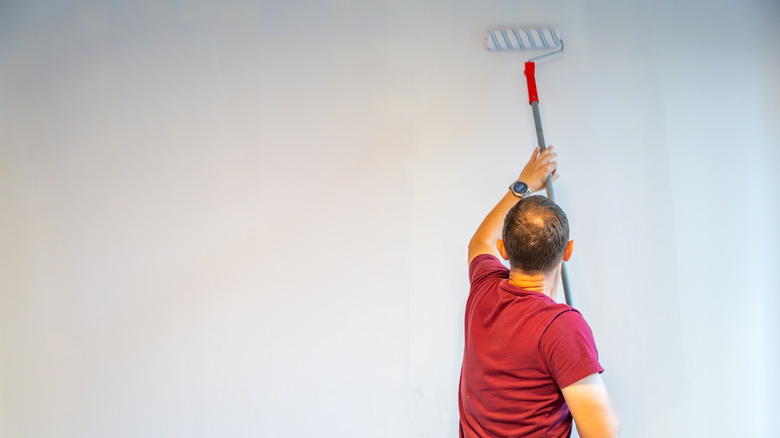
She advises in her Hunker exclusive, "Start by cutting in ceilings, corners, and trim with an angled brush. It is important to keep a wet edge, so you will want to work on cutting in one wall/area at a time, so that this paint does not dry before you start rolling the walls." But don't roll the walls willy-nilly; slowly move from one section to the next. Then, our expert says, "Work in 3-foot sections. Always start in the middle of a wall not toward the edges which can cause paint to build up at the edges." And if you're covering the ceiling, start there prior to coating the trim and frames. For an even finish, she recommends painting the walls in a W pattern and filling in the gaps later on. When asked how long it takes to paint a room, she estimates, "As an approximation, on average, a painter can cover 150 sq. feet/ hour."
Preparation steps you should take before painting a room
Paula Murray opines that it's vital to prepare a room before you start painting it. This is especially important if you're in a time crunch. Explaining the reason behind this, she emphasizes in her exclusive sit-down with Hunker, "80% of a successful painting job comes from preparation and planning. This includes cleaning, patching and sanding, priming, and protecting all surfaces not being painted. The remaining 20% is actually putting the paint on the walls!" So, you don't want to take cleaning or taping the walls lightly.
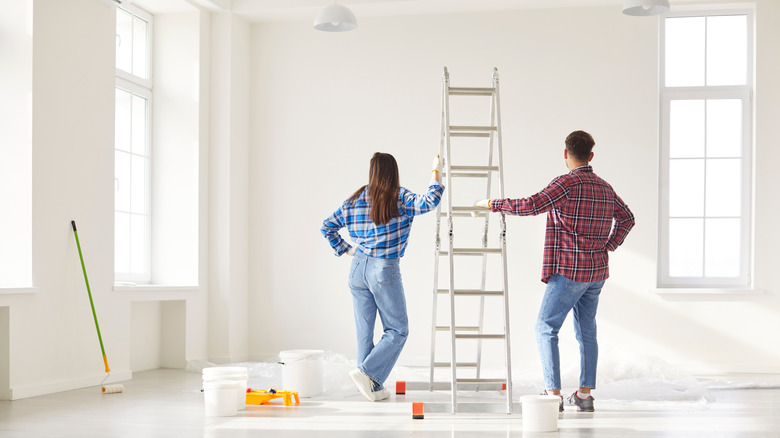
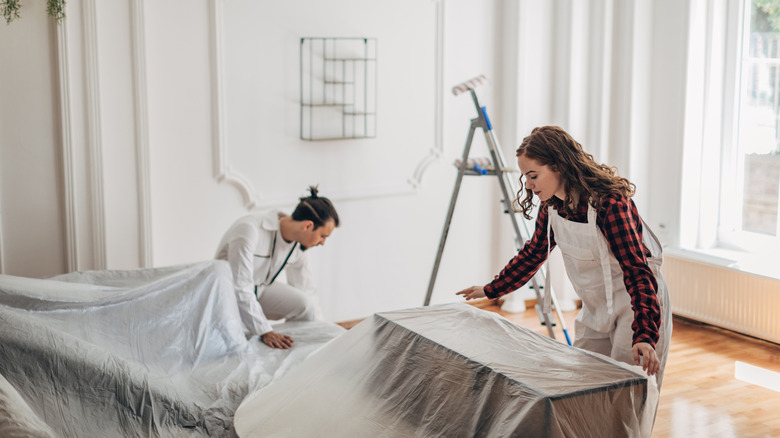
But prior to prepping them, you should ensure there's ample room for your ladder, mixing trays, and cans of paint, allowing you to navigate smoothly. Our expert elaborates, "Make the space easy and safe to navigate by removing as much furniture as possible. What can't be removed, move to the center of the room and completely cover with a clean drop cloth." In case there are electrical outlets on a wall, turn off the current supply to the room, carefully take off a switchboard's cover plates, and cover the exposed area with painter's tape. Also, take steps to protect your fans and other wall or ceiling appliances.
When that's done, Murray lists the next steps you should take. "Perform all surface repairs and wall preparation including removing dirt/dust/grease, filling nail holes, nail pops, and cracks, and then sanding all repaired or glossy areas," she says. And while fixing the imperfections in your walls, our expert recommends, "Be sure to follow dry directions on [a] product to ensure that paint will adhere to the prepped areas." Finally, set aside enough dry time between coats when painting a room.
Paint types and tools to speed up the painting process
Though you can't cut corners when prepping your walls, certain paint types and tools can help speed up the actual painting part. Paula Murray reveals in her exclusive chat with Hunker, "We recommend using water-based acrylic for painting walls and ceilings and an acrylic-urethane enamel for trim and doors." And to speed up drying, you should raise the temperature on your thermostat. You might also need to plug in a dehumidifier. "The colder and more humid the space, the longer it will take for the paint to dry," reasons our expert.
She also tells us the names of a few tools you can use for a smoother and faster finish. "Use an 18 inch roller instead of a 9 inch. This really speeds up the process, but it is heavier so [it might] not [be] for everyone," she says, adding, "For cutting in, use a 2 ½- 3 inch stiff, angled brush." Also, invest in a microfiber or mohair roller for creamy and dreamy walls, she suggests. For ceilings or high areas, she recommends, "Add an extension pole to your roller. This speeds up the painting because you will not have to keep moving the ladder." Further, replace your regular sandpaper with a sanding "block," our expert says. And if you're undertaking a large room, keep a 5-gallon paint bucket handy so you won't have to run to the store repeatedly. Another tip is to wrap your wet rollers in a plastic wrap or grocery bag if you want to take a quick break while painting, concludes Murray.