

Leave Asphalt Walkways Behind: A Tougher, More Attractive Alternative
We may receive a commission on purchases made from links.
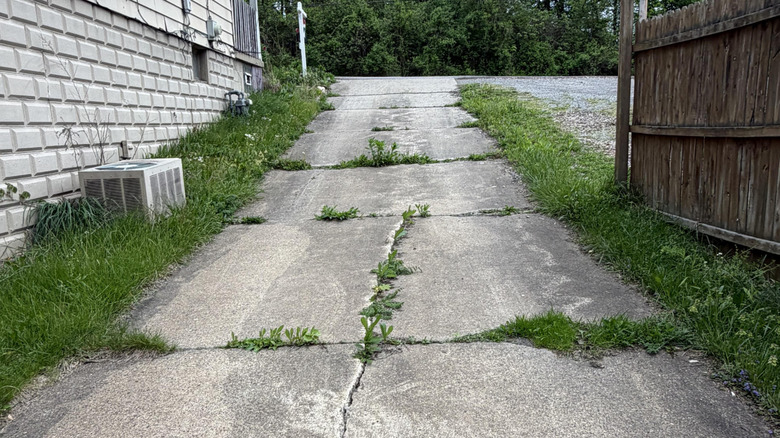
Asphalt is one of the cheapest yet most durable materials you can choose to pave a walkway. However, this style of walkway isn't particularly aesthetically pleasing, and it gets very hot during the day. Fortunately, there's an alternative to asphalt that's one of the best options for garden paths: interlocking concrete pavers. Interlocking concrete pavers are an alternative to asphalt that are a no-brainer due to their durability and style.
For one, interlocking concrete stones are tougher than they seem. With proper maintenance, concrete pavers last for several decades, while asphalt may only last up to 10 years in extreme temperature environments. They are incredibly durable, even under heavy loads and high traffic, due to their interlocking nature. Since many separate pieces are connected together, they can flex beneath heavy objects. This reduces the risk of cracking. If a few pavers are damaged, you can replace a portion of the walkway rather than having to repour the entire design.
In addition to being a tougher alternative to asphalt walkways, interlocking concrete pavers are undeniably more attractive. There are various styles to choose from that come in different colors and textures. You can pick anything from a polished, glossy look to rustic, natural-looking stone. This makes them befitting of all kinds of landscapes and home designs, from cozy bungalows to sleek, modern estates.
Tips for installing stylish interlocking paver walkways
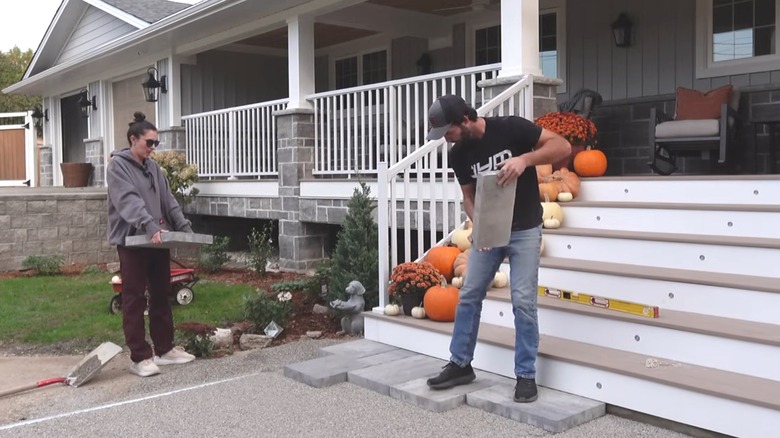
Installing a professional looking interlocking paver walkway requires many of the same steps as building any brick or stone paver garden path. Start by digging out the space you intend to turn into a walkway about 8 inches deep. Fill this space about 6 to 7 inches up with crushed gravel, such as Kolor Scape's Step 1 Tan/Brown Paver Base. Make sure you calculate how much gravel you'll need beforehand. Conveniently, the Lowe's website has a calculator on its gravel product pages.
When pouring the gravel base, make sure you compact it properly by only laying it 2 to 4 inches deep at a time. Mist each layer with a light spray of water, and run a compactor over them to ensure the small rock pieces are tightly packed in place. The next step is to screed the base, or level it out with a screen bar. This is the prime time to ensure your gravel base is sloped slightly away from your home to prevent flooding and help with water drainage. The next recommendation is to add an inch or two of graded aggregate to set the pavers in, such as Sika's HPB High Performance Bedding.
Lay the pavers piece-by-piece, starting at one corner and working your way down the intended walkway. It may help to lay edging or a temporary border, to ensure you're laying the pavers in a straight line that's parallel or perpendicular to your home or other outdoor features. Once they're laid out, run a vibrating plate compactor, which you can rent from Home Depot. This machine works over the stones to help lock them in place. The final step is to spread masonry sand over the interlocked pavers, filling the space between each interlocked concrete brick.