

No More Pricey Privacy Screens: There's A Smarter Way To DIY One
We may receive a commission on purchases made from links.
Having privacy on your property should be a right, not a luxury. Don't let pricey privacy screens keep you from making a backyard feel cozy and private. Even with a limited budget, there's a smarter way to DIY a customized screen without breaking the bank. TikToker thetexasjess designed an unbeatable privacy screen using shade cloth and plywood boards. She simply pinned a shade cloth between wood boards to create a large outdoor partition that provides solitude, shade, and decorative appeal.
This simple design meshes well with most landscape designs, as both the shade cloth and wood have a neutral look that complements other features. Wood is especially easy to incorporate into outdoor areas, and it effortlessly adds warmth to a space. You can install a privacy screen to shield a small area or most of your space. Whether your concern is being seen by nosy neighbors or passing cars, it'll do the job.
This creative privacy screen idea will beautify your outdoor space on any budget. Pick up single shade nets from Amazon for under $15 each, such as the Qlofei Shade Cloth, and wood boards for about the same price per piece. Just be aware of fence code requirements before taking the plunge. Even if your city allows privacy fences and screens, your HOA may not allow them or require advance approval.
How to assemble an affordable privacy screen from wood and shade cloth
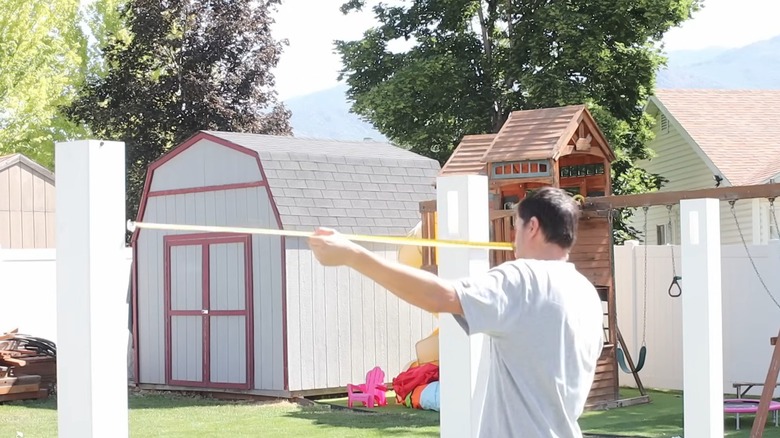
Once you're sure privacy screens are approved, you're home free. Plan the setup before beginning, so you know how much shade cloth and how many fence posts you'll need. This way, you can also clear out any obstructions from the building area before starting your project. The general rule of thumb for placing fence posts is to keep them about six to eight feet apart, so you'll want a shade cloth that measures at least this width, and with a few extra inches. Local restrictions and your privacy screen height preferences will affect the wood height. For maximum stability, install each post about ⅓ of its height into the ground.
Don't forget to treat the wood for outdoor use if it hasn't been pretreated. Sand and wipe down the wood, then apply an outdoor-resistant stain or sealant, such as Thompson's WaterSeal Clear Flat Transparent Water-based Exterior Waterproofer. Apply multiple coats, allowing each coat to dry before moving on to the next step.
@thetexasjess_ #creatorsearchinsights Privacy screens are an affordable way to give yourself that much need Privacy around your space. Not only do they provide Privacy , they also help as a wind break! #patioprivacyscreen #privacyscreen #patiomakeover #patioseason
Once the posts are dry and installed, you can hang the shade cloth. Although some shade cloth comes with grommet holes, you can skip them and use a simpler way to hang it. The original DIYer used a staple gun. Have someone hold the cloth in place as you staple it to the wood. Pull the material taut but not too tight so there are no unsightly waves and wrinkles, and place a staple about every 12 inches. This method makes it fast and easy to hang up the shade cloth.