

Don't Waste Pruned Branches: Turn Them Into A Charming DIY Wreath With A Thrifted Bowl
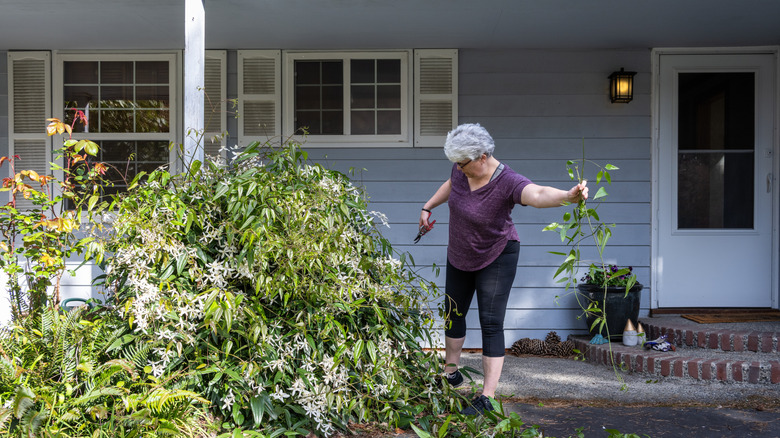
Snip, snip, snip! It's a familiar sound in the heart of pruning season when you're shaping up your shrubs and trimming your trees. Pruning trees, shrubs, and flowers often helps them grow better and stay healthier. In some cases, you'll end up with quite a few branches and vines after tackling those maintenance tasks. Of course, you can toss those trimmings into your compost pile or send them off with your yard recycling items, but some of those branches make the perfect free materials for DIY wreaths. That's exactly what TikTok creator Mrs. Clare Hoops does with her leftover clematis branches.
This DIY won't work for all types of branches, though. Thick, rigid branches won't make the cut. Clematis trimmings work well, but you can use any thin woody stems or branches that are firm yet flexible — they need to bend easily into the round wreath shape without snapping. Evergreen branches are a classic option for wreaths, especially around the holidays. You can also use flowering stems and branches in the spring to create a living wreath — forsythia, plum, crabapple, pussywillows, and redbud are a few examples.
You can shape a wreath yourself, but using a shallow, relatively flat bowl or pan gives you a framework to help keep keep the branches contained. You could use one you already own or get a thrifted option, instead. You'll need some snippers to trim off excess foliage or shorten the branches to fit within the wreath. Snippers are one of the tools you'll dig for harvesting in the garden anyway. To hold the branches in the wreath shape, you'll need twine or wire.
DIY a vine or branch wreath with a bowl
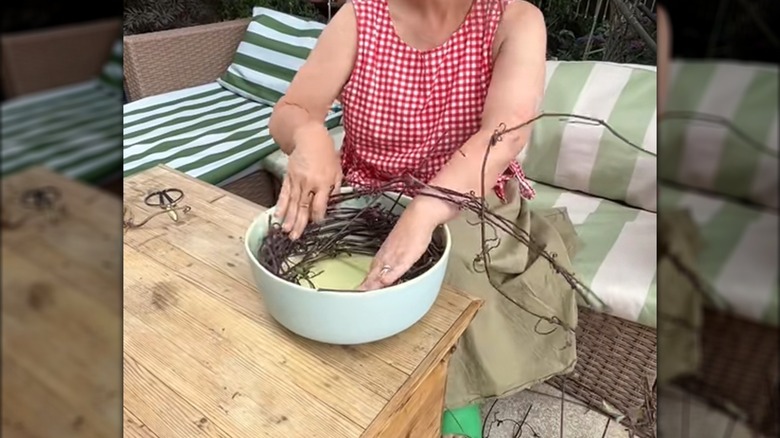
Begin by cutting off leaves and any stray twigs to expose just the branches. Next, starting with the end of one flexible branch, start wrapping it in a circle inside the bowl. You want the wreath material to wrap around the inside edges of the bowl. Continue wrapping the branch around the bowl. Pick up more and add them as you go to get the thickness that you want — how full you make the wreath depends on personal preference.
@mrsclarehoops One of the best things about pruning clematis? Free wreath bases. 🌿 The vines take forever to rot down in the compost, so instead I twist them into wreaths ready for the seasons ahead. One less thing wasted, and one more project waiting to happen. 💚 #GardenDIY #GardenCrafts #Clematis #WreathMaking #GrowCreateInspire
Once you're happy with the wreath, cut several pieces of twine or wire. With the wreath still in the bowl, slide a length of wire or twine around the wreath in one spot and tie or twist it tightly. Repeat that process at a few other points around the wreath then bring it out of the bowl to check the security of the twine or wire you used and the fullness of the wreath. Adjust the branches if necessary to improve the look.
The round container you use determines the diameter of the wreath, so choose it wisely. You can easily adapt this wreath simply by adjusting the size. Or, look for an oval-shaped container in the thrift store to use as your mold if you want to create a unique look. Mixing together different types of branches infuses more texture and variation in the finished project. Add a wire or twine hanger at the back and hang the wreath, or use it as the base for a more decorative option or for a DIY minimalist wreath.