

Don't Have Aerators? Here's A DIY Tool For Your Lawn
We may receive a commission on purchases made from links.
If your lawn is looking unhealthy, the problem may be that the soil is overly compacted and restricting plant growth. The fix is to punch holes in the soil to aerate it, and while you could find any number of simple spiked solutions, lawn experts prefer core aerators for the best results. For those who like to tinker in the workshop, YouTube channel Broni Lawn Care Tips describes how you can DIY a manual one using ½-inch threaded steel pipe and fittings, giving you a sturdy all-metal tool with no welding needed.
The finished aerator is basically a long-handled, three-tine fork. Push the fork into the ground to make holes, and soil plugs eject through cutouts in the tines. You'll need four different lengths of ½-inch steel pipe (threaded at both ends) and assorted fittings to connect them. Two short pipes make handles that connect to a long main shaft. At the bottom, smaller connections branch off to make the tines. It's crucial to form points on the ends of the tines and cutouts on their shafts to help them enter the soil more easily and make your job more efficient when it's time to aerate your lawn. An angle grinder can make these cuts. Since sparks will fly, you'll need to follow some DIYer safety basics, like wearing gloves and eye protection.
While this homemade tool may or may not work better than one you can buy from a store for about $25, it will definitely work just as well. And it may even last longer. Given the cost of ½-inch steel pipe (around $3 to $4 per foot) and fittings (running roughly $2 to $7 per piece), you won't save any money, but creative satisfaction is often priceless.
A sturdy, effective DIY manual aerator
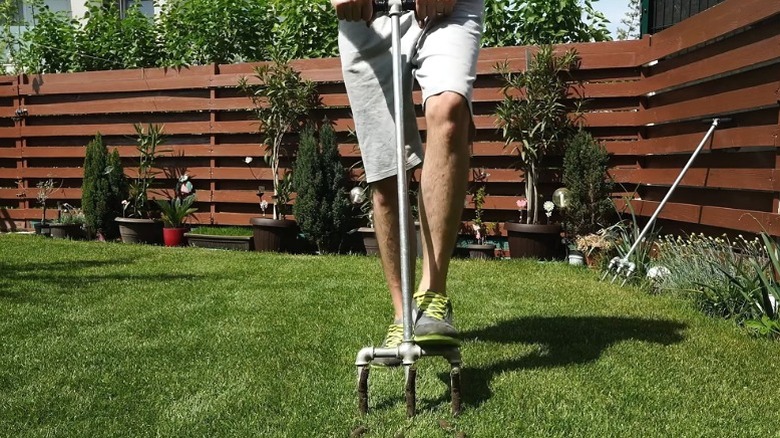
The DIY that Broni Lawn Care Tips demonstrates produces a durable, effective tool, but it calls for some precision cutting on the tines. Working one at a time, put each tine in a vise, and use an angle grinder fitted with a steel-cutting blade to trim one end into a point. Save the cutoff. Then, cut the tine lengthwise to make an opening that runs between the threaded ends. After deburring the rough-cut edges with a file and polishing the inside of the pipe with a drill and wire brush attachment, you can stuff the cutoff piece into the top end of the opening to close it off. The final step, if desired, is to mold epoxy putty over the cutoff to facilitate ejection of the soil plugs.
The rest of the procedure is to simply screw the pipes together. Use thread lock, such as Loctite 270, to make the connections permanent, as the video recommends, but don't use any when connecting the tines. That way, if a tine breaks, you can replace it. The creator also recommends wrapping the T-handle with thick tape, such as electrical tape or heat-shrink tubing, for a better grip.
This DIY offers several customization opportunities, including the tine length and spacing. Use pipe lengths that will penetrate about 2 to 3 inches into the soil, and space them according to your aeration needs. If you don't have the best soil for growing grass and are dealing with dense compaction, the tines should be tightly spaced, about 2 to 3 inches apart. Less compacted earth can handle wider spacing. You may even be able to make a two-tined aerator and eliminate the middle piece to save some time and effort if you're working with looser soil.