

Skip Paint: A Clever, Bolder Way To Update Old Oak Cabinets

We may receive a commission on purchases made from links.
With its hearty, open grain, oak is a good choice for kitchen cabinets, but it's also a pretty common one. If you would like a little more depth and visual interest in your kitchen decor, here's a bold way to update your oak cabinets that comes from the artists and craftspeople of the Orient. Stain them with India ink.
TikTok user piglet788z used this technique to refresh some stools made of plywood, and the results turned out to be amazing. She used Speedball Super Black, which is basically a mixture of carbon soot in shellac, and a single coat turned the wood monochromatically black with no visible streaks, blemishes, or other defects. The ink, being pure pigment, like a dye, soaked deeply into the wood, but it left the grain pattern visible, to her approval.
This isn't a simple upgrade like darkening or lightening oak cabinets with gel stain. The ink has to soak into bare wood, so if you want to try this on your finished cabinets, you'll have to strip and sand them first. Freshly sanded wood soaks up stain more efficiently than wood that has been sitting around for a while exposed to the atmosphere.
How to finish oak cabinets with India ink
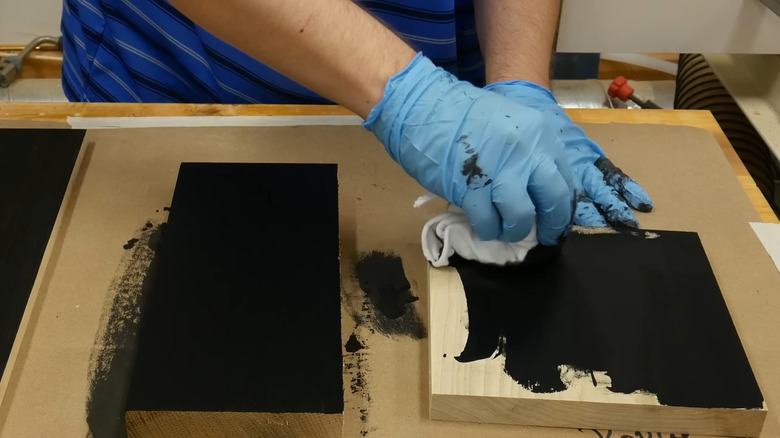
Stripping paint and stain from wood is a big, messy job. It's a lot easier if you first take everything that you can remove — all the doors and drawers — outside to a well-ventilated area protected with canvas drop cloths, and work on them there. That leaves only the cabinet frame to be done in place. If you use an eco-friendly stripper with a soy or citrus base, you'll have less exposure to toxic fumes than if you use ones that contain methylene chloride, but the job will take longer.
After stripping comes sanding with an orbital sander, and because oak has a hard surface, you may need to start with an aggressive grit like 100 and move on to 120- and 150-grit to make the wood progressively smoother. To get the best results, go to the extra trouble of finishing up by hand-sanding with 400-grit sandpaper.
Spreading the ink is the fun part. You can use a bristle brush, or you can do as piglet788z did and apply it with a foam brush. The ink soaks in quickly, and because it has a shellac base, it's waterproof as soon as it dries. Unlike piglet788z, you may prefer two coats for added depth of color. After the final coat dries overnight, a surface finish of linseed oil or varnish will protect the now jet-black wood from the greases and oils that fly around the kitchen.