Forget Paint And Stain: A Cuter Way To Update Shaker Cabinets
We may receive a commission on purchases made from links.
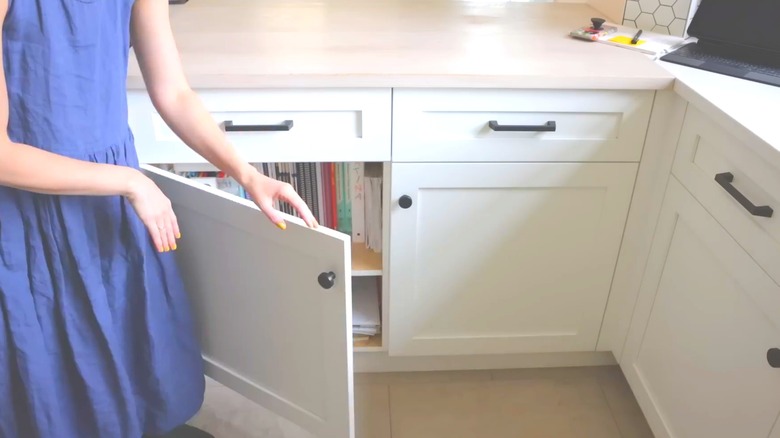
Shaker cabinets have a timeless design that's been used in home cabinetry designs for centuries. The best part about this classic style is that it's easy to revamp shaker cabinets with simple upgrades. Most people opt to paint or stain them for a new look. Instead of taking these usual routes, consider a more unique remodeling approach. There's a cuter way to update Shaker cabinets by installing a DIY bobbin trim around the recessed edges.
The TikToker kate.spiers shared how they gave their traditional cabinets this adorable upgrade that adds texture instead of just changing the color. The DIY trim creates visual depth, giving cabinets far more character. A smaller string of bobbin pearls has an understated look, while larger beads are more bold. In either case, they bring a vintage yet whimsical touch to a space that's also on par with current interior design trends.
This cabinet renovation idea is almost too good to be true. In addition to its impactful effect on your design, it's an easy and budget-friendly project. All you need is wood glue and a cutting tool to cut the bobbin molding strips. Unlike other cabinet upgrades, you don't have to invest in a pricey custom design or professional installation. Instead, simply buy the premade molding on Amazon, as there are many packs of 12 or more molding strips for under $20. In fact, there are even stunning molding designs that don't require any tools due to being peel-and-stick.
How to update Shaker cabinets with a cute bobbin trim
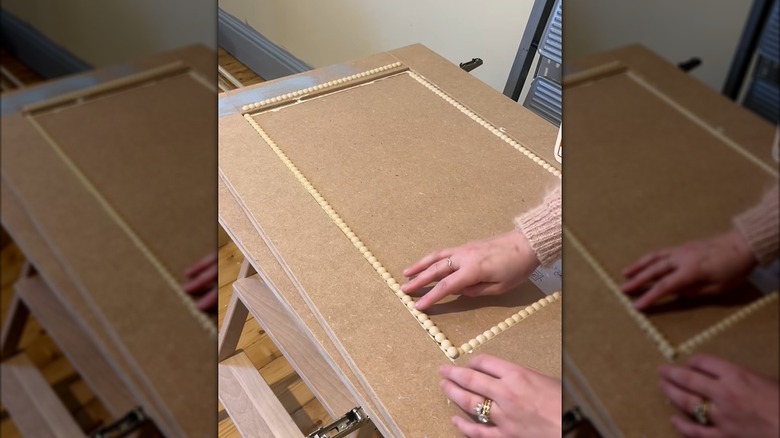
When updating your Shaker cabinets, you can disassemble your cabinet doors or directly install the molding on a still-attached cabinet. It's easier to do precise work if you detach the cabinets and work on a flat surface; however, it adds extra steps and physical labor to the project. In any case, you'll need to measure the Shaker-style panels to determine how long the bobbin molding should be.
Cut the bobbin molding to the same dimensions as the Shaker panel edges using snips, scissors, or a miter saw. Make 45-degree cuts for the inner panel corners so they fit together in a professional fashion, and be sure to sand them down if there are any jagged edges. Press each line of trim into the cabinets, securing them in place with a wood glue, such as Gorilla Ultimate Waterproof Wood Glue.
@kate.spiers The cutest bobbin DIY for shaker doors! @DecWOOD Mouldings #nurserytour #roommakeover #bobbin #shakerdoors
The trim should take at least 15 minutes to set, but can take longer if using an alternative wood glue brand. Keep in mind that the original TikToker painted the trim to match their cabinetry, which gave their results a more attractive finish. If you want your cabinets and new wood trim to match, you'll also need to prime and paint them. Paint the molding before gluing it on the cabinets, so it's easier to paint in the small crevices between the beads. However, if you'd rather avoid painting altogether, you can also purchase a finished trim, such as the white Leinuosen Flexible Molding Trim, which is peel-and-stick.