Ditch The Racks: The IKEA Hack That Makes Shoe Storage Look Built-In
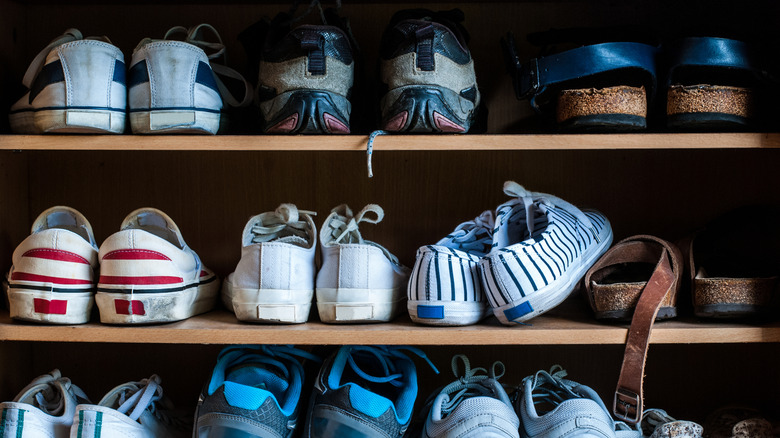
In a statement that is both not what you want to hear and not a surprise in the least, we're here to say that we don't want to see your grass-stained lawn mowing sneakers, muddy kids' shoes, and well-loved Birkenstocks piled high on a shoe rack in your entryway. Let's face it: Shoe racks, despite being practical, are usually pretty ugly. And this isn't necessarily because the rack itself is unattractive, but when you load one up with a chaotic, highly visible mess of shoes, it creates visual clutter, even if the physical clutter has been wrangled in the rack. It can throw off the entire entryway aesthetic and do little for a home's first impression.
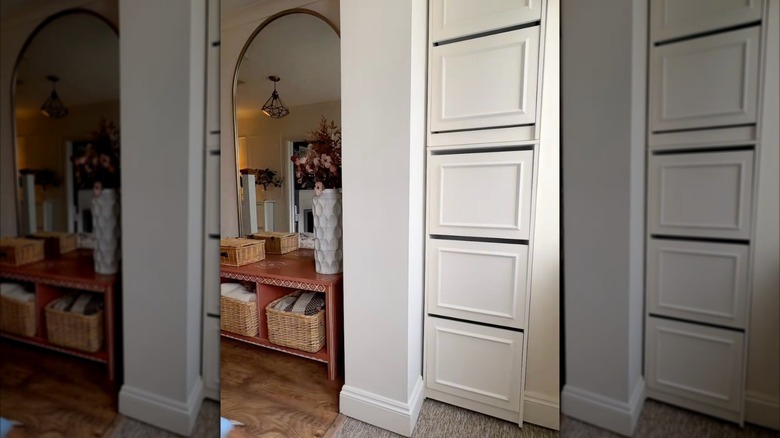
The truth is that, unless we're talking about a backlit display shelf of Manolo Blahniks, the most attractive shoe storage happens behind closed doors. Luckily, TikTok user shemadehome shared how she used inexpensive IKEA BISSA shoe cabinets to create custom-looking shoe storage in a narrow gap for about $120. By stacking the units on top of each other in a small alcove, the TikToker created a vertical row of five tilt-out shoe compartments tucked into under 20 inches of space. By customizing the cabinet doors with picture box molding and paint to match the surrounding woodwork, the result looks completely upscale and built-in than its price tag suggests.
Stack two IKEA BISSA units for the ultimate vertical shoe storage solution
Begin this simple built-in narrow-space IKEA BISSA shoe storage hack by determining where you'd like to place your setup. Each double-compartment BISSA unit can hold four to six pairs of shoes, depending on their size, so keep this in mind during the planning stages. The TikToker had a tall, narrow alcove available for this hack, perfect for a single 19.25-inch-wide stack, but if you have a wider space, you could add multiple columns for even more storage.
For 8-foot ceilings, purchase one three-compartment BISSA and one two-compartment version to create a stack roughly 89.75 inches tall. For taller ceilings, you could stack two three-compartment units for a setup about 106.25 inches high. You may need a step ladder to reach the shoes stored in the upper compartments, though. This arrangement works well for off-season or infrequently worn footwear while maintaining a chic floor-to-ceiling look.
@shemadehome Budget shoe storage ikea hack using the Bissa units. Storage for 20 pairs of shoes #ikeahack #shoerackorganizer #homesoftiktok #millenialhome
Once you have your configuration planned and your units purchased, pause before assembling them. Contrary to what was shown on TikTok, painting IKEA furniture before assembly is often the easiest way to achieve more comprehensive coverage and a long-lasting, durable finish. Use a cleaner or deglosser before applying a heavy-duty primer to surfaces that will remain visible. Paint two coats of your preferred color, either matching the surrounding trim or adding a statement color for a fun pop of architectural interest. Once the paint has dried, assemble your BISSA cabinets according to the instructions. Place the triple-compartment unit and secure it to the wall using fasteners appropriate for your wall substrate, ideally finding at least one stud for stability. Then place the double-compartment unit on top and secure it as well.
Customizing your IKEA BISSA shoe storage stack
Now it's time to customize. Since the TikToker conveniently had an alcove perfectly sized for the BISSA, she didn't need any extra trim work to create a built-in look. If your alcove is larger, however, you can use hardwood boards to trim the sides and top so the installation appears flush. If you're placing the stack against a wall or in a corner, consider using 1x12 hardwood boards cut down to 11 inches to conceal exposed sides and create the appearance of a single custom unit. Decorative details such as crown molding can further help the BISSAs blend into the style of your home.
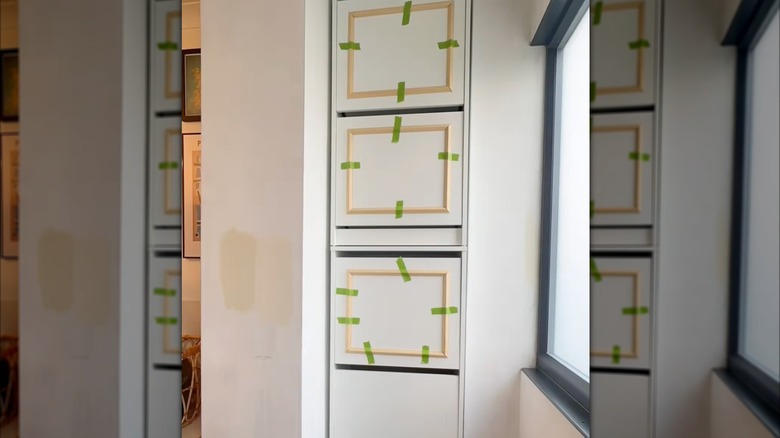
The next trick to making your BISSAs look elevated is to add design details to the doors. The TikToker used picture-frame molding with 45-degree mitered corners to create an elegant door style. You could also add fluted or ribbed panels for texture or modern wood slats for a cleaner, contemporary vibe. Prior to attaching, make sure the doors can still tilt open properly and adjust the design as needed. Affix your applied moldings and details with construction adhesive, brad nails, or both. Once installed, touch up the decorative embellishments with paint as necessary to create a seamless finish.
After everything has dried, consider adding decorative hardware for extra visual interest and to help protect the painted finish from daily wear. Since there's a gap above each compartment door, you could add edge pulls for a luxe look. Alternatively, a statement knob on the front of each compartment can add some extra pizzazz.