Skip Paint And Stain: There's A Smarter Way To Update Bathroom Cabinets
We may receive a commission on purchases made from links.
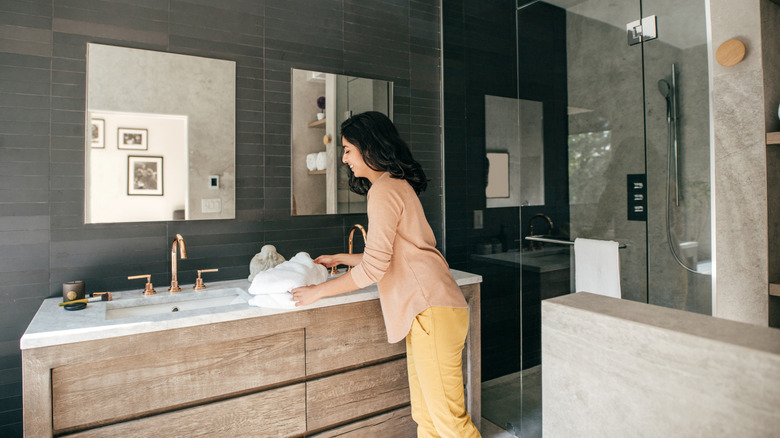
Your bathroom could be silently screaming for a makeover: water marks on the finish, little scratches from constant use, a profile that went out of style a few decades ago. However, for many people, the average cost of over $11,000 to renovate a bathroom isn't in the budget. Even replacing just the vanity could run you an average of $1,500. So that leaves you looking for lower-cost options, which usually leads to the idea of staining or repainting your bathroom vanity. While that will freshen up the piece, it will still look basically the same. Also, some marks and sunken areas might not be entirely covered up. Instead, follow the lead of Instagram creator Alina Shalin, who added mosaic designs to the front of her bathroom cabinet.
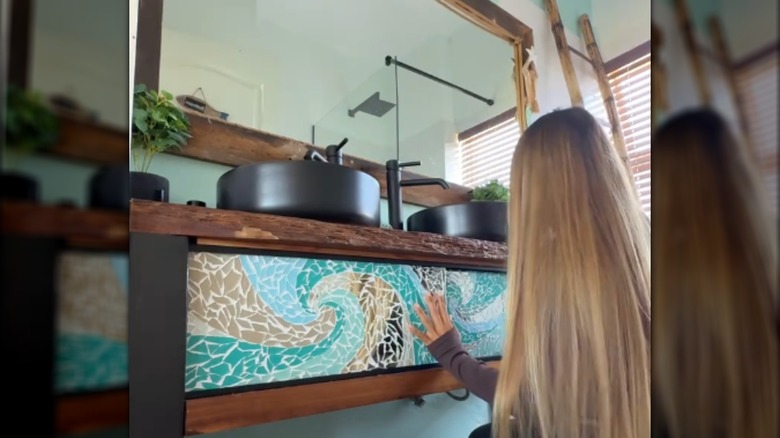
This idea stands out for being so unique. You might expect to see a mosaic tile bathroom backsplash, but you don't often see tiles on the actual vanity. The piece used in the inspiration project has two sliding panel doors that move back and forth to reveal the storage area. That's where the mosaic tiles were applied. However, you can try this idea on a traditional vanity door as well. If your door has an inset panel, cover that area with your mosaic tile pieces.
Using relatively flat glass pieces to create the mosaic keeps the door or panel close to its original thickness. If you use thicker tiles or glass, consider how that added thickness might affect the functionality of the door. Apply the mosaic pieces randomly, or sketch a rough design shape on the door first to create a more thought-out look by carefully choosing the colors and shapes for the pieces.
Apply mosaic tiles to vanity doors
Decide where you want to apply the mosaic tile design on your vanity. You can place it on sliding panels, door panels, drawer fronts, or the trim pieces. Keep in mind that the mosaic tile adhesive and installation process could damage the material underneath, so you may have to do repair work if you decide to remove the mosaic pattern later. If possible, remove the parts you're going to cover, so you can place them on a flat work surface. Clean and sand the area where you want to apply the glass pieces.
If you want to create a specific design or cover certain areas with different colors, sketch those patterns onto the surface lightly with a pencil. To create the mosaic design, you can use pieces of mirrors, colored glass, tiles, marble, and similar materials. Choose the materials and colors based on the style and color scheme of your bathroom, as well as the type of design you want to create. Break or cut the pieces if needed to create the desired look and shape while taking necessary precautions.
Position the pieces where you want them to be and ensure to check your layout before you start adhering them. Weldbond is a popular glue used for mosaics and is compatible with wood. Glue each piece down and let it dry fully. Apply grout over the tiles and wipe away the excess. Once the cabinet piece is dry, reattach it and enjoy the new look of your bathroom!