Reuse Mint Tins In This Scrap Wood DIY Storage Cabinet
When I buy mints in those little metal tins — Altoids, Trader Joe's, Newman's Own, and others — part of the value proposition for me is that the tins are worth something. Probably more than the mints themselves, if I'm honest. It seems like a waste to toss them out, and I'm not sure anyone does. Mint tins are commonly used by hobbyists for small parts storage (to say nothing of the universe of tinkerers making things in mint tins). But there's not a lot of usefulness (or anything else) to be found in a drawer full of disorganized mint tins. The trick, I think, is to organize them in a cabinet (not unlike the DIY coffee cup storage rack we spotted recently) for easy access, color-coding, and labeling. This is the DIY cabinet I made with scrap plywood, which was inspired by one of my favorite YouTubers, Evan Monsma.
This cabinet was made with 1/2-inch engineered flooring blanks forming the main structure and 32 individual shelves made of two types of underlayment, ⅛ and ¼ inch thick. The engineered hardwood is basically plywood with a super-high-quality walnut veneer, and is harder than an MIT engineering exam. The underlayment is also plywood, but is substantially flimsier. If you take on a project like this, make it out of whatever you have on hand; it doesn't require much in the way of strength or stability.
I used a table saw, a miter saw, a drill press, and a router table, but you don't really need either the router or the drill press. Let's look at the build process.
Building the mint tin cabinet
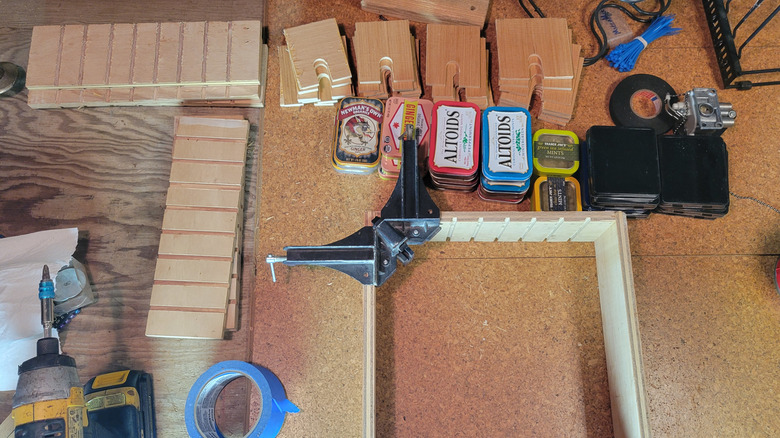
I made a few errors along the way, like discovering after cutting all my pieces that my miter saw was no longer in square, which threw off everything. Any time I use a DeWalt miter saw again, I'll be checking it for square at the start of each day. The project starts with cutting your cabinet's frame: a board for the top, one for the bottom, and a vertical board for each bay of tins you'll have, plus one more. I had four bays, so that's five vertical boards, a top, and a bottom.
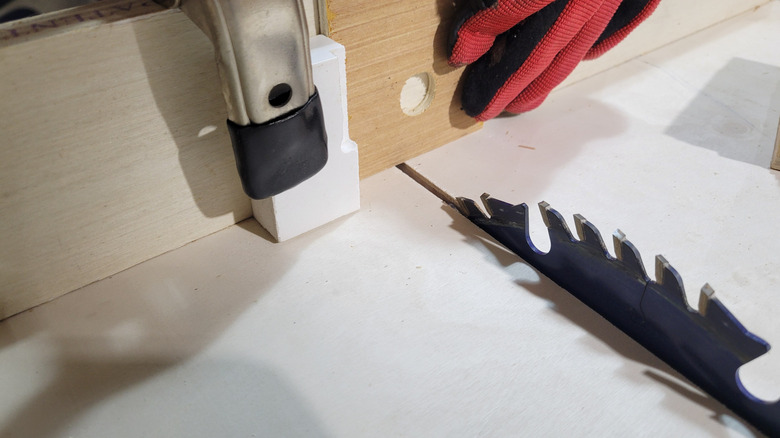
Next came cutting the rabbets that SurePly underlayment shelves would slide into. I thought I was being smart when I found a router bit the same thickness as the SurePly and decided to cut all the rabbets on a router table. Unfortunately, that meant all of the rabbets were angled to match the edge I put against the fence, which was skewed by the misaligned miter saw. I ended up recutting all the boards and doing the dados on my table saw using a crosscut sled. The rabbets are two kerf widths, about 1/4 inch. A jig keyed to each rabbet would keep the spacing absolute, but it works fine as it is.
I cut the SurePly shelves (and, when I ran out, thinner RevolutionPly underlayment) on the miter and table saws. I made a thumb slot for each shelf using a drill press (though any drill will do) to cut the rounded bits and the table saw for the straight slot sides.
Choices and improvements
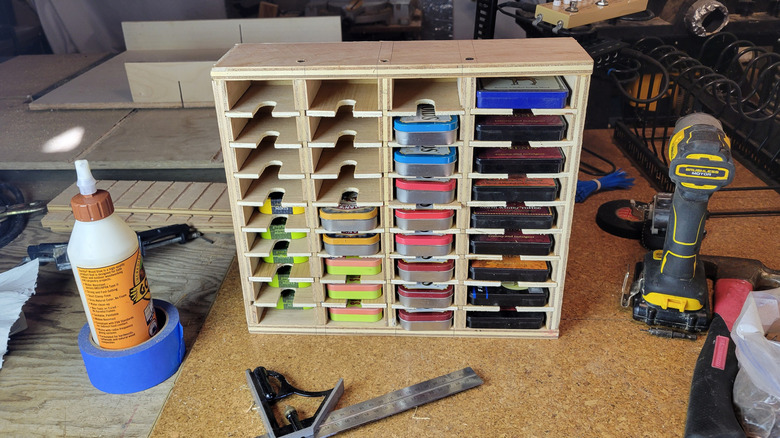
I considered gluing the shelves in place, but since I had to use two kinds of material for them, I decided to leave them removable, and I'll probably never bother changing it. The shelf compartments are two sizes to accommodate a handful of larger tins I've had for years. The other columns are all basically sized to accept Altoids tins, and other brands (Newman's Own mints and Trader Joe's Gingermint, green tea, and chai mints) all fit. The overall size of the finished piece is 13 ¾ by 12 3/16 inches, divided into 36 compartments.
The key to making this cabinet usable is measuring your tins and allowing yourself a little room to move them freely in and out — and to get a finger in there to pull them out. The slot cut in the shelves helps with this. My compartments ended up being 1-by-2 1/2 and 1-by-3 1/2 inches. Your mileage might vary, depending on the tins you use. Because the Trader Joe's green tea and chai mint tins are substantially smaller than the others, I glued a little spacer to some of the shelves to make sure those tins stay near the front of their compartments.
I thought about spray-painting the tins to color-code them, as Monsma did, but decided that since there are only a small handful of tin colors to begin with, I'll first try to organize them according to those. It's not that I mind the painting, but the small Trader Joe's tins have little windows in the top that I don't want to lose (or take the time to mask).