Use Simple Stones To Create Budget-Friendly Pavers With This Unique DIY
We may receive a commission on purchases made from links.
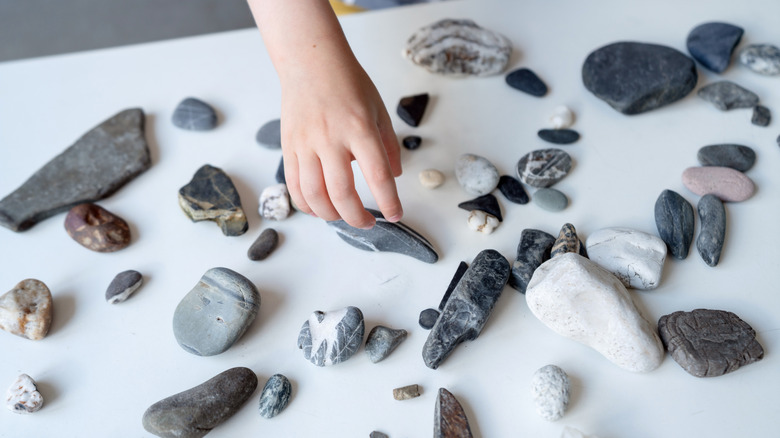
Are you struggling with a muddy area in your garden that leaves you tracking in dirt every time you check on your favorite plants? During the wettest months of the year, you may be dreaming of installing a French drain or hiring a professional to fix your drainage problems until the high cost or huge hassle start factoring into your plans. Fortunately, you can easily create an attractive and functional path using simple stones thanks to a unique DIY from TikToker byraquellugo. To make budget-friendly mosaic pavers, she pours a little sand inside a wooden frame, arranges broken tiles and river rocks into one-of-a-kind patterns, then pours cement over the design before allowing it to cure and using it outside.
While these aren't the most complicated DIY pavers to make, you'll need some basic woodworking skills to build a frame, comfort with mixing up mortar or cement, plus enough artistic talent to place your simple stones into attractive arrangements. This project also requires several supplies. Along with 2x4 lumber, you'll need assorted stones, metal mesh like the Everbuilt 1/4 inch Galvanized Steel Hardware Cloth from Home Depot, a bag of sand, mortar mix or Quikrete, and some plastic sheeting to keep the inevitable mess contained. The process takes a few days to allow for adequate curing time, but this unique DIY is one of the easiest ways to add a totally custom look to your garden paths and steps.
Customize the frame shape and stone pattern of your DIY mosaic pavers
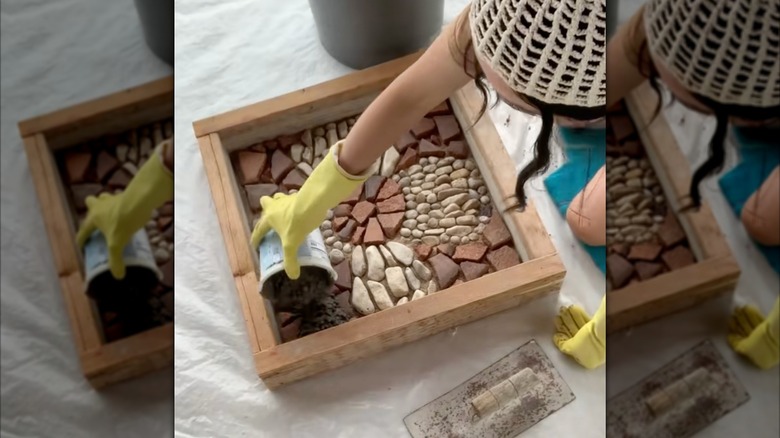
The first step is making a frame for your DIY paver. It can be any shape and size you prefer, from simple squares to long rectangles, pentagons, or crosses. Use lumber screwed tightly together with the four-inch side creating the inside rather than top of your frame for added stability. Next, lay your frame on a piece of plastic sheeting before pouring in a layer of sand approximately one inch thick. Use your finger to draw a pattern guide in the sand before setting your stones in place.
Use your imagination to create interest with both the design and stones or other materials you use. Even broken teacups aren't trash when you use them to DIY mosaic decor for the garden. The sand will allow you to arrange these elements until you're satisfied, with the added benefit of creating a smooth and even top for your paver that makes the finished result safer and easier to walk on.
@byraquellugo DIY stone mosaic paver #rockart #stonepaver #mosaicsteppingstone
You'll then pour prepared mortar mix over both the sand and stones until both are completely covered and your frame is about half to three-quarters full. For extra structural support, place a piece of metal mesh on top of the wet mortar before filling the rest of the frame. Heavy duty scissors or tin snips work best for cutting hardware cloth to size. It should be slightly smaller than the frame itself to ensure no pointy edges stick out of the finished paver. Finally, wait until your mortar has completely cured before removing your new paver from the frame and rinsing off excess sand to reveal your unique stone design.