Not Paint, Not Peel-And-Stick: A Stunning DIY Backsplash Idea You'll Want To Try

We like brick walls. We've liked them for a long time, and even when all the liking peaked, it didn't really die off the way trends sometimes do. The dusty glory of exposed brick walls has so thoroughly captured our imaginations since the 1970s that they've become part of a chic industrial/rustic design vocabulary, taking on many forms. Just look at DIY Instagram creator thefinishedproject, aka Lori Littleton, who might have actually turned them into something new with a wood brick backsplash concept that looks and functions differently from the brick walls that came before it.
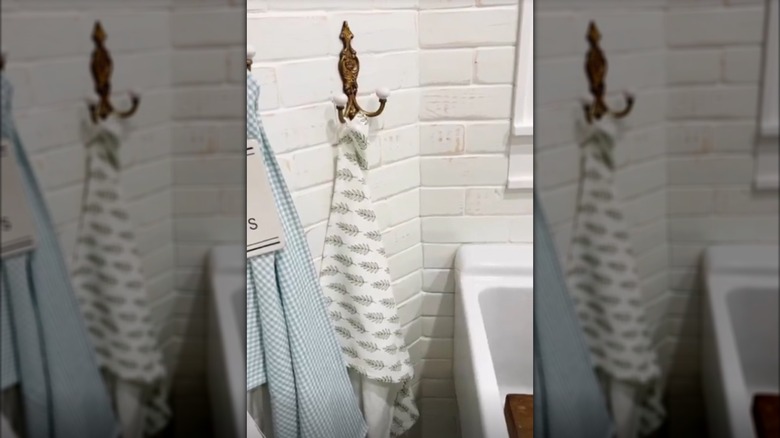
What Littleton created in her laundry room is actually more like a tall wainscoting, since it reaches all the way to the floor and is capped with a rail, but it functions as a backsplash wherever laundry is happening. Over the course of 37 Instagram reels (almost 20 minutes of video), she uses segments of 1x3 furring strips to create a faux brick wall covering that, while it's reminiscent of brick, has a character all its own. Even painted, it creates the impression of brick (though there are many other things you can do with brick walls). But this is unmistakably wood, and that really works in a room where the style seems to suggest farmhouse more than urban loft. It's close enough to brick to have also worked when she previously applied it to the surround of a gas fireplace.
And yes, it would make a great kitchen backsplash. We've seen exposed brick before in one of Erin Napier's tile backsplash alternatives. For a brick kitchen floor, though, you'll probably have to retreat to actually flooring or real brick.
How to DIY wood brick wainscoting

Though the project is time-consuming, it's not difficult. We'll run through some specifics, but the basic process looks like this: Lori Littleton at thefinishedproject first frames electrical boxes with mitered trim. She then cuts furring into 7-inch pieces, rounds over the corners, and sands the fronts with a belt sander. Afterward, she glues them to the wall in a staggered brick pattern using a blob of construction adhesive, just as you would with faux brick veneer. From here, she notches around receptacles and cabinets with a bench-top bandsaw and keeps everything even with a laser level. The "brick" is "grouted" with Presto Patch in a grout bag — basically a pastry bag full of drywall repair compound. The wainscoting is capped with a chair rail that looks like it might also be cut from furring.
Littleton rips the last, much thinner row freehand on a bandsaw. Precision isn't critical here because of the intentional irregularity of the bricks, but it would probably be easier (and maybe safer) with a fence to keep things even and stable. You'd generally see this kind of cut done on a table saw with a push stick.
It's a repetitive and tedious process, and most of that is sanding, especially easing the corners. Furring generally has rounded corners along its length, but in one of the videos showing Littleton cutting them with her miter saw, it looks like these strips have been rounded over during milling or with a router. That's a good first step to shorten the amount of time spent sanding and would be critical for dealing with square-edged corners, which could take a while to sand down sufficiently.
Why wood brick wainscot works
There are at least two senses in which this is a successful project. First, it looks great. Since the popularity of exposed brick walls has been in something of a decline, the wood approach completely reinvigorates the whole vibe, making it softer and closer to a modern rustic feel than to distressed industrial. This is a real innovation, given that the approach to faux brick has devolved over the years from actual brick to brick veneer to pressboard panels to vaguely brickish sponge painting. What Instagrammer thefinishedproject has done here looks better than all of the options since the veneer, which brings us to her second victory. Littleton spent $45 on furring (for 20 boards) for this project.
She did a quick cost comparison in one of her reels, but it's three years old and we took a look at today's numbers. While there's no brick veneer in stock at nearby Home Depot locations, the least expensive option appears to be something like Z-Brick 8-inch concrete thin brick veneer ($1.41 each). We calculated the furring "bricks" at 19 cents each based on the current $2.47 for 8-foot 1x3 furring at Home Depot, making the veneer cost almost 7½ times as much — and obviously requiring a lot less work.
But again, part of the charm of the project is that it doesn't look exactly like brick. And thefinishedproject points out another benefit that none of the other faux brick options have: You can easily drill into it and attach things. And when those things change, patching holes in pine is a lot easier than in faux brick.