The Simple Scrap Wood DIY That Keeps Extra Toilet Paper Perfectly Organized
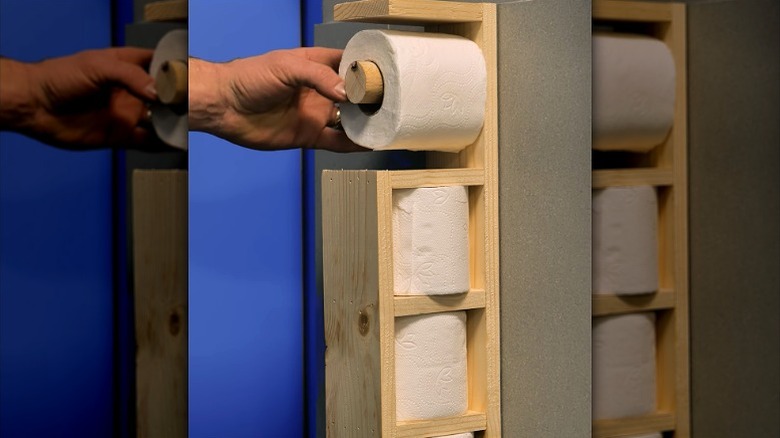
Wouldn't it be nice to have extra toilet paper handy so you don't have to get up and hunt for a new roll when the one you're using runs out? There are plenty of store-bought holders that can make that a reality, but a DIY build is often the best solution to suit your bathroom's unique layout. Customizing a creation, like a built-in toilet paper holder made from scrap wood that attaches to the side of your sink, will fit exactly where you need it without clashing with the room. For optimal space efficiency, one easy project from Instagram user metdaan produces a compact toilet paper holder you can mount to a wall. It features a wooden rod for the roll in use plus three perfectly sized compartments that hold spare rolls tightly so they won't fall out.
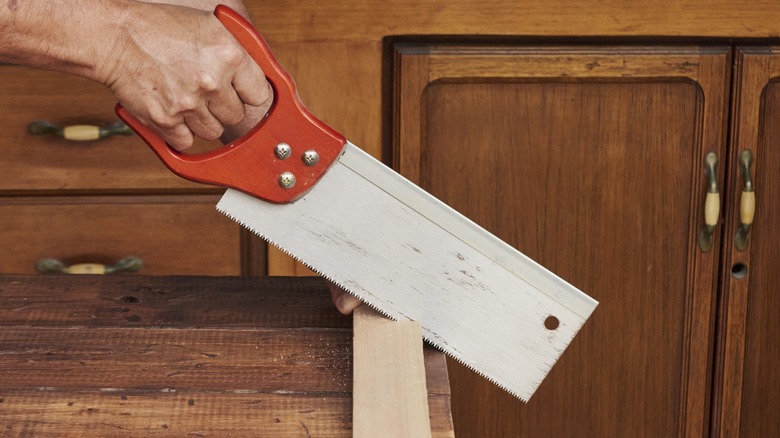
It's possible to complete this project without power tools, but a brad nailer and a circular saw will help you get it done faster. In lieu of power tools, you can use a lightweight hammer, some 1 ½-inch finish nails, a hand saw, a tape measure, a speed square, and a pencil. Wood glue is optional; it might be messy, but if you use it, your project will be much sturdier.
You'll also need wood, of course. A typical toilet roll is 4 inches in length and diameter, so some spare 1-by-4 lumber (which is actually 3 ½ inches wide), is perfect. If you don't have enough scraps, you can buy a few extra pieces of 1-by-4 pine right off the shelf and save yourself the effort of ripping wider boards. To finish the build, you'll need a 5-inch-long, 1 ½-inch-wide wood dowel to hold the roll in use.
Assembling and mounting your DIY toilet paper holder
Start this project by measuring the length of the individual pieces on a plank of 1-by-4 lumber. Mark your cut lines using a speed square and a pencil. Measure a 21-inch piece for the back and five dividers (each 4 inches long), and cut the pieces along the cut lines with a hand saw or a circular saw.
Lay the long back piece flat on a work bench. Set the dividers upright on it, putting the first at one end of the board. Use full toilet paper rolls to evenly space the additional dividers along the back. Place the dividers close enough that they will apply just enough pressure to lock in the toilet paper rolls. Measure from the bottom of the first divider to the top of the last divider, and cut a piece of 1-by-4 to overlay the front of the compartments. Nail this board to the dividers. (If you use glue, spread it on the dividers' edges before nailing.) Now, turn the assembly over, and nail the back to the dividers. Attach one last divider to the top to create a surface to hold items like your phone or another spare roll. Finish by screwing the dowel to the back, putting it midway between the top and the next divider.
To attach the holder to the wall, drill two pilot holes for screws in the back near the top. Place the holder against the wall in the desired spot, and poke a pencil through each hole to mark the screw placement on the wall. If you aren't drilling into a stud, install toggle bolts on each mark for the surest hold. Set the toilet paper holder in place, and drive screws into the anchors to hold it.