Say Goodbye To That Bathroom Pedestal Sink Eyesore With This Clever IKEA Hack
We may receive a commission on purchases made from links.
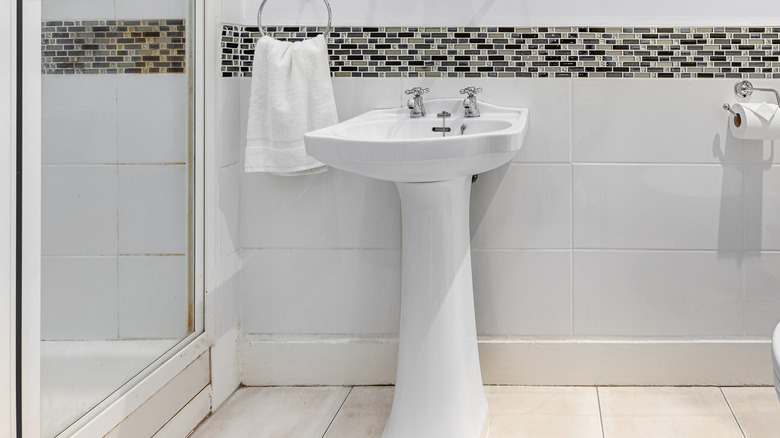
IKEA is a crowd pleaser when it comes to easy, inexpensive projects that can make your bathroom picture-perfect – and let's just say, this DIY is no exception. If you've been stuck with a pedestal sink you're unhappy with, now's the time to upgrade it. Not only do these sinks have an unusual shape, but they also often leave plumbing exposed, which is never a good look. Luckily, this clever project by @amandadezpat repurposes IKEA bread bins into a stylish and effective cover for ugly pedestal sinks using just a few added wood pieces.
Before you begin, head to IKEA and grab two MAGASIN Bread Bins at $29.99 apiece. You'll also need a large piece of cardboard and some wooden legs like the Sopicoz Table Legs from Amazon. Next, stop by your local lumberyard or home improvement store and look for two thick pieces of plywood (ideally around ¾ inch) to place above and below the bread boxes, as well as a block of solid wood to cover any open sides. The DIYer recommends poplar for this part.
For tools, you'll need a table saw to cut your wood and wood glue. Once this project comes together — which is relatively simple — it'll instantly upgrade your bathroom's aesthetic for a fraction of the cost of actually replacing your sink. According to Home Depot, a bathroom sink with installation costs $335 on average. Plus, you've now also given yourself the gift of under-the-sink-bathroom storage to keep your space organized and your essentials (like extra toilet paper, soap, and shampoo) out of sight.
How to elevate your pedestal sink with IKEA bread bins

To start, place both bread bins vertically on either side of the sink. Next, use the cardboard to create a template for the top and bottom surfaces. It'll be U-shaped, with the pedestal sink in the cutout. Make sure your cardboard template reaches the back wall (your bread bins might not when aligned with the front of the sink, but that's nothing to worry about). Once done, cut your plywood using the template. To cover any extra space at the back, measure some poplar wood and use your table saw to flute it so it matches the bread bins' style. Then, use wood glue to attach all the pieces to the bins before installing the legs. Don't forget to add a small cutout on the side, like @amandadezpatt did, for emergency access to your shut-off valve.
@amandadezpatt Pedestal Sink update! The breadboxes are from IKEA! #DIY #fyp #bathroomDIY #tinybathroom #ikeabreadbox #Ikeahack
From there, you can decide whether to keep the vanity as-is and slide it into place or give it a fresh coat of paint. For the latter, consider painting the bread bins and legs a trending bathroom color, such as mint green or navy blue, and leaving the top and bottom wood pieces natural. Or, paint the entire piece in a calming shade like taupe or soft beige. To top it off, add a curtain rod in the middle and hang your bathroom hand towel for a cute (and practical) finishing touch. Keep in mind that this DIY vanity is not secured. While that can be great for renters, it may pose a safety concern if you have young kids around. Make this safer with something like these Ougourim Furniture Anchors that'll easily secure the vanity to the wall.