Transform Empty Plastic Bottles Into A Simple Herb Garden For Next To Nothing
If you want to grow an herb garden, you don't necessarily need to spend a lot of money. In fact, you can transform empty plastic bottles into a simple herb garden for next to nothing — and repurpose plastic that may otherwise be headed for a landfill. This makes it a win for both your wallet and the environment. This is a great way to save money whether you are new to herb gardening and looking to avoid initial buy-in costs or an ardent herb gardener trying to avoid purchasing a bunch of new containers.
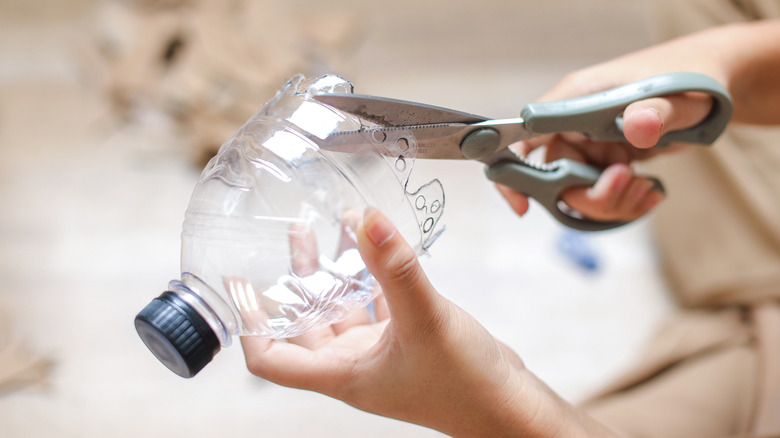
For those who are not particularly experienced or skilled in DIY projects, there may be some initial hesitation. However, rest assured this can be accomplished by anyone, even elementary-age children. There are actually numerous ways to create an herb garden from plastic bottles, none of which are all that hard. They also do not require any tools or supplies other than what you likely already have at home. All you really need for a basic version, in addition to clean plastic bottles, is a box cutter, craft knife or scissors, along with potting soil and seeds. Other versions may require materials such as duct tape, mesh, and/or string.
Making herb gardens from plastic bottles
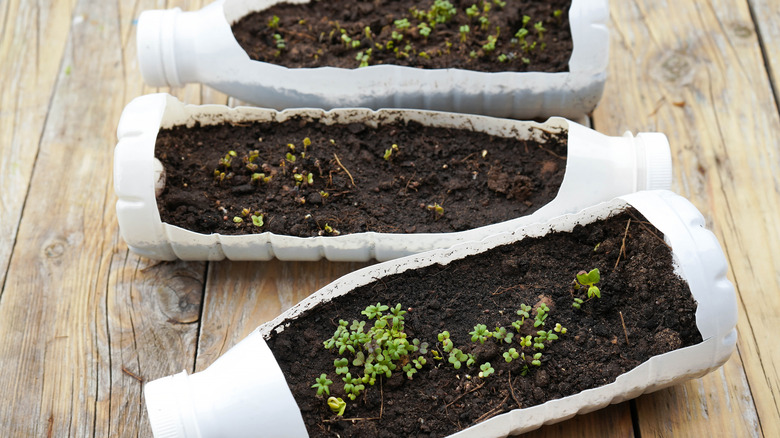
To make the simplest of simple versions, all you need to do is cut your bottle in half and poke some small drain holes in the bottom. Then, fill it with soil and plant your seeds. If you want to hang it, a screw can be drilled through the side of the bottle and into the post or wall on which you are placing it. Alternately, you can make two to four holes around the exposed portion of the plastic above the soil level and use twine to create a hanging basket. This basic model can also be made horizontally. This works well if you want an herb garden on your kitchen windowsill.
You can also create a self-watering herb garden from a water bottle. This version requires duct tape and mesh in addition to the supplies for the basic version. Begin by cutting the top quarter off the bottle. Remove the lid, turn the top portion upside down and place it inside the bottom part of the bottle. Then, cover the exposed edge of the bottle with duct tape to both keep the pieces together and prevent cutting yourself on the edge. Next, cut a piece of twine that extends from top to bottom and lay it in the bottle, through the opening where the cap once was. Finally, place a small piece of mesh material over that opening and fill your bottle with soil.
During the initial watering of the soil, water thoroughly enough so that water passes through and into the bottom portion of the bottle. Allow it to fill almost to the cap opening of the inverted portion of the bottle. From there, the string will act as a wick and draw water up into the soil.