Reuse A Cardboard Box To Make A Stylish Photo Board For Your Room
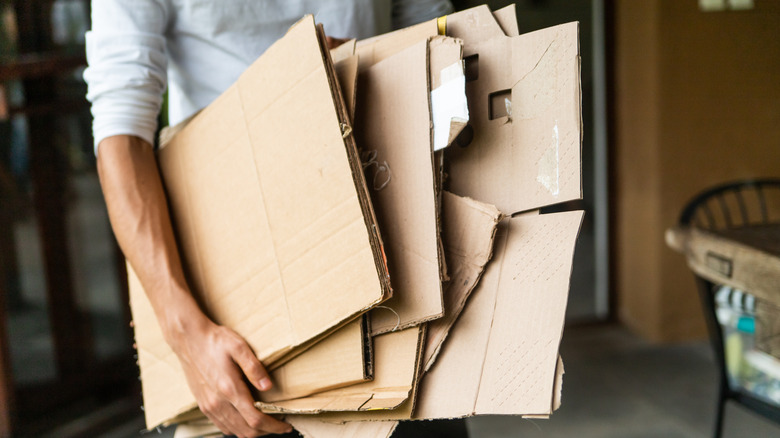
When you have a lot of cherished pictures, it can be difficult to find budget-friendly, space-saving, and cute ways to hang them in your room. So, why not create some solutions yourself, like a DIY pinboard as a fashionable photo backdrop? Making your own pinboard is super cost effective and helps you practice sustainability by reusing materials that would otherwise end up in the trash. It's easy to construct with just some old cardboard layered into a rigid board that will hang on the wall and hold pinned items. Even better, the pinboard itself may make a decorative statement. Dress up your photo board with a bit of decorative fabric or paper to give it an adorable look that'll enhance the room's design. A thrifted picture frame could provide a base for your pinboard and create a cute border for your DIY, but you can complete a perfectly serviceable and stylish board without one.
This DIY pinboard is a great way to hang photos and art in a dorm room or any bedroom or office. Plus, it's extremely customizable, allowing you to match it with the current style of your bedroom. For example, you might choose to have a round or oval photo board rather than a rectangular one, or you can cut your cardboard into fun shapes for a more interesting design. For fabric, choose colors and patterns that compliment your space. This is a genius way to reuse old bed sheets, curtains, tablecloths, or scrap material, all of which would work beautifully and make this project more inexpensive and eco-friendly. Keep in mind that if you use an old picture frame as the base of your project, you may not need as many cardboard boxes to create your pinboard.
DIY an adorable pinboard with scrap cardboard and fabric
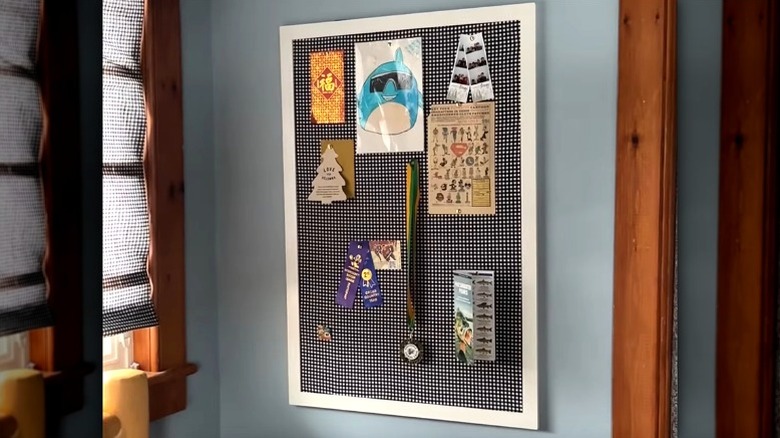
When building a cardboard photo board to hang all of your pictures, you'll need some hot glue. With a thrifted picture frame, this project may be a little easier to complete. Take the backing out of the frame, and break down any undamaged corrugated cardboard boxes lying around your home. Lay the cardboard flat over the front of the frame backing, gluing it into place. Trim away the excess cardboard from around the edges so it will perfectly fit the frame. Cut extra pieces of cardboard to fill any small empty spaces and ensure every bit of the backing can hold your push pins. Wrap the front with your fabric, pulling it tightly and gluing it to the back side. To add a little upholstered softness, place a layer of quilt batting between the fabric and cardboard. Finally, replace the picture frame backing, and hang your project.
Alternatively, the bulk of this project can be made just from cardboard boxes. Cut four to six layers of your scrap cardboard to the same dimensions, and glue them in a stack. Make sure they're perfectly lined up. It's crucial that the cardboard layers are thick enough to hold the tacks and prevent them from poking through and into your wall when you hang photos. Cover your project in decorative fabric similar to the first method, or lay contact paper over the top piece of cardboard. Create a border, and secure your cardboard by wrapping colored duct tape neatly over the edges. Glue a string loop onto the back to hang your photo board and make it ready for use.