Maximizing Kitchen Counter Space Is Easier Now With This Dollar Tree DIY
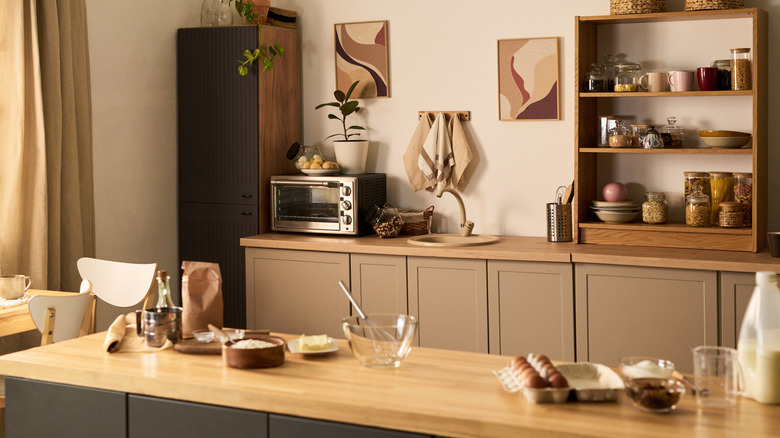
Countertops tend to be the place where frequently-used items such as coffee makers, storage jars, and spice containers live. While it's helpful to have those things an arm's reach away, they could also end up cluttering your workstation, making it hard to use it for mealtime preparation, or for cooling that freshly-baked tray of cookies. Even small items such as spice jars and boxes of tea eventually end up adding to the overwhelm. The solution: A simple Dollar-Tree DIY organizer made from trays that adds tiered storage space to your counters. It will make it easier to control the clutter, at least for small items such as measuring spoons, a handful of spices, or even K-cups for your Keurig single-cup coffee maker.
The DIY begins with three of the Crafter's Square Wooden Trays with Handles, found at Dollar Tree. You'll also need two Crafter's Square Wood Planks that are 2 inches wide by 16 inches long, and some wood glue or a strong adhesive to hold everything together. Since this will be using glue and not nails, you will only be able to store lightweight items on this organizer. Regardless, this Dollar Tree hack will keep your kitchen tidy, helping you save on countertop space while still having your most-used items within arm's reach.
How to make a tiered storage tray for your kitchen countertop
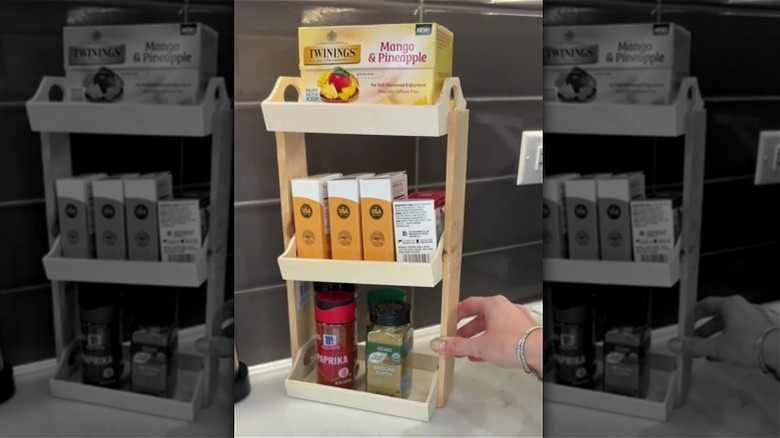
To get started, run a rag or your gloved hand over the wood to see if there are any snags or rough spots. If so, it needs a gentle sanding. Use a fine-grit sandpaper between 120-150 grit to smooth things out. Wipe the wood with a tack cloth or lint-free cloth afterwards to remove sawdust. Set one of the trays on a table, then position a wood plank vertically on either side, where the handles are. Once you're done test-fitting the wood pieces, remove them, apply a wood glue or a wood-friendly super glue on the handle portion of the tray where the planks previously were, then push the planks into place. Use wood clamps or even binder clips to hold them securely until the glue dries.
Set the entire structure on its side so one of the planks is on the table. Test-fit the remaining two trays between the planks so one sits between the top of the planks, and another in the middle. Use a pencil to mark the positions. Apply adhesive to join all the pieces, slide the trays into place, then use clamps or clips once again to hold them in place. If you don't own clamps, a heavy object such as a bottle of water atop the glued planks can help the structure stay together.
Once the adhesive dries, your tiered tray is ready to use. If you prefer, you could paint the item to match your kitchen. Make a homemade crackle paint to give it a distressed look, or leave it as bare wood for a more natural look. For other variations, use different trays or different lengths of wood. Thicker planks would be easy to attach with screws, making a sturdier structure that can hold heavier items.