Upcycle An Old Frame Into The Cutest DIY Wall Decor Storage Shelf
We may receive a commission on purchases made from links.
There's nothing better than finding a piece of decor that pulls double duty as a functional organizer. This is exactly the case for this chic project that uses an old mirror frame to highlight mounted wall shelves. Your guests will never guess what this chic DIY shelf is made of, because once assembled, it looks so natural. It's the perfect place to hang jewelry, display succulents, and store knick-knacks that don't quite fit anywhere else in the home. The best part is how creative you get to be when it comes time to customize your creation.
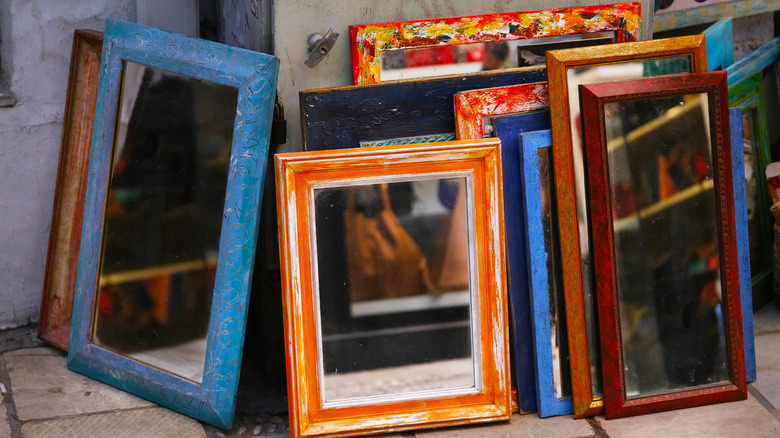
The way this DIY works is by removing the mirror and mounting the frame to the front of a set of shelves that fit the opening. Don't have an old frame at home? Visit your local thrift store to find one. Note that you could also use a large wooden picture frame. The more decorative the frame, the more this piece shines as an accent on the wall. While at the shop, look for a small set of ledges to fit the frame. If you don't have luck there, pop by the hardware store for 2-by-4-inch boards, a saw, nails, a hammer, four corner brackets (such as the Aruicheng L Brackets), a can of paint, and a brush. This is a simple yet impactful project and one you can make on a budget.
Constructing your DIY decor storage shelf
With the supplies compiled, start by disassembling the mirror or opening the picture frame. Measure the frame and cut two boards to fit the length and four to fit the width. Nail together the outside border, and slide in the two shorter pieces of wood as shelves, nailing them in place from the outside. Then, attach your creation to the back of the frame with one corner brace on either side, top, and bottom.
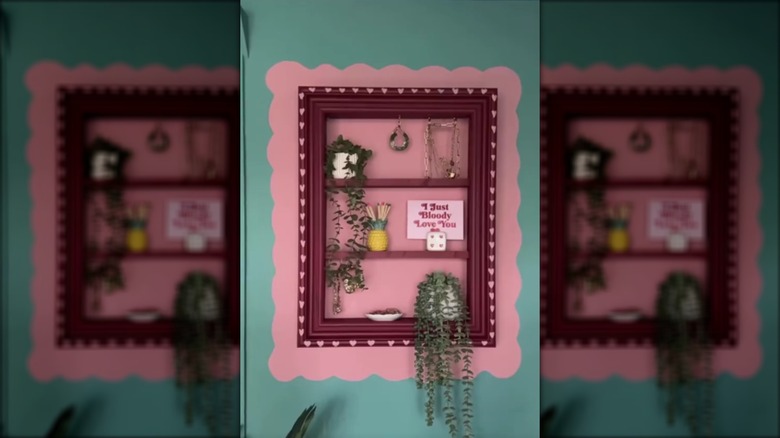
Now comes the fun part: customizing the piece. You could attach scallop trims or beads to make it stand out even more. If you're looking for jewelry organization ideas for your most treasured possessions, screw in some little hooks to the underside of the top ledge and use it to hang necklaces. To use it for books, be sure you leave enough space between rows for your favorite paperbacks or hardcovers to slide in. Paint the whole thing, or swap paint for peel-and-stick wallpaper. Another clever idea is to paint a border that extends out onto the wall. Finally, mount the framed shelves on the wall, and you'll have a chic storage solution that doubles as unique decor. This charming DIY is sure to turn heads, especially when you style it with candles, books, plants, jewelry, and other little trinkets.