Turn Dead Behind-The-Bed Space Into A Gorgeous Accent Wall With This DIY
We may receive a commission on purchases made from links.
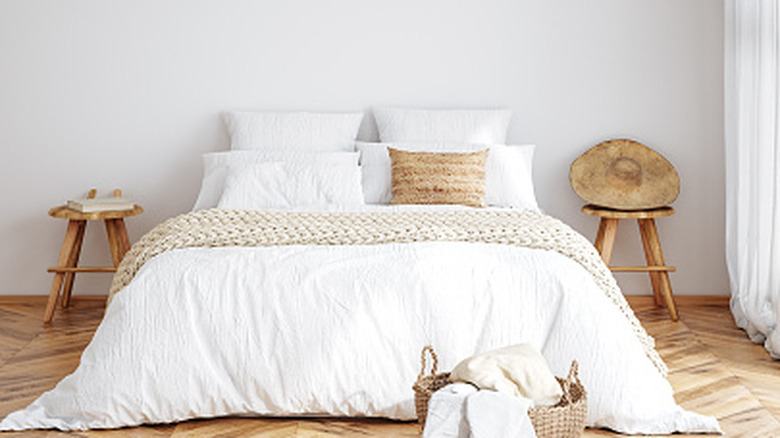
With the exciting trend of textural bedroom walls gracing social media airwaves, people are realizing that adding design elements with visual interest elevates their space in a way that a basic coat of paint simply cannot. Unlike a flat, painted accent wall, wood moldings, paneling, wall coatings, and textured wallpaper add a wonderful layer of detail and style to the bedroom. One of the chicest of the bunch? A classy board and batten accent wall composed of vertical strips of wood (battens) capped with a horizontal board, usually extending about two-thirds up the wall.
Kensie Webster shared on TikTok how she used basic MDF boards and lumber from the hardware store to create a lovely board and batten accent to wrap the walls of her bedroom. Cutting the MDF board into 2-inch wide pieces, she installed them as evenly-spaced vertical strips with a horizontal cap piece on top. She painted the lower portion of the wall in a tonal neutral similar to the existing trim for a subtle yet impactful textural shift, but the concept would be gorgeous as a pop of tranquil color as well.
Before you get started, it's worth noting that a board and batten accent wall only works with smooth finish drywall, as the wall texture is still visible between the battens. For textured walls, you would need to skim coat or add a plywood backer panel before proceeding; a much bigger undertaking. As long as you have the right surface for this wall accent, the process is pretty simple for those who can operate a saw. Let's break down the steps for creating this stunning design feature.
Purchasing materials and prepping the bedroom for a board and batten accent wall
For the sake of cost, the TikToker purchased an MDF board which they cut to the correct height at the hardware store. At home, they used a table saw to trim the board down into 2-inch strips. Depending on how large your space is (one wall versus wrapping the room) and whether you have access to a table saw, you could also use furring strips in the desired width. Whichever approach works best for your budget and woodworking capabilities, be sure the material you choose is thinner than your baseboard, which typically ranges from ½-inch to ⅝-inch thick.
@kensiewebsterlife Hopefully that helps a bit!!! #diy #homereno #homerenos #bedroom #bedroomdesign #boardandbatten
You'll also need to purchase a horizontal top board to cap off the batten strips, which will ideally be about the same thickness as your baseboard so the vertical strips will terminate into it. However, a horizontal cap the same depth as the vertical strips would also be sufficient. To finish the look, purchase a trim piece for above the horizontal board to create a decorative cap or ledge. This can be a simple 1x2, a deeper 1x3 or 1x4 to create a shallow shelf, or a moulding piece with a decorative profile like on the TikTok video for a more ornate finish.
Once your board and batten height is determined and your pieces are cut, sand each board to ensure a smooth finish prior to installing. Find and mark each stud location using a stud finder and pencil. Now your materials and space are prepped for the installation process.
Installing and finishing your board and batten accent wall
Using a traditional or laser level, mount the horizontal cap board at your desired height and secure it to the studs with a nail gun. Next, determine your desired spacing between vertical strips, which is generally around 12 to 18 inches, depending on your personal aesthetic preference and wall length. Mark and secure each vertical strip to the wall with a nail gun. Finish the installation by capping the horizontal board with your cap trim or ledge, once again using the nail gun to secure.
Once all boards are installed, there are a few additional steps to ensure a professional-looking finish. Sand any rough spots that occurred during installation. Next, use a paintable caulk to fill in gaps on all sides of the boards where they touch drywall as well as where boards meet each other or the baseboard to cover any seams for a flush, level look. Additionally, caulk and sand all nail holes on the surface of each board. This may sound tedious, but this prep will give you a beautiful, seamless finish.
Prime all surfaces, including drywall between the battens and the existing baseboard (skipping the baseboard will look like an incomplete half-measure). Paint all surfaces with one to two coats of a formula made for woodwork in a satin finish, which will provide more of an elevated sheen (like a wainscoting or other wood moulding would have) than the eggshell finish that's likely on the rest of the drywall. A satin finish will also cover imperfections, such as the change in texture between wood and drywall, better than semi-gloss.