No More Entryway Shoe Clutter: This DIY Keeps Footwear Organized In Small Spaces
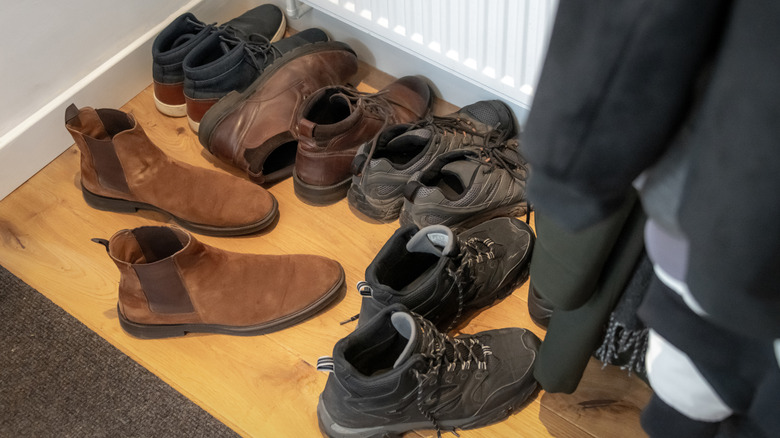
Finding a place for all the shoes in your home is hard enough, but when you throw in your bulkier items like all the different pairs of boots in your house, things can get quite tricky. No one wants to track muck and grime everywhere in the house, so those boots and heavier-duty shoes typically end up in a muddy, moist, and messy pile right in your entryway. Instead of making a big pile, keep things clean and organized by building one of the best simple boot storage solutions with this awesome design from @woodshopdiaries on TikTok. This floor-standing rack features two rows of upright posts that act as individual holders for each boot — just fit your boot upside down over a post so it will drip dry, stay tidy, and retain its shape.
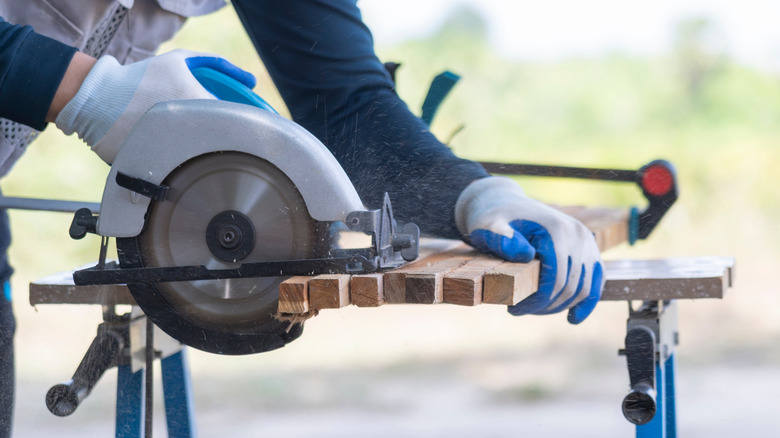
This design is awesome because it tucks neatly into entryways, is easily customizable, and will let your boots dry out more efficiently because of the increased airflow that comes from keeping them upside down and elevated. When shoes live in a moist pile, they don't always dry out and can get damaged over time. This design won't just save you the mess — it will save money long term by taking care of your shoes. For this great bit of space-saving shoe storage, use scrap wood or buy 2-by-2s and 2-by-3s for the materials. You'll need two long 2-by-3s (about 3 feet long) and two shorter pieces measuring roughly 12 inches. For tools, you'll just need a measuring tape, a saw to cut the boards, and a drill. Lastly, to make it pretty and keep the wood safe from moisture and damage, you can choose an attractive stain and protective topcoat (such as polyurethane).
Building your space-saving footwear storage rack
To build your boot organizer, start by assessing your footwear situation, as this will affect the design. You should know how many pairs of boots you need to store on the rack so you can determine the spacing and how many posts you need. Figure out the ideal lengths for the posts as well, as some taller boots will need more space. No matter the number and size of the posts, ensure the front row is about 6 inches shorter than the back and the back row is at least 10 inches behind the front row. If you have larger shoe sizes, you may need more space between the rows. Mark the post placement on each of your longer 2-by-3 boards to indicate where to drill your pilot holes.
@woodshopdiaries Hey friends, lets build a boot rack just in time for boot season #bootrack #entrywayorganization #shoestorage #entrywayideas
Once everything is measured and cut to size, attach the posts to the boards. Drill a pilot hole in the marked points, and screw the 2-by-2s onto the boards to make two rows of equally spaced upright supports. Ensure your screws go directly into the center of the posts so the boots are evenly spaced. Next, screw the rows with the posts on them to the two shorter 2-by-3 frame pieces on the ends, creating a long rectangular frame. The rack should stand on its own.
Sand the tops of the posts to avoid damaging your shoes and boots. To finish up, apply a stain and your preferred type of polyurethane finish. You could also paint the rack to match your interior. For multiple household members, consider labels or custom colors for the posts to give each person their own storage spot. After the rack is built, you can say goodbye to the clutter and keep your entryway neat.